Showing posts with label snacks. Show all posts

Tuesday, July 19, 2011

Harry Potter Cauldron Cakes

First off, I know not everyone out there is a Harry Potter fan and
not everyone is an avid fan as some of us. If you’ve never read the
books, watched the films, or taken part in the wizarding world of
J.K. Rowling, I strongly encourage you to.

It may not change your life, but you may be missing out on some really
good entertainment. What’s all the hype about? It may have just gotten
on your nerves and now you’re ignoring it out of principle. Get over it
and go read the books. Really. Honestly. It’s not high classic literature,
but they are really FUN and undeserving of your contempt.

I am not just saying this because of how much I love swords and
sorcery, or because I was one of those teens those wore capes to the
midnight book releases, or was one of those who finished the last book
in less than 48 hours.

I enjoy fan culture like this because of the sense of camaraderie.
Sure you can go to a rocky horror picture show screening or some other
cult flick and experience the same type of tuned-in energy, but the
whimsy of the whole thing becomes addictive. The HP bug doesn’t turn
off when you leave the theater, it stays with you the whole way home
and the next morning and lingers-- leaving you wanting more!

Cult flicks are tons of fun, all the fans cheer when certain characters
come on or when certain credits roll, but Harry Potter is much more.

I think it also has something to do with how loyal the movies were
to the books and how disappointed I was in the new Star Wars and
Lord of the Rings movies. I’ve given up on comic book films (Scott
Pilgrim excluded). I still enjoy the rebooted films like TRON and
Star Trek etc. But they simply don’t exude the same intoxicating energy
that Harry Potter does.

It is engrossing because of the depth, the detail, and the sheer
extent of character development. For many of us it was also a coming
of age ritual. It was something for us to look forward to each year
and to hide away in when reality got a little low. Hogwarts was a little
escape for each of us and sadly it has come to an end. I was a few years
older than the kids in the books when it first came out, but I was still
growing up while I was reading them. So it truly is the end of an age for
some of us.

Now all the films are out, I plan on going back and rereading the series
(when I get some time-- Eventually). I’ve read the first few books more
than once, but not the later ones. So, I’ve gone a little fuzzy on many of
the details. Besides, it is always fun to go back and try and pick up on
all the little hints when you know what the ending is going to be.

To be honest, the end has left me feeling a little low and really old.
I don’t like waiting for Halloween to costume up. How often to I get to
flaunt my Ravenclaw uniform? For now, I’ll have to bid a fond farewell
to Hogwarts and a turning point in my life-- now I’m coming up to my
quarter-life crisis who knows if anything will catch on like Harry Potter
and steal the hearts of so many muggles... at least in our lifetime!

So lets all raise our butterbeer and pumpkin juice to what was a damn
good, magical decade!

Yes, I saw it opening night-- not the midnight showing, but still...
And of course it was epic! (Surprisingly violent, watch out little ‘uns)
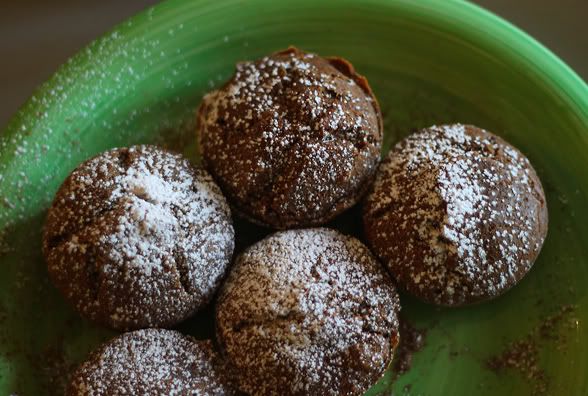


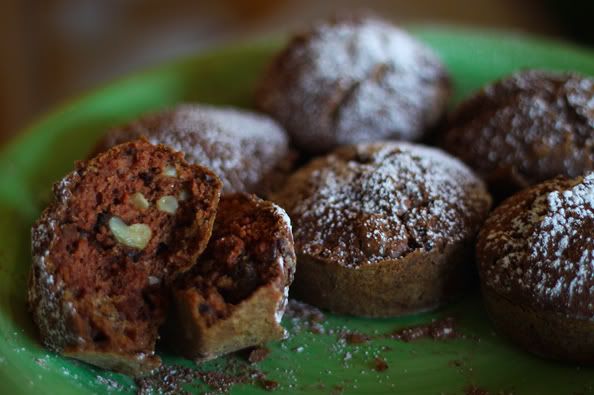
In celebration of Book 7 Part Two, I made some Cauldron Cakes
for your enjoyment. To be honest can’t remember if there was a
description in the books of these or not. So I just made what I thought
Cauldron Cakes sounded like. These are not sweet, so don't expect a
cupcake. They are hearty and look like they were cooked over a cauldron!

Harry Potter Cauldron Cakes


3 cups unbleached wheat flour
3 tbsp powdered sugar
2 3/4 cup non-dairy milk + 1 tsp apple cider vinegar
3 tbsp cocoa powder
3 tsp baking soda
3/4 cup vegetable oil
1/4 cup berry jam
1/2 cup chopped walnuts
1/3 cup raisins, cranberries, cherries or chopped dates

Sift together the dry ingredients.
Mix the oil, jam and curdled non-dairy milk, slowly add to the
dry mix and stir briefly to not over-mix the soda. Add the nuts and
which ever dried fruit you like.

Pour into greased and floured cupcake cups or mini bundt tins.
Bake for about 30-40 minutes at 350•F.

Serve while still warm with powdered sugar and jam.
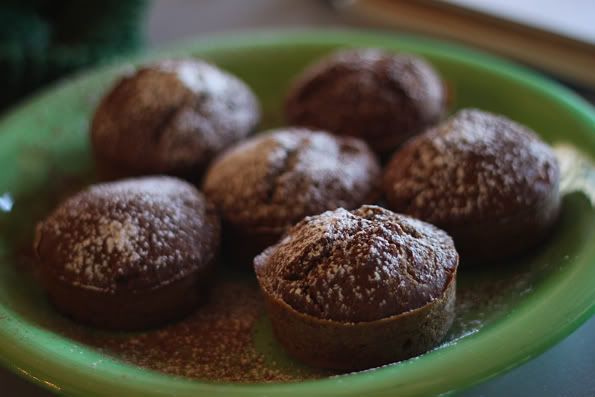


Try em with some Pumpkin Juice!

Here is also a Vegan version of ButterBeer from PETA2 which sounds
pretty good, except I might add some vanilla vodka or spiced rum
to give it a real kick.

Tuesday, March 8, 2011

Launch Party Prep, Mochi and Memories: Kushi Dango Recipe

Huzzah! Am I ever glad to be back on my broomstick!
It took too long, but I am over my illness and the doctors set me right.

I am most pleased to actually be able to enjoy cooking and food again.
Not sure who is happier though, me or Monkey-man! He was eating the
bland, simple foods right along side me. I couldn’t stomach much and
he was sweet to not make me feel left out of something exciting. But I
don’t think he could stand eating beans on toast much longer either!

So I am back and getting ready for the Compassion Over Killing
Los Angles Office Launch Party
! It is going to be amazing! There is
going to be tons of great people, food, and a darn good time for all!
You can check out the event on Facebook or get your tickets here!

One of the product donors, Eco-Vegan, is donating some amazing
veggie meat for the party-- and I have the honor of dressing and
cooking it up for the party-goers!

Tomorrow I’ll show you the awesome samples they sent me to test out
the recipes for the party.

Because of the party, I’ve been working on some of the menu items.
One of which will be Mango Mochi! Not a lot of people may be very
familiar with mochi and I am a huge exception to that rule.
Mochi has become a little better known lately, but is pretty unusual.

Mochi is a Japanese sweet made from pounded sweet, sticky rice.
Depending on the occasion, it will be served plain, flavored, colored
with barley or beans, wrapped in pickled leaves (sakura-mochi),
filled with sweet bean paste (an-mochi), baked, served on sticks,
the list goes on and on.

I chose this dish for a number of reasons... first my menu is
Thai-Japanese fusion. A traditional Thai dessert is a steamed,
layered, sweet rice cake that is very similar to a plain Japanese mochi.
Second, I wanted to choose something that would be easy to eat,
pick up, and would be soy and gluten-free for those with allergies.
But most of all, I have very fond memories of mochi and I’d love to
share them at such special occasion...

I took Japanese language courses for many many years growing up
and became entranced with many of the cultural traditions. Wish I was
still fluent, I was as a teenager. Not like riding a bike though.
Watching anime as a kid I loved watching the characters munching on
the sticky treats. Of course the American producers would change the
dialogue and call mochi donuts instead to match US interests.
But I also grew up in a very heavy asian community in So Cal,
so many of the shops nearby offered fresh mochi!

Also, when I was growing up my parents were very into watching
Sumo. I know this may sound very weird to you, but its true. It is
not a bunch of fat guys bumping bellies like many Americans believe.
It rich in cultural traditions (many of which are dying) and extremely
cool to watch. Whenever they got the chance, my parents would take us
to actual tournaments. Instead of hotdogs and peanuts, you’d find red
bean cakes, mochi and Sapporo!

Well, I didn’t drink beer, but I certainly enjoyed the sweets and
maybe some green tea soymilk or red bean ice cream!

Skip to my teen years- Hilo, Hawaii. The communities in Hawaii
emerged from a plantation culture, a conglomeration of Japanese,
Chinese, Filipino, Portuguese, Thai and so on. As such many of the
traditions are seen in the local faire. You see a lot of sushi, char sui,
and yes mochi. Hawaiian mochi is often baked instead of steamed
(oh gods, or worse microwaved) and made with condensed milk or
butter. This yields more of a chewy cake instead of a plush bun.
But there are traditionalists, and my favorite was Two Ladies in Hilo
who would make the Strawberry-An Mochi, read bean filled, and even
Taro. But my favorite was the Momo-Mochi-- (Momo= Peach)
Peach and white bean filled. PEACH LOVE!

(To find more vegan Hawaiian Recipes, check out my vegan-hawaii series)

It is from the Hawaiian fusion flavor that I pulled out some wicked
mango mochi. I'll be posting some pictures as I go along and certainly
of the party, but here is something in the meantime. These we would
get at sumo tournaments and anime expos. Plus, something you can
depend on being vegan. FYI, many of the prepackaged versions do have
MSG in the sauce. Find it fresh! If you live in LA, you can get it in
Little Tokyo.

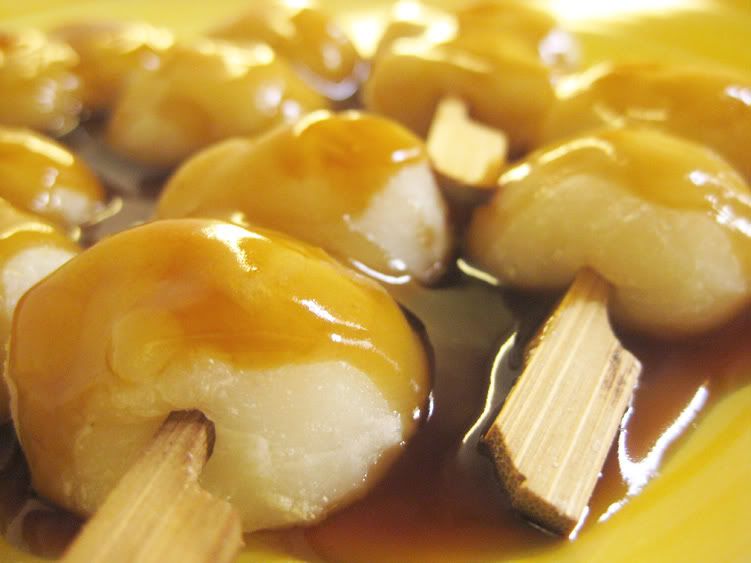
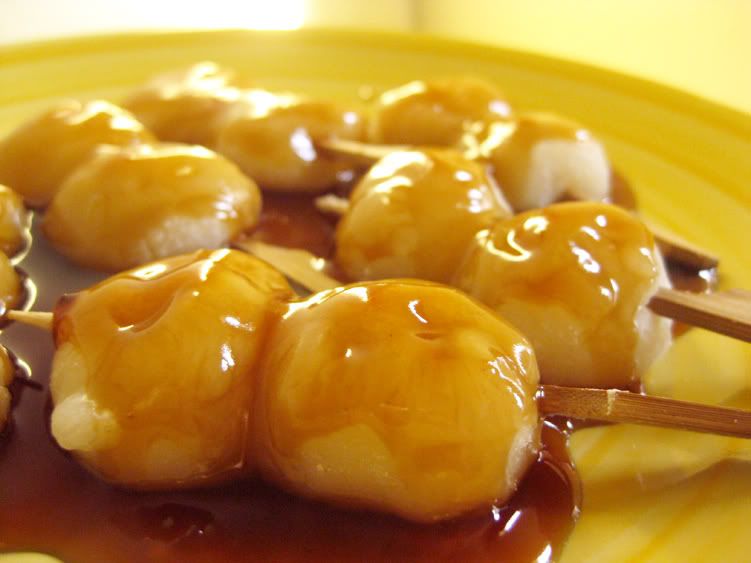
Easy, delicious and not as sweet as your usual mochi cake these are
great for parties or just a snack. Careful, they are addictive!

Kushi Dango


Mochi:
1 1/3 cup rice flour
3/4 boiling water

Mitarashi Sauce:
1/3 cup water
1/4 cup sugar
2 tbsp soy sauce
2 tsp potato starch + 1 tbsp water

You can use mochiko (sweet rice flour), they will just be a bit
stickier and chewier. Joshinko, plain rice flour is made from long
grain rice and not as glutinous as the short grain mochiko. Don’t try
to use western style rice flour-- the stuff you’d find in the gluten-free
zone of American and western markets-- it is not the same as Japanese
or other Asian rice flours.

I used party picks here, but traditionally they are grilled on skewers
(3 on each).

Pour the hot water over the rice flour and stir with a wooden spoon or
paddle. Once it has cooled enough to handle, knead in the bowl with a
little extra rice flour. It is more folding over and over to make sure
there are no lumps, not exactly like you’d knead bread dough.

Next pull off little scoops and roll them in between your palms to form
smooth balls. They should be around 3/4 inch in diameter or about the
size of a walnut in it’s shell.

Place into a lightly greased steamer with some room in between. They
will expand and stick together, so give them some space if you can.
Steam the rice balls on high for 10-15 minutes. Scoop them out and
push on to damp skewers. They will be very sticky.

While your pan is heating, start the sauce by bringing the water, sugar
and soy sauce to a boil. Add the potato starch mixed in water and stir
til thickened. Keep on low.

Place the skewered mochi on a hot, non-stick pan and grill each side
until a golden brown. Brush with the mitarashi sauce and serve
immediately. If you used a joshinko rice flour they will last longer,
if you used mochiko they will get denser the longer you wait.

Sunday, September 26, 2010

Taste of Aloha Part Two: Manapua

Here is a popular snack you'll find in pretty much any Hawaiian
convenience store.

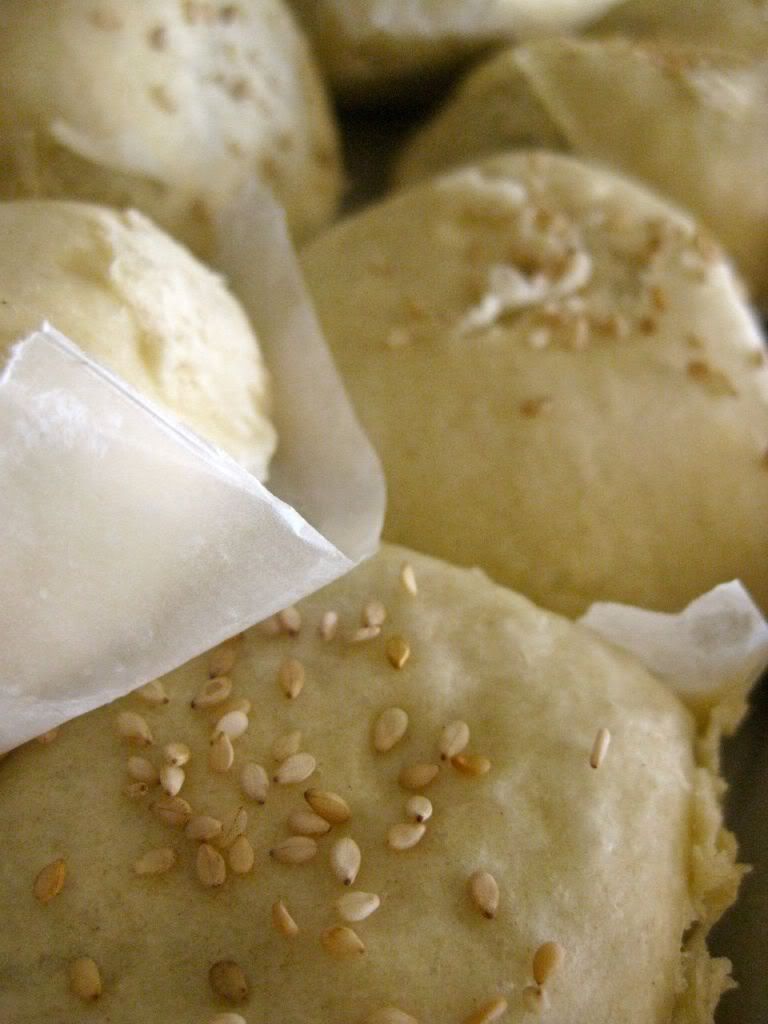
Manapua are a large steamed bun derived from Chinese cha siu baau.
I believe they were sucked into the local cuisine via the merging
of peoples in the plantation culture.

The traditional buns are made with lard filled with shredded
flesh and bbq sauce, etc. But there are popular vegetarian versions
that are either filled with purple sweet potatoes or red beans.

The red bean versions always reminded me of the Japanese Taiyaki
(red bean filled cakes in the shape of fish) that I used to get
in Little Tokyo or at Sumo tournaments. However those are made
with more of a waffle batter, where as Manapua have a light, sticky
steamed exterior.

These are easy to make and very very filling.
They will also puff up quite a bit when steaming, so don't be
surprised when you lift up that steamer lid.

Vegan Red Bean Manapua


2 cups of cooked azuki, red beans
2-3 tbsp agave syrup
2 1/2 cups unbleached white flour
1 tbsp baking powder
3 tbsps powdered sugar
2 tbsps earthbalance or vegetable shortening
1/2 cup water
1 tbsp vegetable oil

Mash the cooked red beans with the agave syrup until it reaches
desired sweetness and is mostly smooth.

Sift the flour and baking powder into a bowl, add the sugar and mix.
Add 2 tbsp earthbalance, cutting in until evenly distributed.

Add just enough water until it comes forms a firm mass.
Roll it into a ball. Cover and let it rest for 30 minutes.
Cut into 10-12 small pieces and flatten in to discs.
Put a spoonful of bean paste onto rolled out dough.
Pull the sides around the filling and pinch together.

You can place on a piece of parchment paper in your steamer
which will make it easier to handle, but it is not entirely necessary.

Brush the tops with vegetable oil.
Then steam the buns for about 15-20 minutes.
Immediately after removing dip tops into a scattering of sesame seeds.

These can even be frozen and reheated later for a nice snack!

Sunday, May 9, 2010

Churro Chips

This has not been the best week for me. I had two midterms (neither of
which I did very well on) and I got sick. Tuesday night after my first
exam, I came down with a massive fever, freaked my boyfriend out, and
still have the symptoms of some sort of sinus infection...

Needless to say, my Cinco De Mayo was not very fun. I had planned on
making margaritas and some spicy tacos, but my body was having none
of that. Wanting something even a little celebratory, I had a sudden
idea.

At the same time that I had been craving doughnuts, I had also been
craving churros. Now I don't think I've had a churro for a good 12
years (probably at disneyland of all places). Now I know that
churros are incredibly difficult to make, but all that oil can just
get nasty.

My solution? No dough/batter, no vats of oil, no stress.

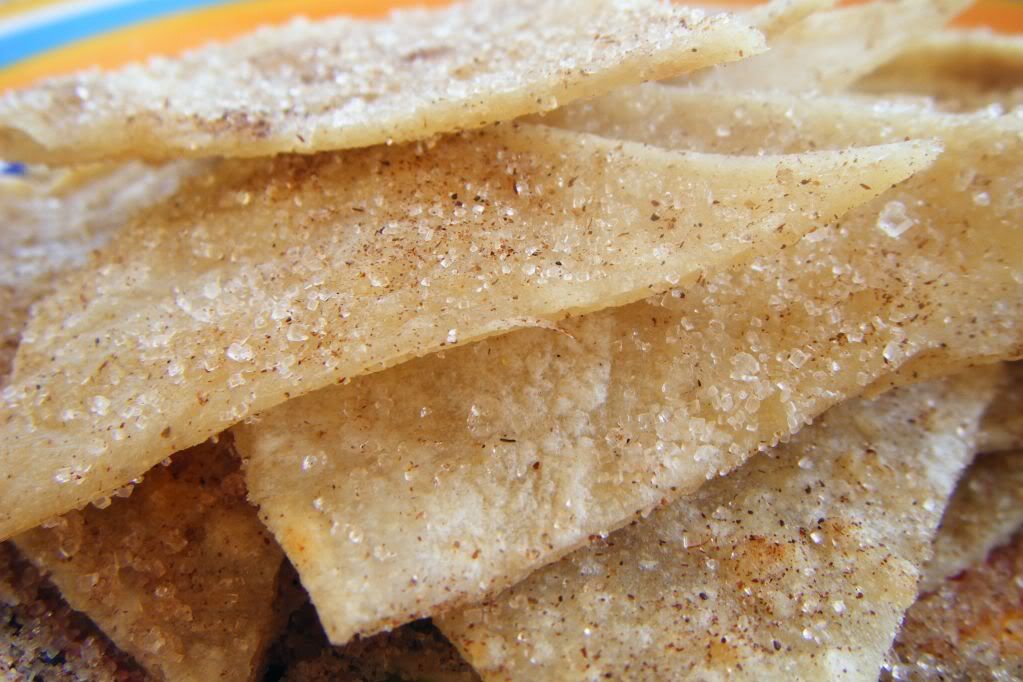
Cha Cha Cha Churro Chips


6 corn tortillas
1/4 cup raw sugar
2 tsp cinnamon
dash sea salt

a few tablespoons vegetable oil

Grill the tortillas on a small pan with as little oil as you can
without having the tortillas become dry. The oil will make the
sugar and spice stick when its done.

Put the sugar, cinnamon and salt onto a plate. Flap the tortilla
down on the sugar straight off the pan. Flip and Transfer to a
warm oven, until they are all cooked.

Cut into pie shapes and serve!
Honest to goodness, tastes just like a churro!
And that's what I've got for a very late cinco de mayo, folks.

Saturday, May 8, 2010

There are vegan donuts in heaven


Last week for Bake me up LA even/Vegan Bake Sale Day- I decided
my twisted, fatty cravings had gone long enough. I could wait no
longer for another vegan donut.

I am no stranger to making my own donuts. My Dad would make them
when we were little and I made them a few times as a teenager,
but you all know they are pretty scarce for vegans.

The first vegan donut I had was at Voo Doo Donuts in Portland.
Amazing place and one of my all time favorites. Glad I actually
don't live there because I would be a stone or two heavier.

You may not believe me, but I don't make a lot of sweet stuff.
Generally bake sales are my big excuse to splurge on the vegan
sugar-crack attack. I'll get to the point. I made vegan donuts.
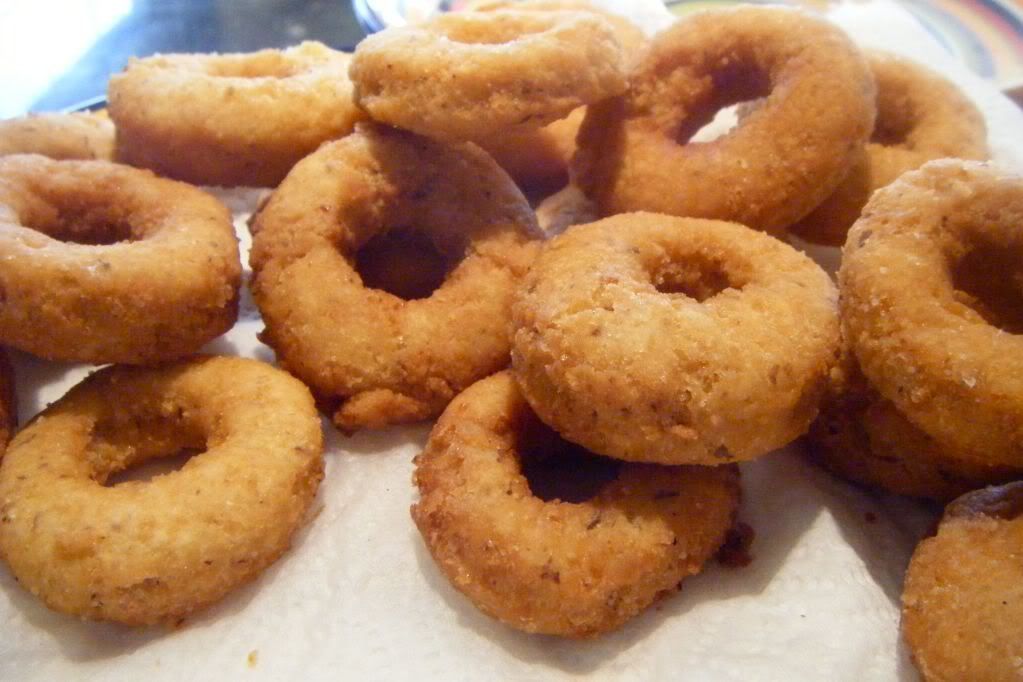
They were awesome. They were tiny. They were perfect. I want more.

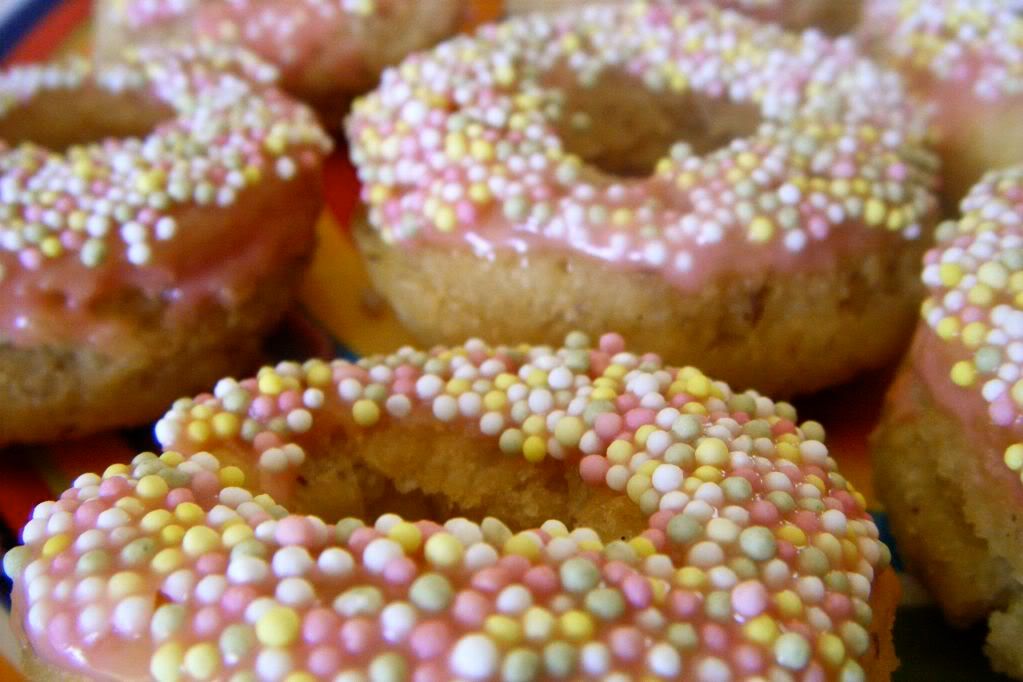
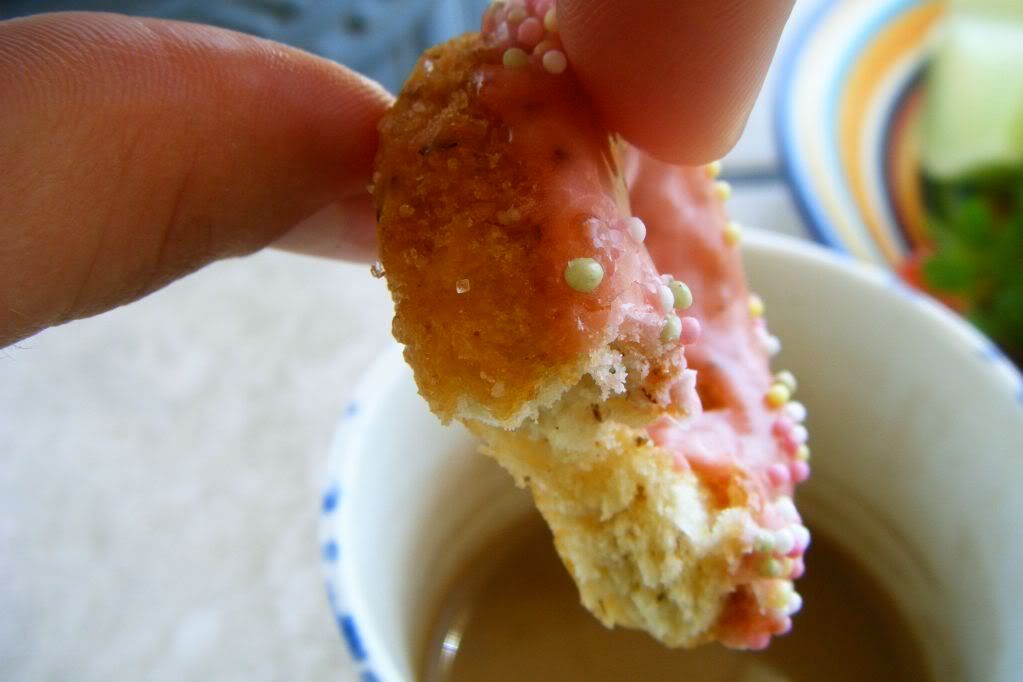
Mini Vegan Unicorn Donuts

Named for the pink frosting, rainbow sprinkles and I'm convinced
that that is where the hole originated- the unicorn's horn!

*This is a traditional heavy Cake Doughnut recipe! Not puffy!!*

Ingredients

2 cups flour
1/2 cup raw sugar
1 tsp sea salt
1 tablespoon baking powder
1/2 tsp ground nutmeg
2 tablespoons lightly flavored oil
1/2 cup non-dairy milk, soy/almond/hemp would be best
1 tbsp flax seed whisked with 3 tbsp water
1 tsp vanilla extract

Oil for frying

Mix flour, sugar, salt, powder, nutmeg. Add the oil and mix until
it appears crumbly. Add the 'milk', vanilla and flax.

Adding a little extra flour, turn out on to a clean counter-top
and finish mixing by a quick knead. Roll out to a 1/2 inch
thickness and cut out into desired shape/size.

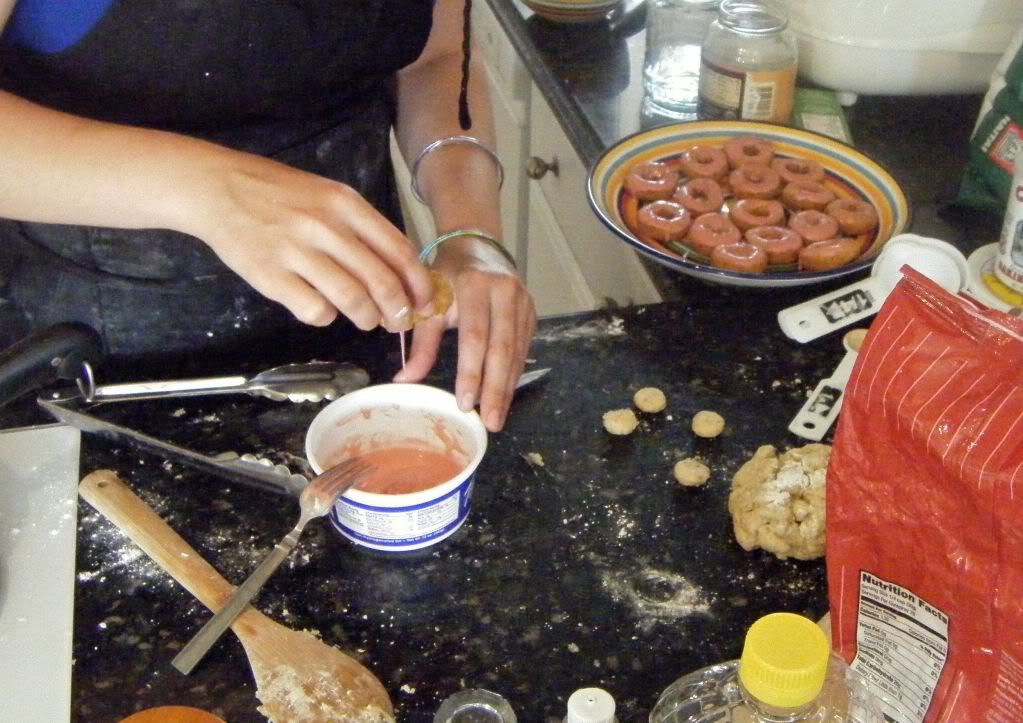
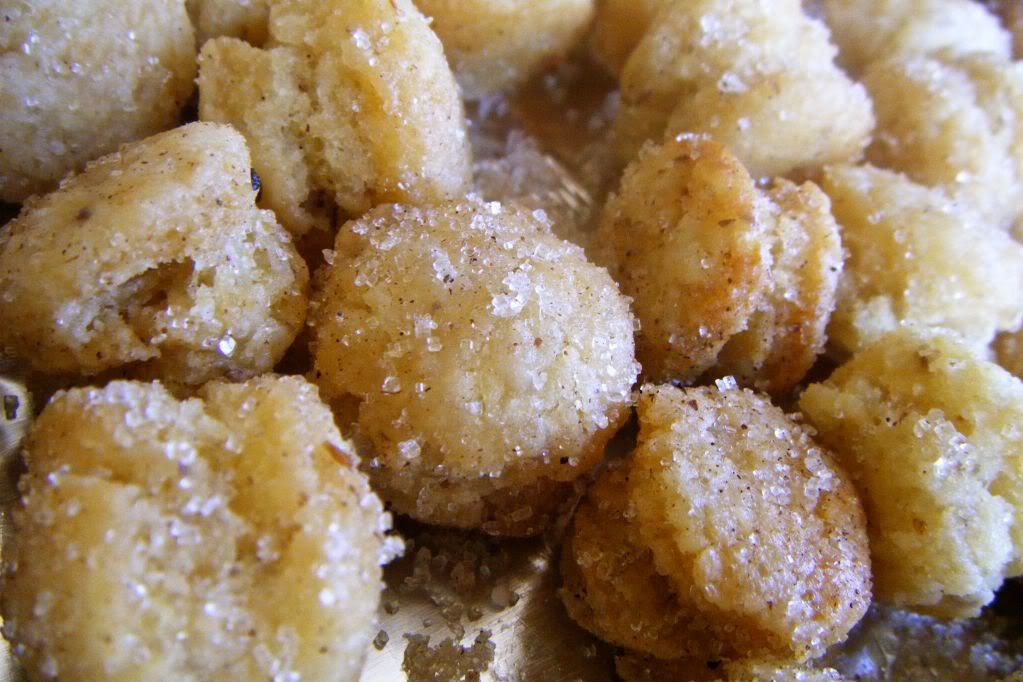
I used a shot glass and the cap off my vanilla bottle to make tiny
donuts and donut holes. The idea was to cut how much I was eating
and to make them more appealing for the bake sale. Donut cutters
are pretty easy to find at any of your typical kitchen shops.
I used to use two different sized biscuit cutters.

You can also roll the dough out into thin ropes and twist together
to make tiger-tails. Cut them into large circles if you're going
to fill them with jelly or into large bars if you want to make
bar donuts.

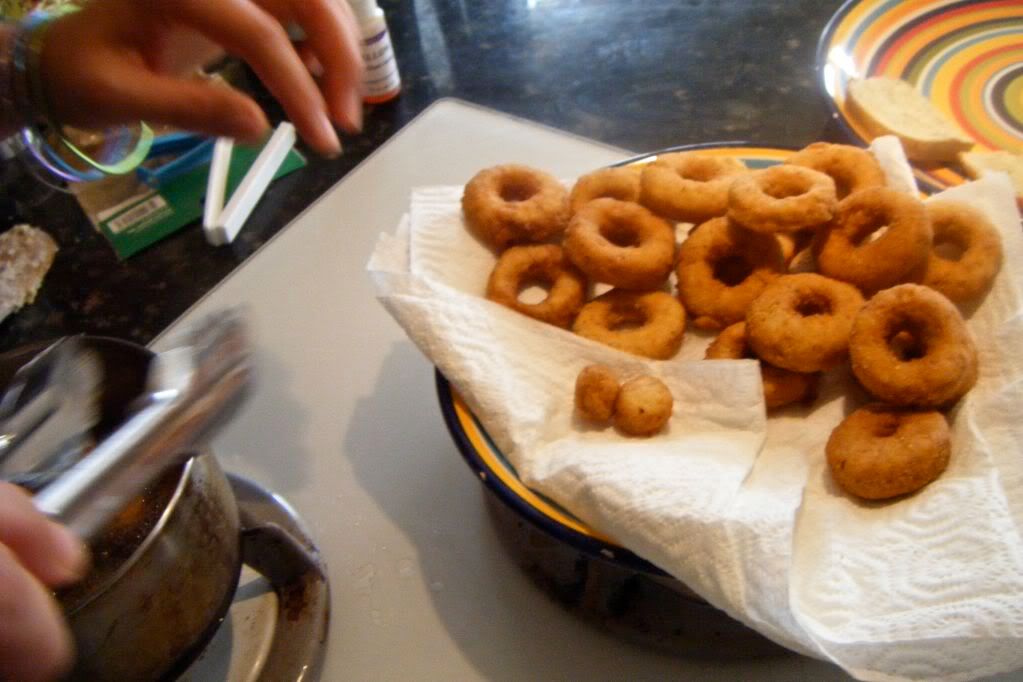
Ease gently into 375F oil. Use a thermometer if you have one
because it is easy to have your oil to hot and you will end up
with even heavier, breadier donuts than a cake. My first batch
was cooked too hot, so I got out my candy thermometer and the
next batch came out perfect.


The nice ones got sent to the sale and the heavier ones got to
stay home for us! Hee hee, I honestly didn't mean to do that!

Cook on each side for a few minutes, turn and pull out with a
large mesh frying spoon, tongs or (if you're really good with
them) wooden chopsticks.

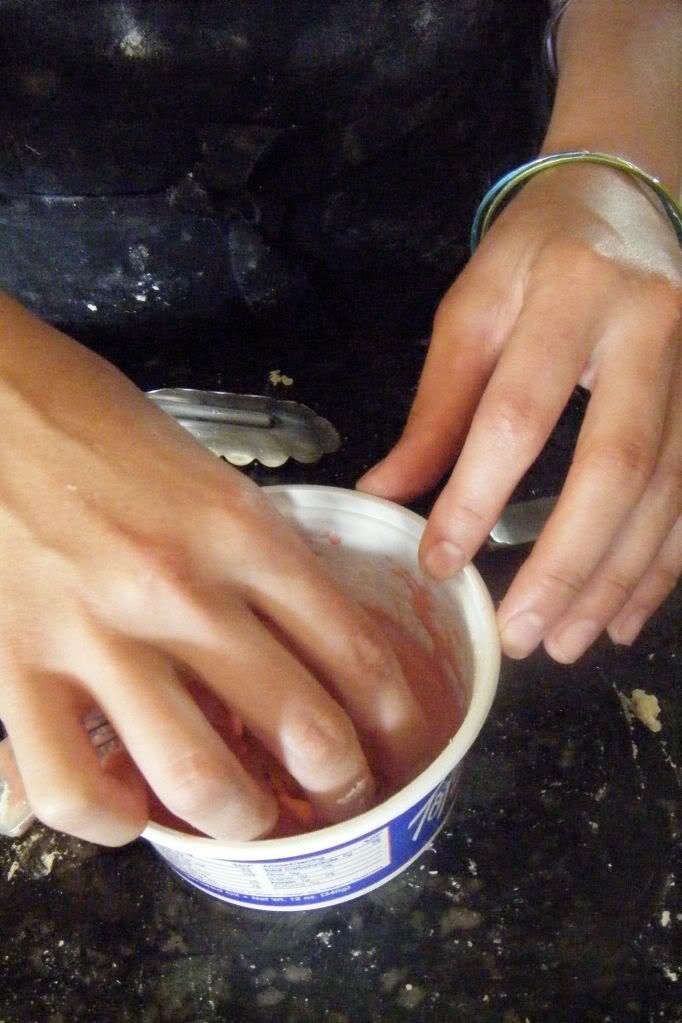
Dip in your favorite frosting....
Add some sprinkles....


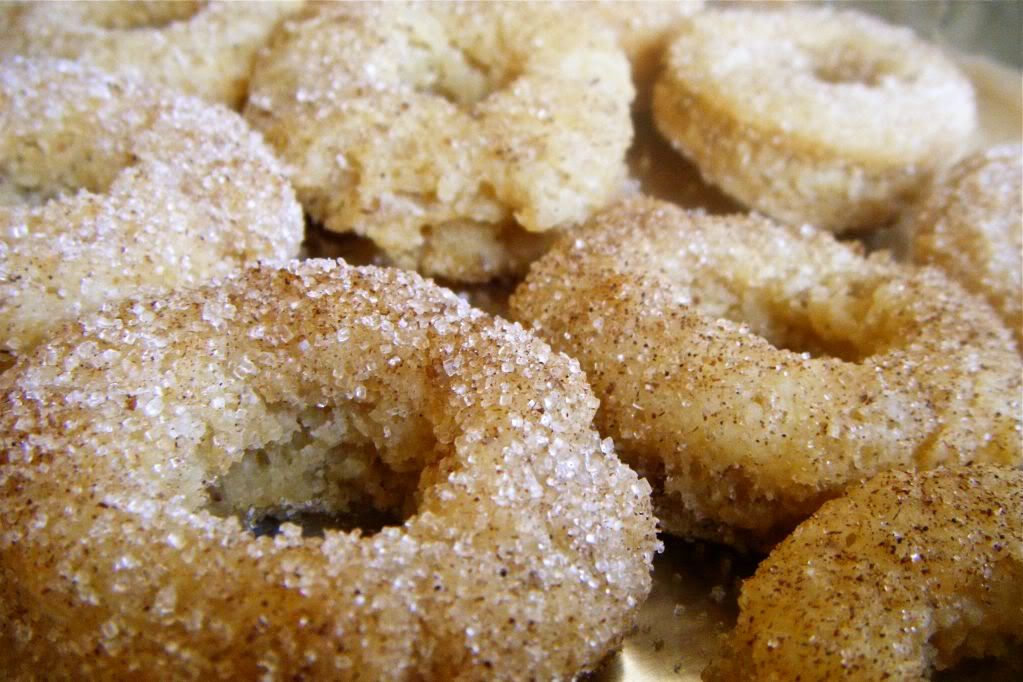
Or roll in some cinnamon and sugar! (be quick about it though)
If you let them rest and cool the sugar and spice will not stick.


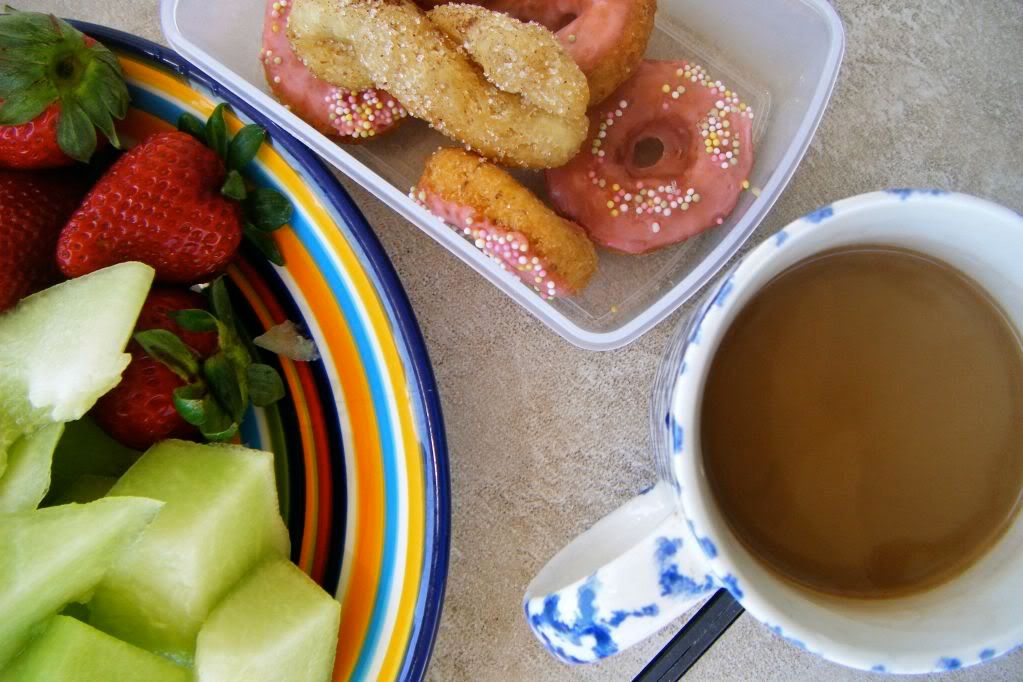
The next morning we had the left-overs with some coffee and fruit
for breakfast. Oh my god, I knew as soon as I posted this I would
want to make more. Thankfully, they are easy enough to make your-
self and enjoy, but require enough work to not make everyday!
Just maybe every other day...


Friday, February 12, 2010

Baking for Haiti: Brownies and Croissant

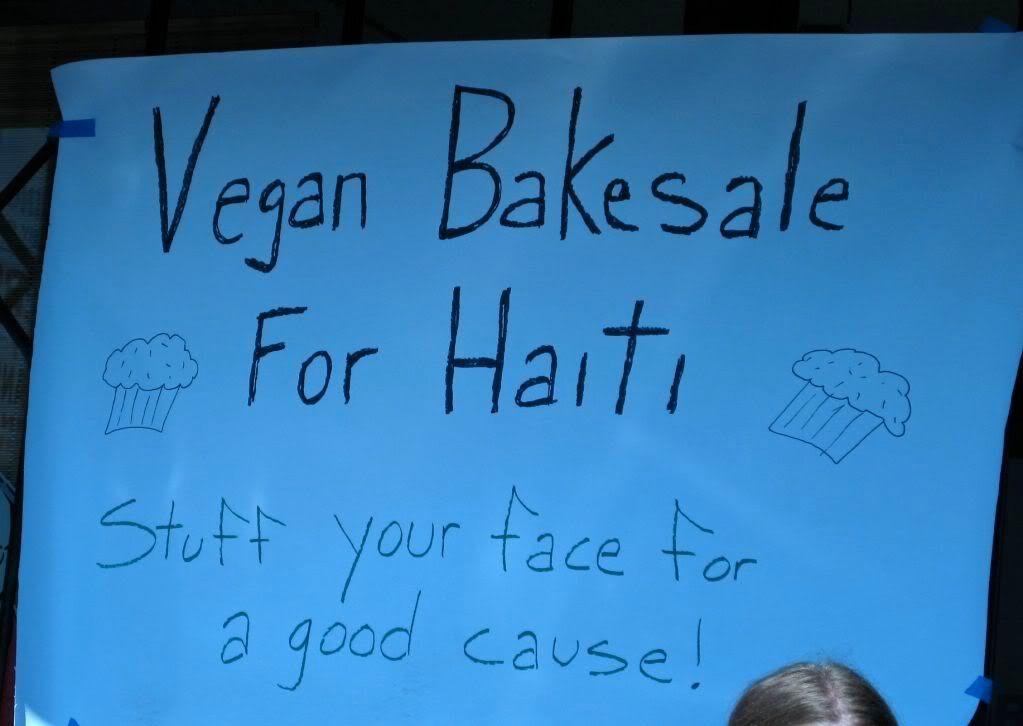
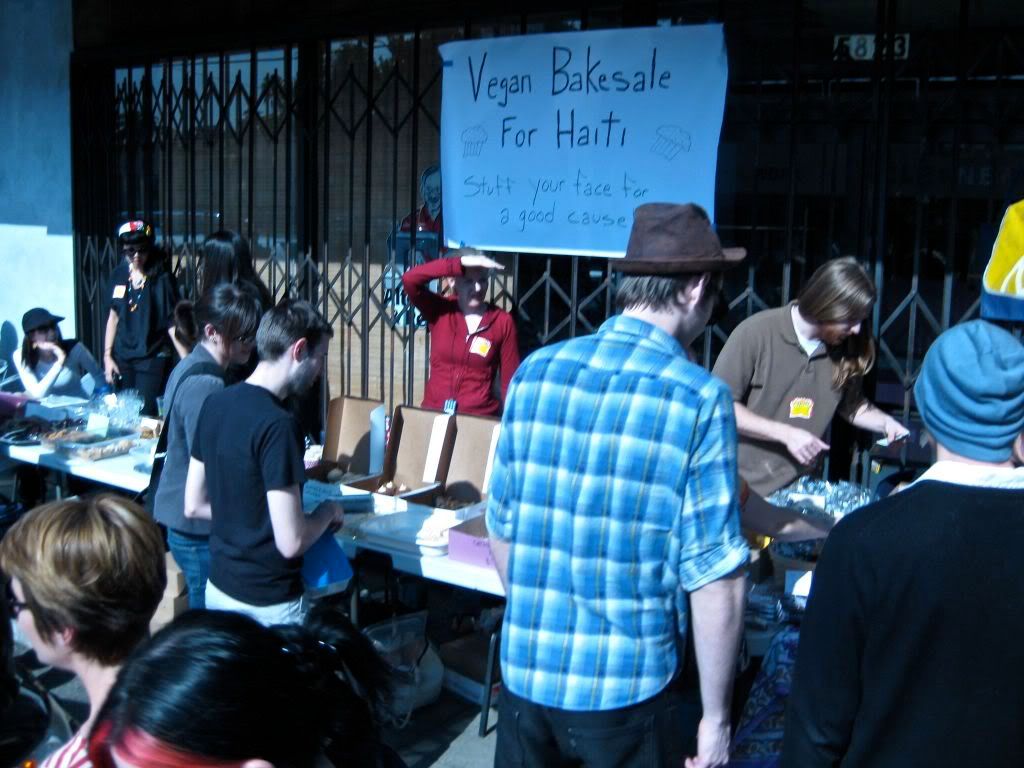
I waited almost too long to post this... but nearly two
weeks ago I whipped up a storm in the oven for a vegan
bake sale that was going down at Locali in LA to raise
money for Doctors Without Borders' relief efforts in
Haiti.

I haven't been posting until now because its midterms
for those of us on a quarter system. Grad midterms, ouch.
Thats all I've got to say.

But I originally signed up to make a couple versions of
brownies. I was already studying so I grabbed a couple
recipes that I knew I could depend on.

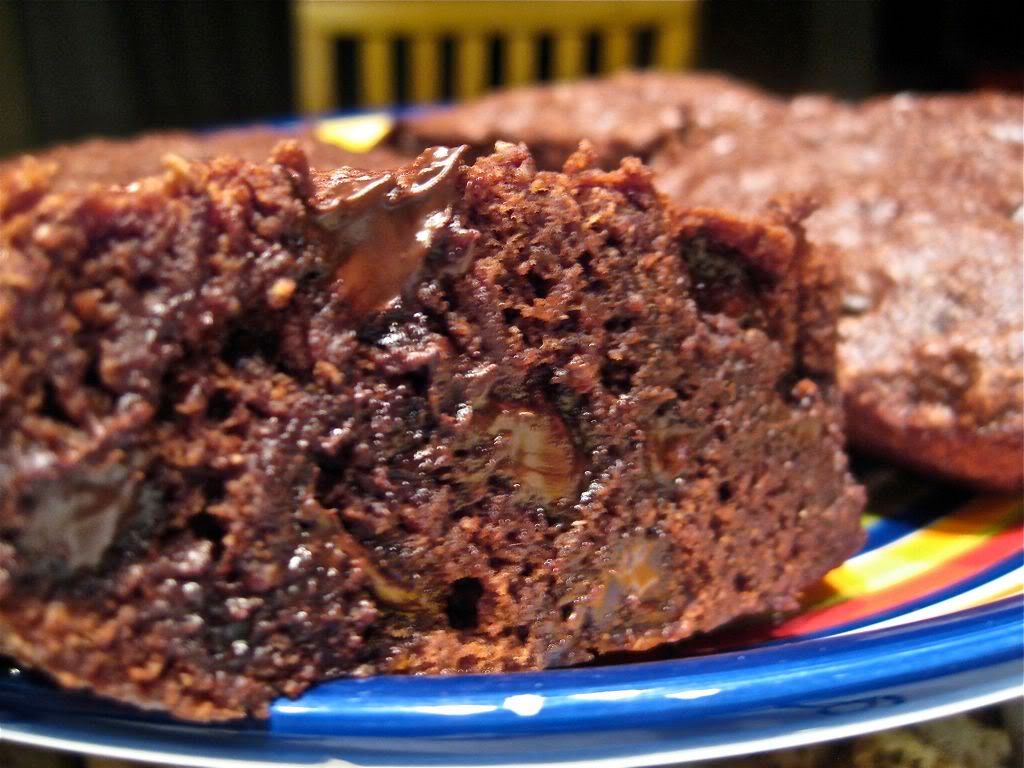
Naturally I picked Colleen Patrick-Goudreau's brownie
recipe from the Joy of Vegan Baking. All I can really
say about these is that... honestly... the are epitome
of what a brownie is.


Fudgy and packed with chocolate chips.
I also tried Alicia Silverstone's Coffee Brownies
from the Kind Diet. It calls for brown rice flour, so
it comes out like chocolate mochi cake that is really
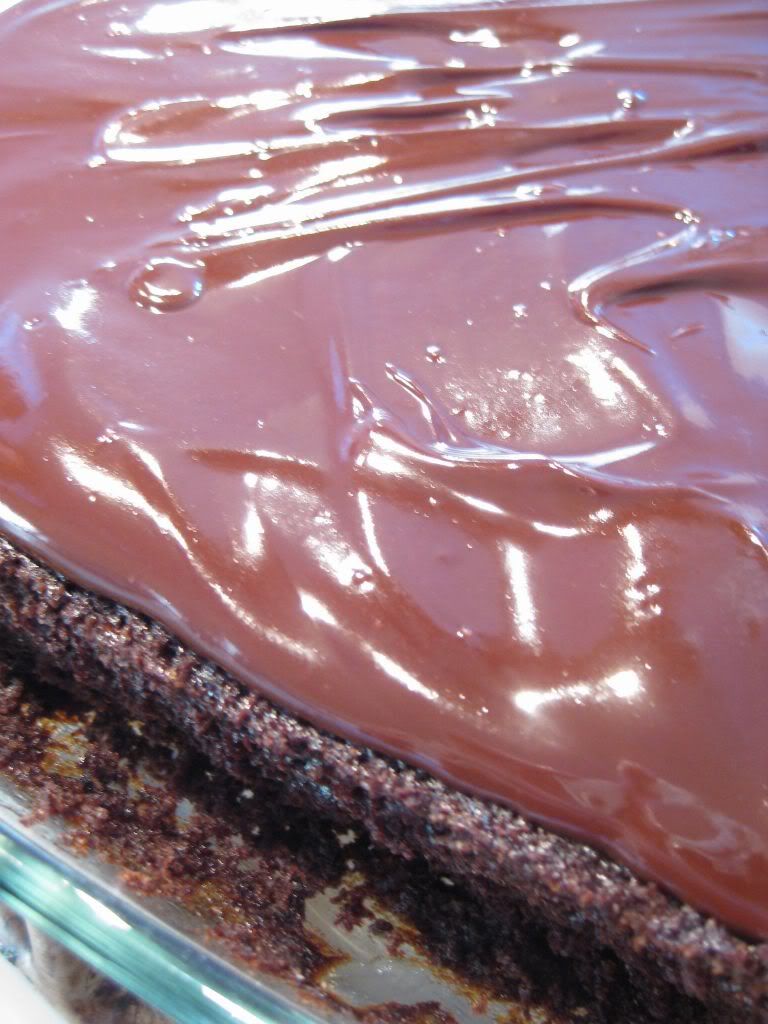
popular in Hawaii. Its topped with a nice frosting
made with chocolate chips and earth balance. The coffee
taste is really subtle and slightly smoking. They were
good but better if you just want some mochi, not really
too brownie like to me.


I was going to make a batch of my sunbutter brownies,
but sadly I ran out of sugar. So I just stuck with the
real project that I was focusing on....


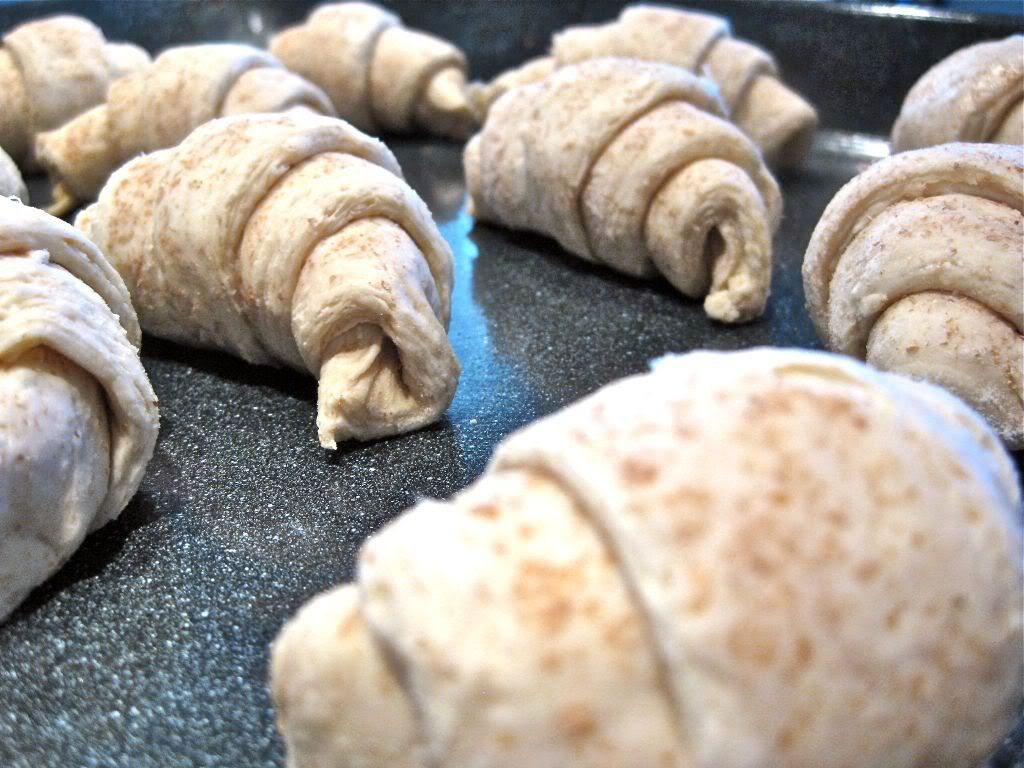
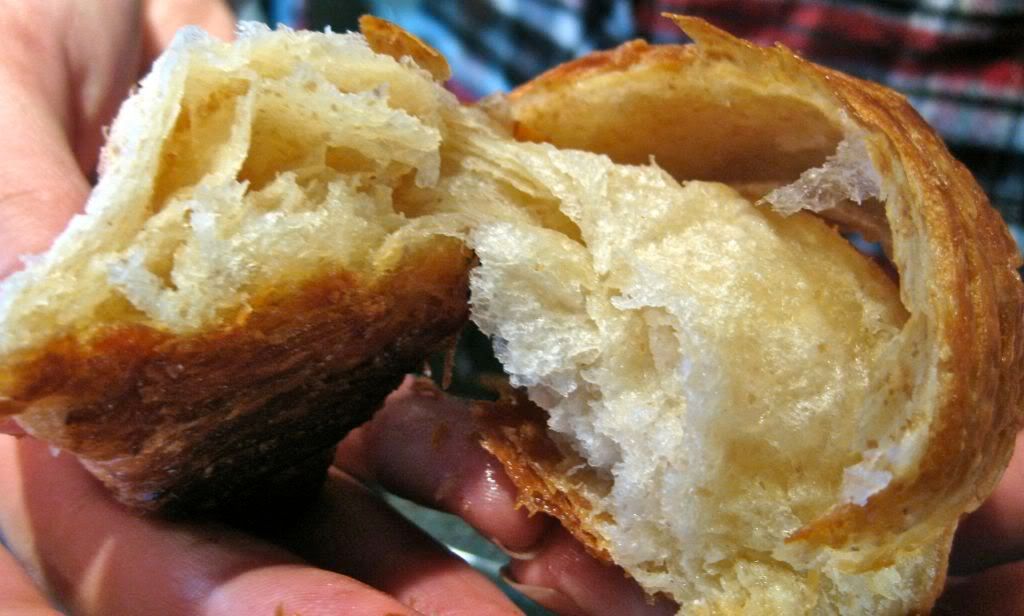
About a month ago I had a friend ask me to veganize croissants.
It took some planning and a lot of tweaking, but SHAZAM!


'Buttery', Flaky, beautiful layers!
They came out of the oven just as we were leaving,
so perfect timing. But they are horribly time consuming,
so you have to plan ahead.


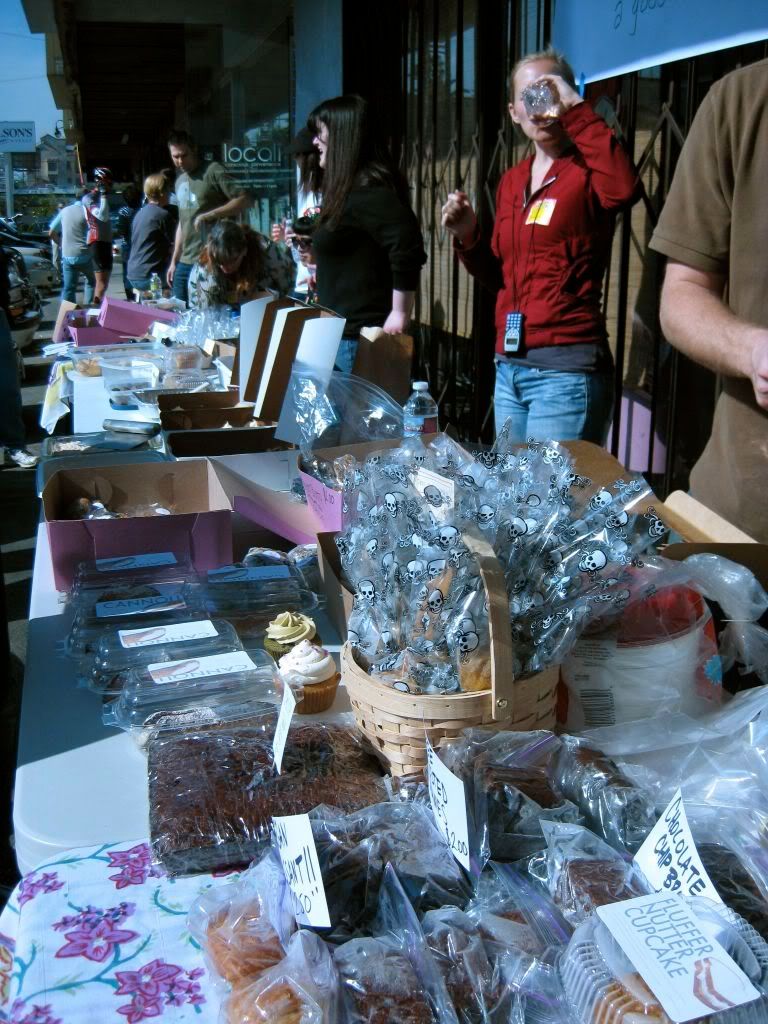
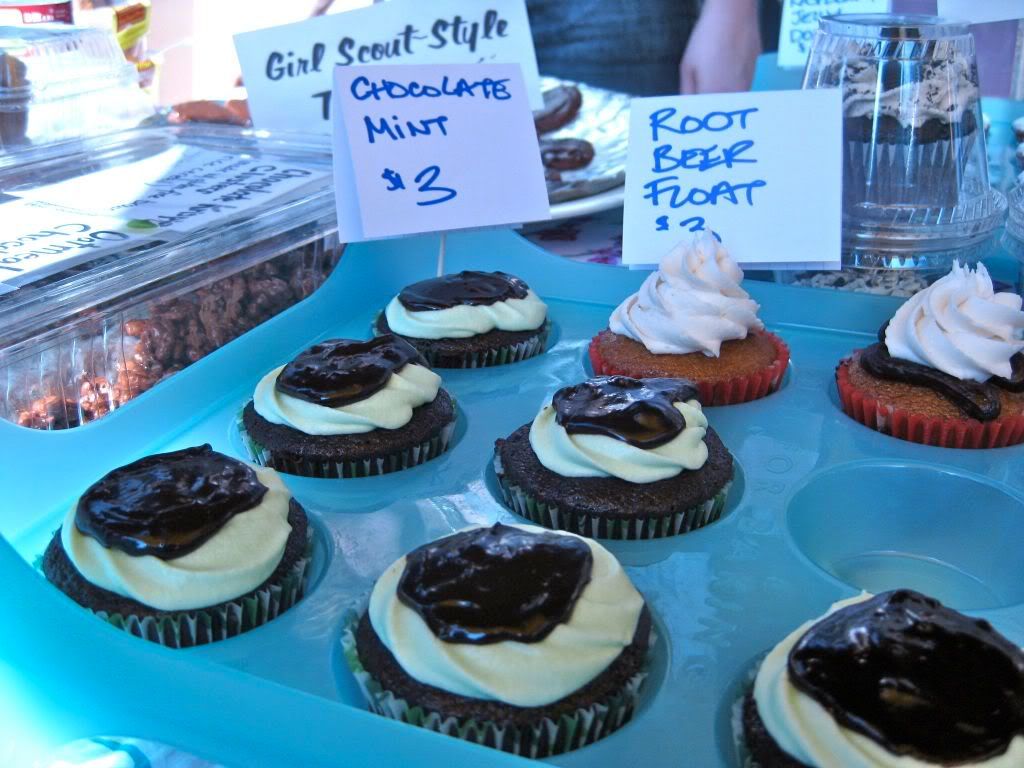
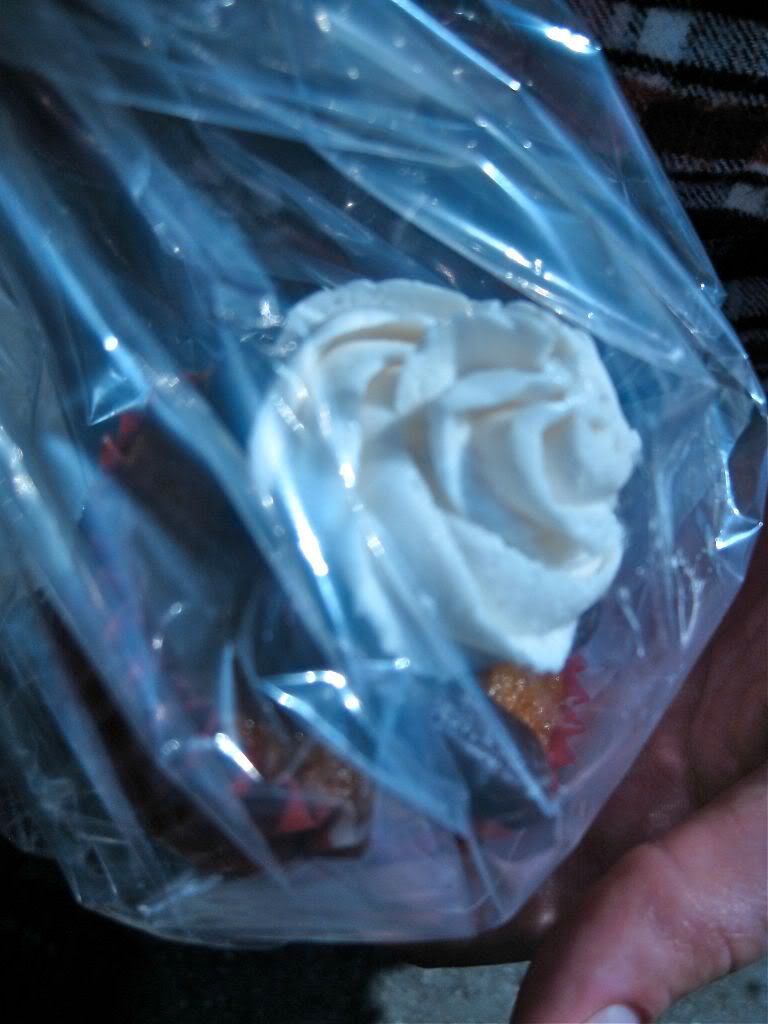
From all these amazing goodies we picked a root bear
float cupcake and a green tea cupcake. Both pretty
awesome. I'm not really cake person, but they were
num. Especially for such a good cause!


Wednesday, January 27, 2010

caught in a pretzel


A while back we had a disgusting and disappointing occurrence
at a chain pretzel shop before running to a movie and ever since
we've been craving soft pretzels like crazy.

Just thinking we could get a plain pretzel without the
butter crap they put on it, we ordered at some pretzel chain.
Before we could even finishing saying what we wanted
they slathered something on it in the back. Apparently all
the pretzels at (wetzels? or was it annies? I don't know)
have butter on them. The dip the whole thing right when
it comes out of the oven and then again when you buy it.

Ha, forget that. No thanks. They were pissed, but I was
more so. What better than irritation to get you home to
start cooking something way better yourself?

I'm still working on this because I want them... shinier?
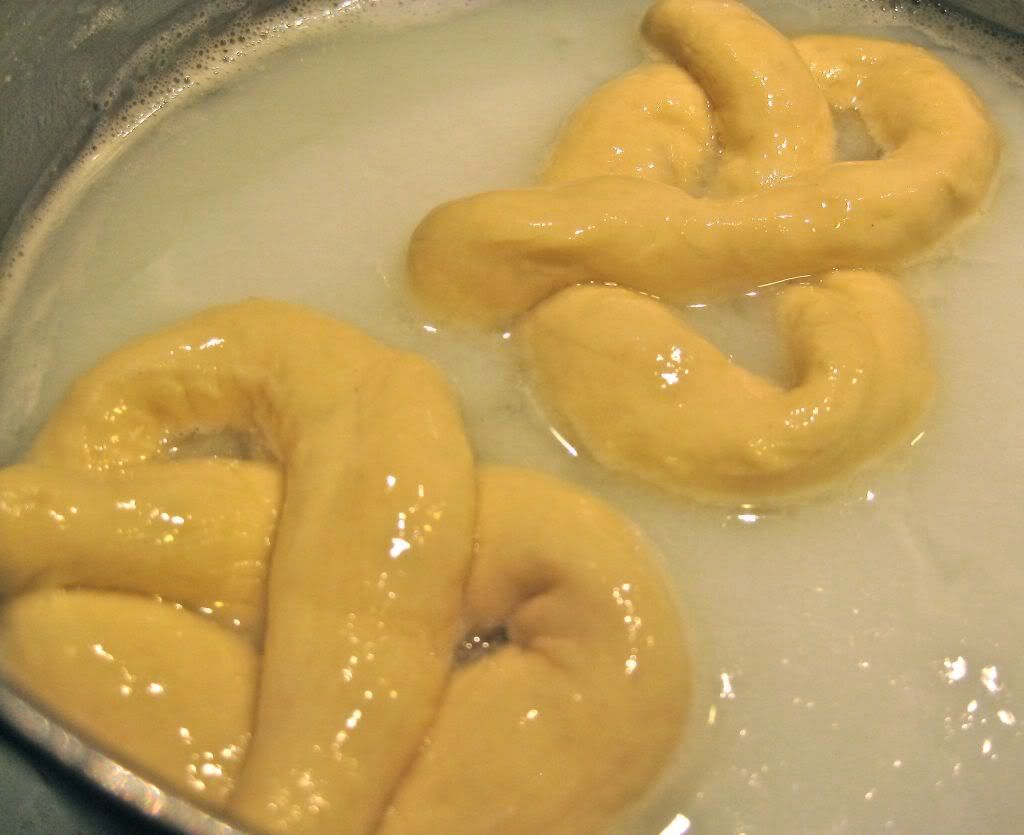
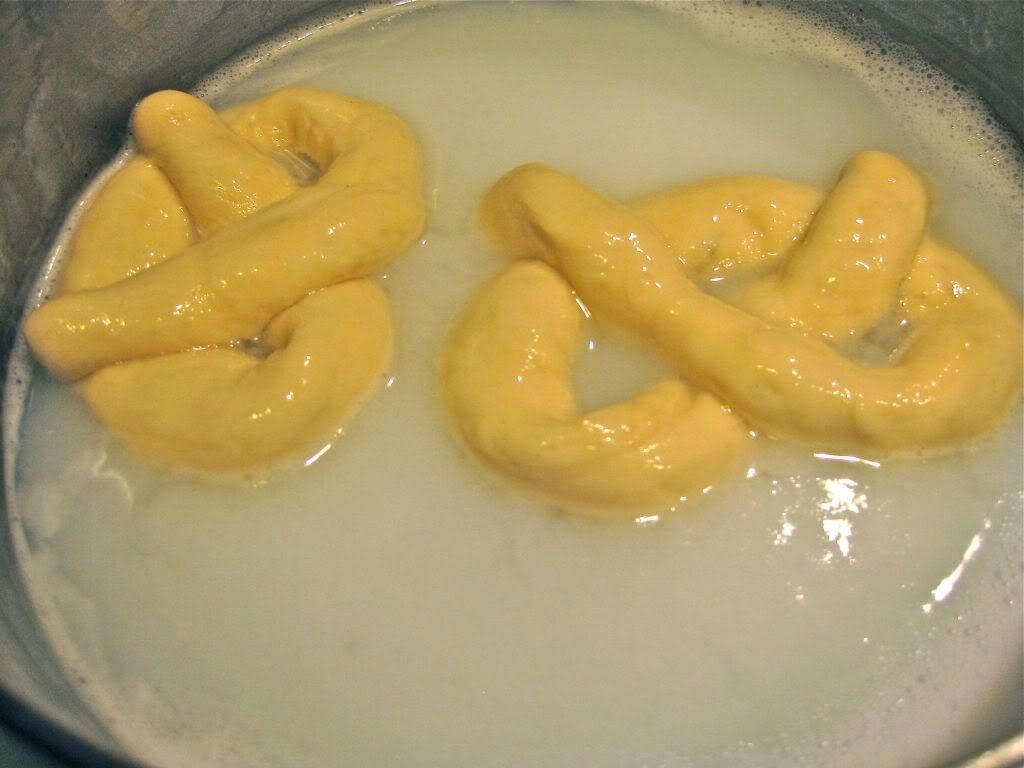
They were really good, but I want to work on the soda
bath. I certainly don't feel like whipping up a lye bath.


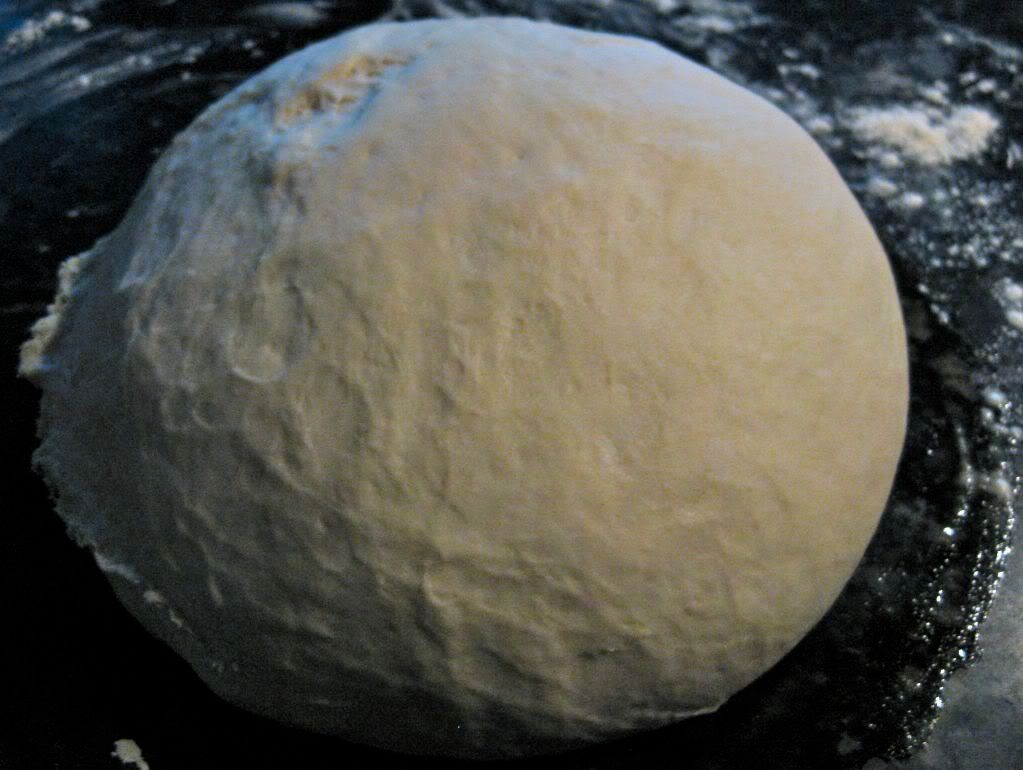
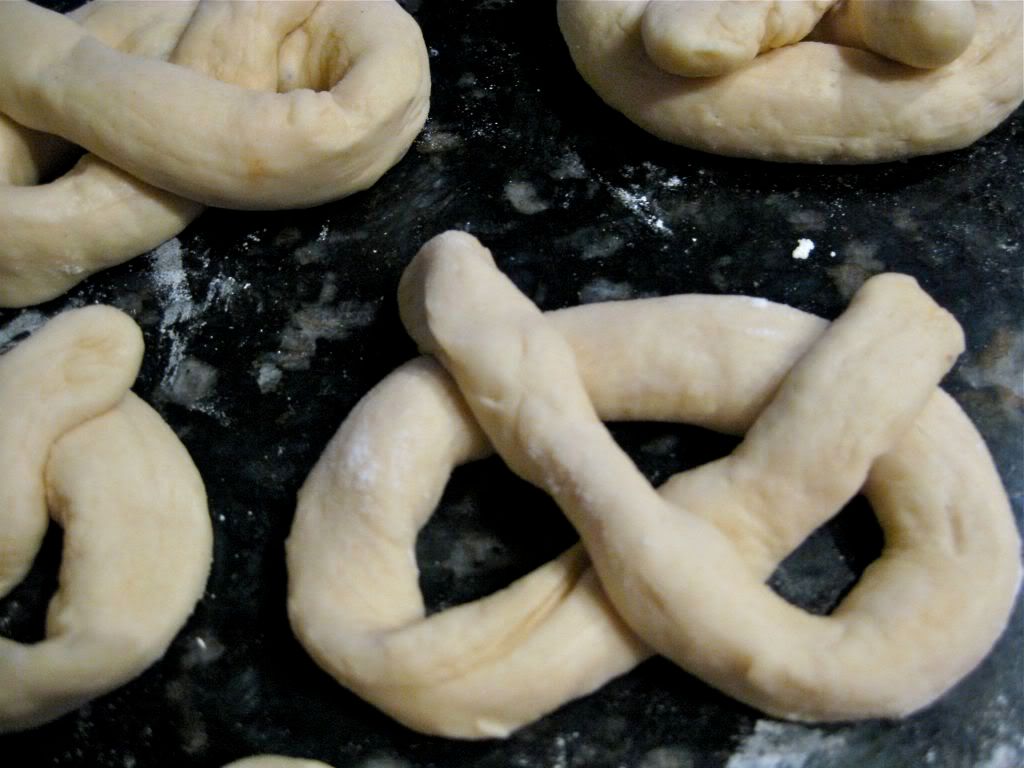
The dough is straight forward, but I noted not to
use excess amount of extra flour when rolling it out
later. Also to not roll it in oil before the first
rise.


After splitting them into separate balls, let them
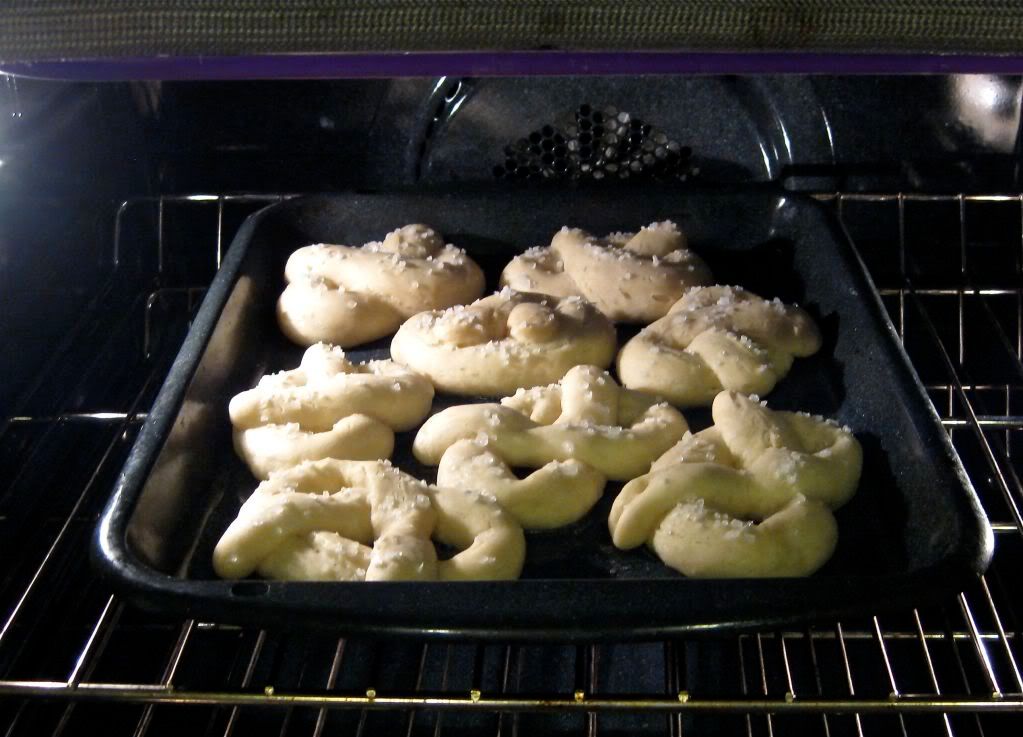
rest before rolling them into ropes and twisting them.


Rise again and boil in a baking soda solution.


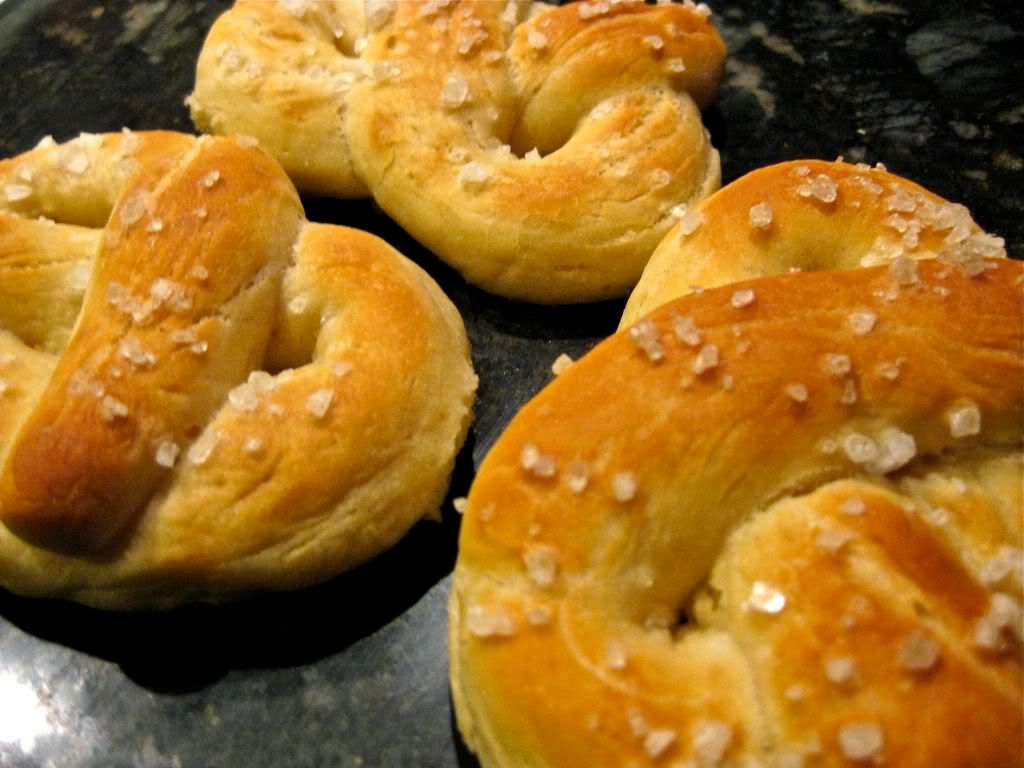
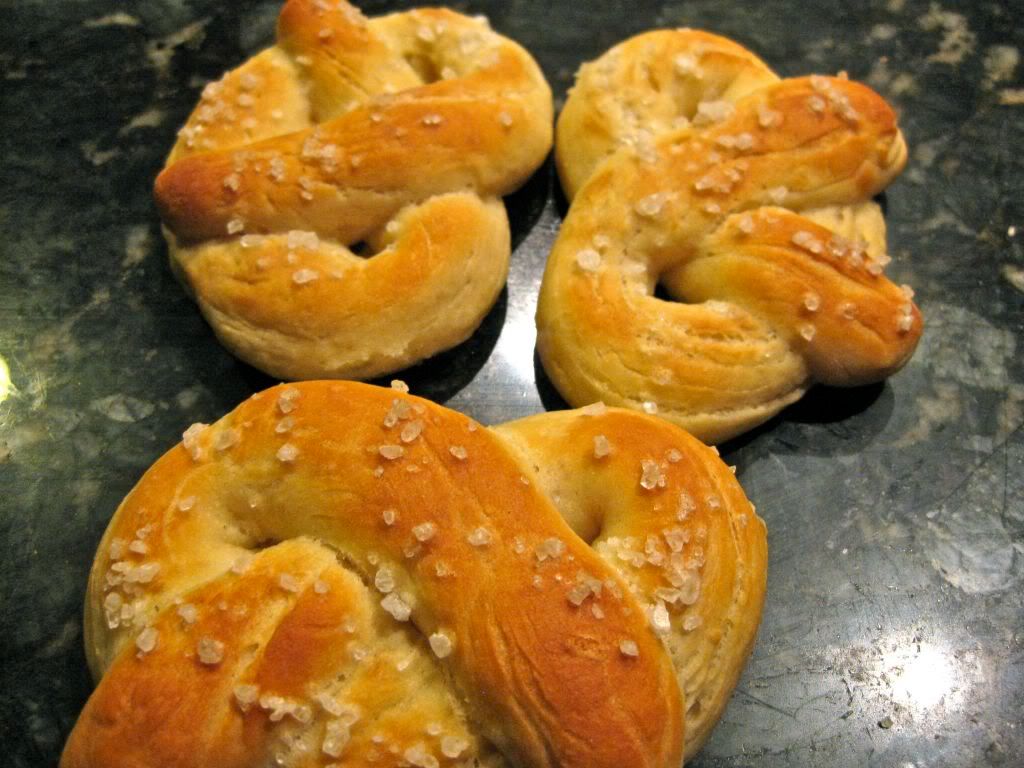
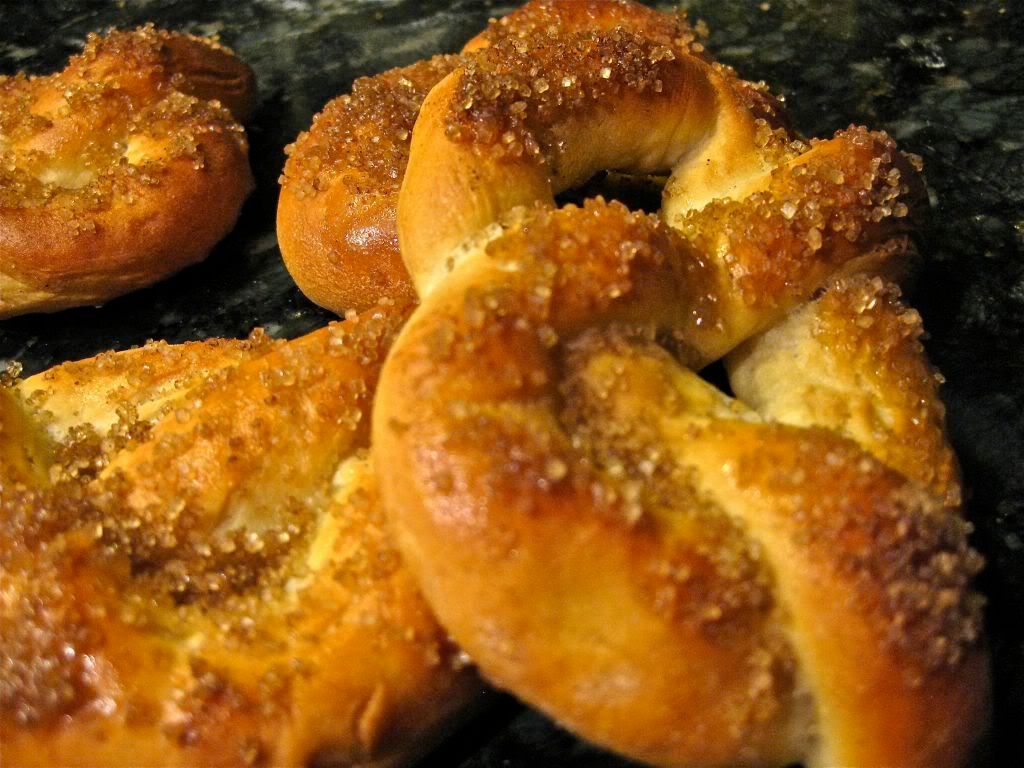
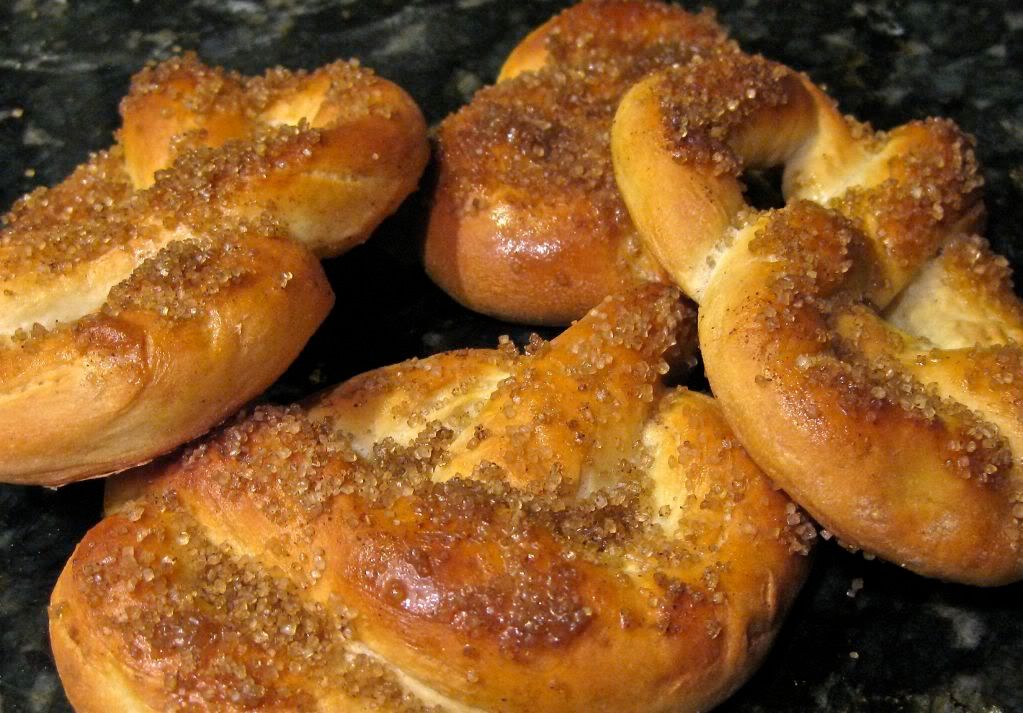
I dusted one batch with rock salt and left the other
plain so I could do sweet pretzels too.


As you can see they're missing that little bit of shine
I wanted. So after I tweak it, I'll post the whole recipe.
But for the salted ones, I mixed up a batch of my cheese
sauce that I use for mac and cheese to dip the pretzels in.


I brushed on a little melted earthbalance and dropped
them in raw sugar and cinnamon. You can use a mild
oil instead if you like.


Food & Drink Blogs Nutrition blogs & blog posts