Showing posts with label hawaiian. Show all posts

Tuesday, March 8, 2011

Launch Party Prep, Mochi and Memories: Kushi Dango Recipe

Huzzah! Am I ever glad to be back on my broomstick!
It took too long, but I am over my illness and the doctors set me right.

I am most pleased to actually be able to enjoy cooking and food again.
Not sure who is happier though, me or Monkey-man! He was eating the
bland, simple foods right along side me. I couldn’t stomach much and
he was sweet to not make me feel left out of something exciting. But I
don’t think he could stand eating beans on toast much longer either!

So I am back and getting ready for the Compassion Over Killing
Los Angles Office Launch Party
! It is going to be amazing! There is
going to be tons of great people, food, and a darn good time for all!
You can check out the event on Facebook or get your tickets here!

One of the product donors, Eco-Vegan, is donating some amazing
veggie meat for the party-- and I have the honor of dressing and
cooking it up for the party-goers!

Tomorrow I’ll show you the awesome samples they sent me to test out
the recipes for the party.

Because of the party, I’ve been working on some of the menu items.
One of which will be Mango Mochi! Not a lot of people may be very
familiar with mochi and I am a huge exception to that rule.
Mochi has become a little better known lately, but is pretty unusual.

Mochi is a Japanese sweet made from pounded sweet, sticky rice.
Depending on the occasion, it will be served plain, flavored, colored
with barley or beans, wrapped in pickled leaves (sakura-mochi),
filled with sweet bean paste (an-mochi), baked, served on sticks,
the list goes on and on.

I chose this dish for a number of reasons... first my menu is
Thai-Japanese fusion. A traditional Thai dessert is a steamed,
layered, sweet rice cake that is very similar to a plain Japanese mochi.
Second, I wanted to choose something that would be easy to eat,
pick up, and would be soy and gluten-free for those with allergies.
But most of all, I have very fond memories of mochi and I’d love to
share them at such special occasion...

I took Japanese language courses for many many years growing up
and became entranced with many of the cultural traditions. Wish I was
still fluent, I was as a teenager. Not like riding a bike though.
Watching anime as a kid I loved watching the characters munching on
the sticky treats. Of course the American producers would change the
dialogue and call mochi donuts instead to match US interests.
But I also grew up in a very heavy asian community in So Cal,
so many of the shops nearby offered fresh mochi!

Also, when I was growing up my parents were very into watching
Sumo. I know this may sound very weird to you, but its true. It is
not a bunch of fat guys bumping bellies like many Americans believe.
It rich in cultural traditions (many of which are dying) and extremely
cool to watch. Whenever they got the chance, my parents would take us
to actual tournaments. Instead of hotdogs and peanuts, you’d find red
bean cakes, mochi and Sapporo!

Well, I didn’t drink beer, but I certainly enjoyed the sweets and
maybe some green tea soymilk or red bean ice cream!

Skip to my teen years- Hilo, Hawaii. The communities in Hawaii
emerged from a plantation culture, a conglomeration of Japanese,
Chinese, Filipino, Portuguese, Thai and so on. As such many of the
traditions are seen in the local faire. You see a lot of sushi, char sui,
and yes mochi. Hawaiian mochi is often baked instead of steamed
(oh gods, or worse microwaved) and made with condensed milk or
butter. This yields more of a chewy cake instead of a plush bun.
But there are traditionalists, and my favorite was Two Ladies in Hilo
who would make the Strawberry-An Mochi, read bean filled, and even
Taro. But my favorite was the Momo-Mochi-- (Momo= Peach)
Peach and white bean filled. PEACH LOVE!

(To find more vegan Hawaiian Recipes, check out my vegan-hawaii series)

It is from the Hawaiian fusion flavor that I pulled out some wicked
mango mochi. I'll be posting some pictures as I go along and certainly
of the party, but here is something in the meantime. These we would
get at sumo tournaments and anime expos. Plus, something you can
depend on being vegan. FYI, many of the prepackaged versions do have
MSG in the sauce. Find it fresh! If you live in LA, you can get it in
Little Tokyo.

Easy, delicious and not as sweet as your usual mochi cake these are
great for parties or just a snack. Careful, they are addictive!

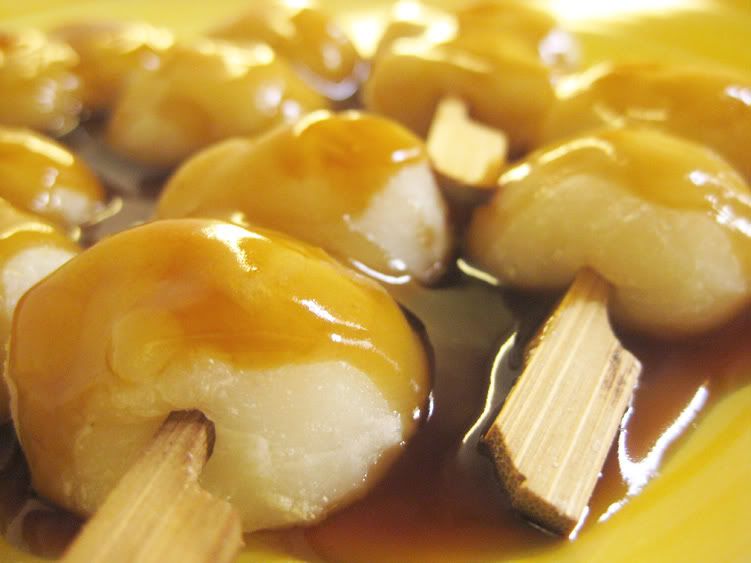
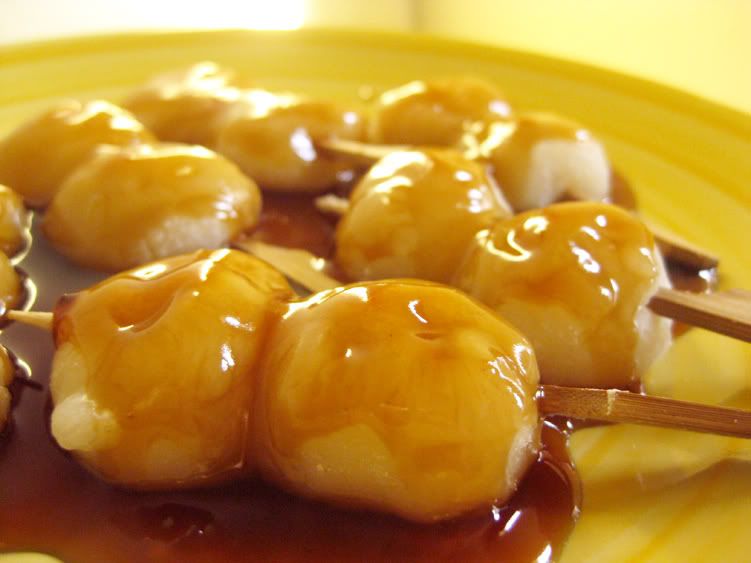
Kushi Dango


Mochi:
1 1/3 cup rice flour
3/4 boiling water

Mitarashi Sauce:
1/3 cup water
1/4 cup sugar
2 tbsp soy sauce
2 tsp potato starch + 1 tbsp water

You can use mochiko (sweet rice flour), they will just be a bit
stickier and chewier. Joshinko, plain rice flour is made from long
grain rice and not as glutinous as the short grain mochiko. Don’t try
to use western style rice flour-- the stuff you’d find in the gluten-free
zone of American and western markets-- it is not the same as Japanese
or other Asian rice flours.

I used party picks here, but traditionally they are grilled on skewers
(3 on each).

Pour the hot water over the rice flour and stir with a wooden spoon or
paddle. Once it has cooled enough to handle, knead in the bowl with a
little extra rice flour. It is more folding over and over to make sure
there are no lumps, not exactly like you’d knead bread dough.

Next pull off little scoops and roll them in between your palms to form
smooth balls. They should be around 3/4 inch in diameter or about the
size of a walnut in it’s shell.

Place into a lightly greased steamer with some room in between. They
will expand and stick together, so give them some space if you can.
Steam the rice balls on high for 10-15 minutes. Scoop them out and
push on to damp skewers. They will be very sticky.

While your pan is heating, start the sauce by bringing the water, sugar
and soy sauce to a boil. Add the potato starch mixed in water and stir
til thickened. Keep on low.

Place the skewered mochi on a hot, non-stick pan and grill each side
until a golden brown. Brush with the mitarashi sauce and serve
immediately. If you used a joshinko rice flour they will last longer,
if you used mochiko they will get denser the longer you wait.
Tuesday, November 2, 2010

Taste of Aloha Part Seven: SCAM Musubi

This is the reason this series took me so darn long. I've been working
on this recipe for two freakin' weeks. Every time I was going to post it,
it didn't work out quite right or I didn't have time-- so I put up a
different recipe.

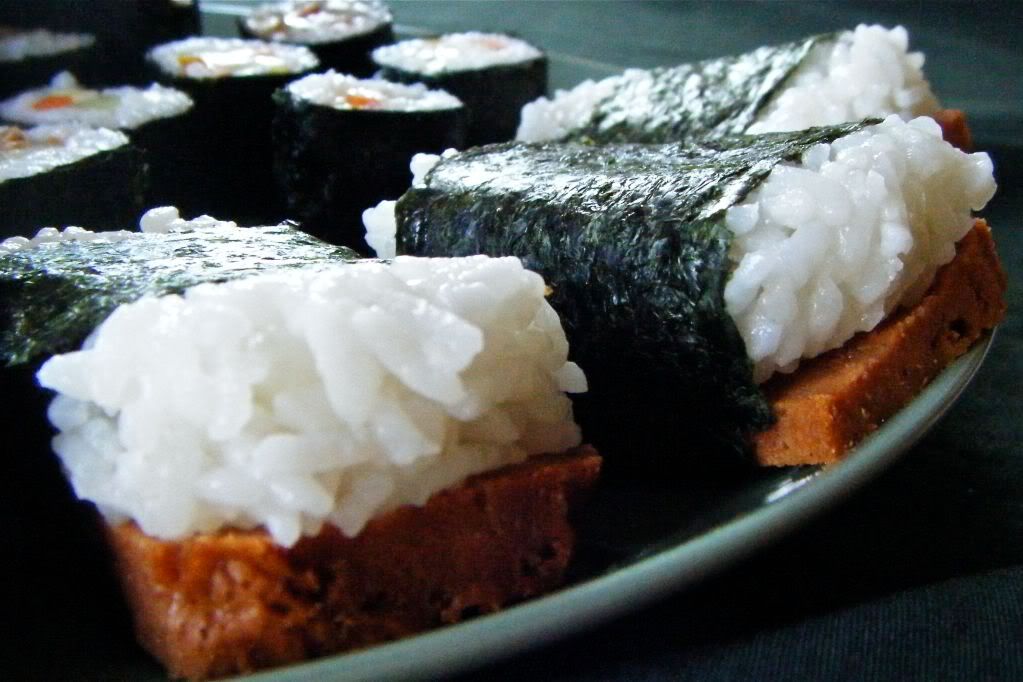
The idea to do a vegan spam was a reader request, but it is also one of
the true stereotypes about Hawaii. Yes they love their SPAM. I guess
some people do make the SPAM and eggs thing, but even more
popular is SPAM Musubi. It is basically SPAM wrapped with white
rice and nori. Yup that's it. The rice is not flavoured either.

Sound tasty right?

Well, I had no idea what SPAM even tasted like so I started googling
for a description of the taste. According to the majority of people on
q&a sites SPAM tastes like salty dog food. OK, so I needed to veganize
salty dog food.

Dude, how am I supposed to know what dog food tastes like?

So, I'm sticking with the salty part. Apparently, it is not just a little
salty--- but veeery salty. I'm thinking a really salty lunch meat.
Now if you've had SPAM in the past, you can try this and tell me
what you think. My main goal was to not make something unpleasant,
but make something that is comparable. It doesn't need to be
blindfold test the same, but just be a good substitute for people
craving salty dog food.

I started with vegan dad's original process of making lunch meat.
Here they talk about making vegan SPAM, but they really had no
intention of it tasting, ect like SPAM. I tried using soybeans, but
it wasn't that great. I instead switched to red beans and tomato paste.

Here is what I came up with...

Vegan SCAM (Salted Canned Artificial Meat)


1 can of red kidney beans
1 can of tomato paste
1 cup of cooked oatmeal
2 cups of vegetable broth
2 tbsp vegetable oil
1 tbsp soy sauce/braggs/miso (opt can add more salt instead)
1 tbsp salt
1 tbsp paprika
1 tsp garlic powder
1/4 tsp onion powder
1 tsp chili powder
1/2 tsp white pepper
2 1/2-3 cups vital wheat gluten

Blend all ingredients (except the gluten) until smooth.
Pour into a bowl and slowly add just enough 'flour' to form
a wet sticky lump. You want it to still be moist so your end
product isn't completely dry.

Form into two thick logs and wrap with foil. Steam for 40 minutes.
Remove from steamer and check to make sure that all parts of the
scam are still covered with foil.

Place in a dish or on a pan and bake for 40-50 minutes at 350F.
Remove and allow to cool completely. No matter what shape you may
have formed it in pre-steaming, it will have swollen into a
roundish log. I tried making it into a rectangle, but it doesn't work.

Cut the edges to make into a rectangle and then slice into 1/4" slices
like a loaf of bread.

Sushi Rice

White/Med Grain rice cooked (1 cup rice to 2 cups water)
2 tbsp rice wine vinegar
2 tbsp sugar
1 tsp salt

Fold the rice, as opposed to mixing it or else you will squish it
and end up with a bunch of mush.

Slice a sheet of nori into desired widths.
Wet your hands and shape about a 1/4-1/2 sized scoop of rice into a
rectangle to fit onto your slices of SCAM. Set the SCAM and rice onto
the end of a piece of cut nori. Roll up and allow to rest on the side
where the nori ends. The moisture of the sushi will seal the nori.


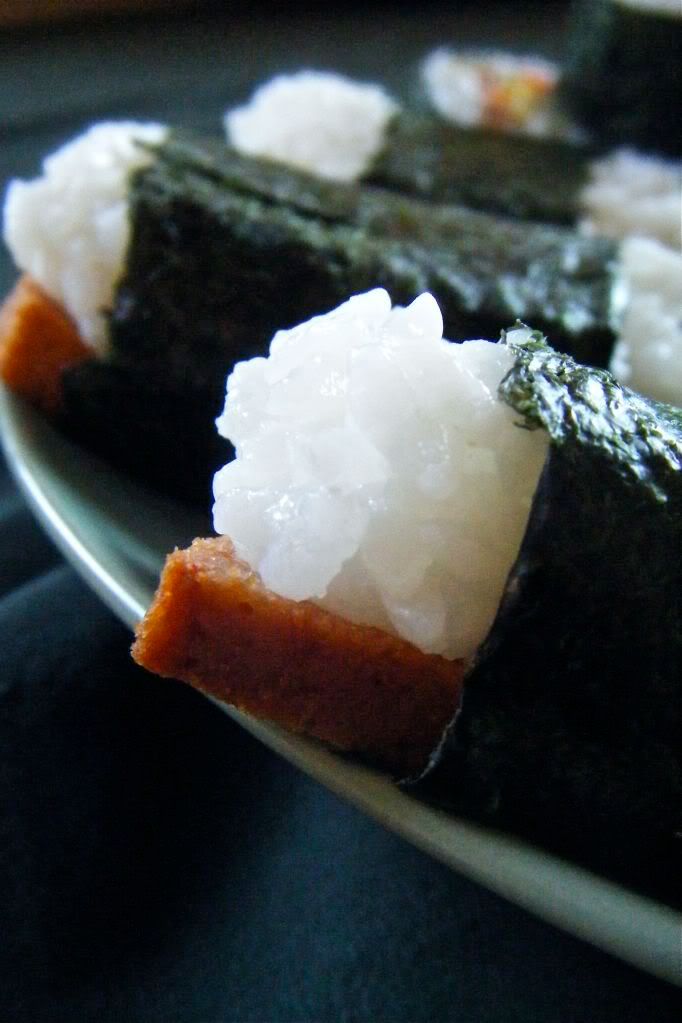
Love it or hate- You just made vegan spam musubi.
There are no wrong or right ways to shape your musubi, so google it
and check out some other pictures. Some use twice as much rice,
so it is on both sides of the spam, but I didn't want that much.

That concludes the Taste of Aloha series, I hope you enjoy it!

Wednesday, October 27, 2010

Taste of Aloha Part Six: Guava Jelly for da belly

I encountered an amazing amount of luck when I stumbled upon a
vendor at the Sunday Claremont Farmer's Market...

We hit it up at the tail end when vendors where packing up and stuff
was getting marked down left and right. I grabbed some heirloom
tomatoes, onions, green beans, and squash-- Monkey-man got his rye
bread.

On our way out I noticed someone had a bucket of small greenish-
yellow fruits. As I got closer, the smell was unmistakable. Certain
parts of the year these trees with be laden with fruit, most of it
falling to the ground and rotting.

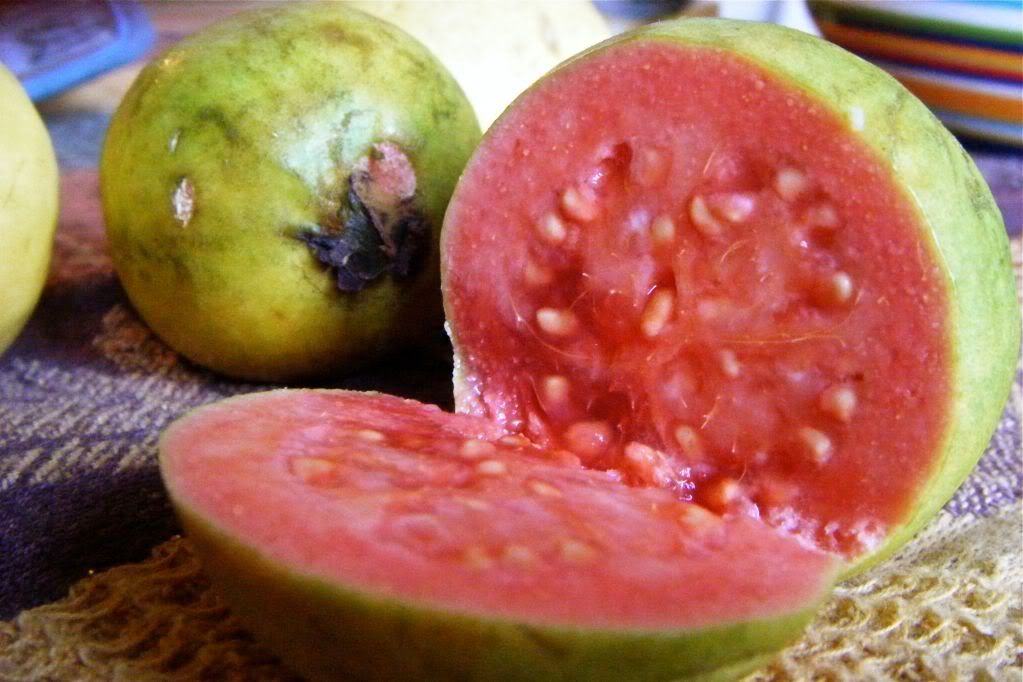
Guava has a smell that I cannot compare to anything else. Slightly
citrus-y, alcoholic, shampoo, tropical... Strawberry guava is an
invasive species, but near to impossible to control. We had a few
in our yard that kept coming back no matter what you did.

They would grow so incredibly high that it was dangerous if left alone.
After cutting some down in our yard, we'd pour vinegar onto the
stumps and still they'd come back.


Guava is extremely pungent. I bought a pound and while we only
had them out for a day, you could smell them everywhere in the house.
The skin is edible, similar to that of a fresh fig. The seeds are also
edible, but kind of crunchy so some people will spit them out.

They are delicious blended up into smoothies and juices, but just
be sure to strain them before drinking or you'll get seeds. The taste,
like the smell, is unlike anything else. I think of it as close to the
strawberry candy flavour with a tropical citrus twist.


Pretty much every where you go to shop in Hawaii you will find
some type of Guava or strawberry Guava jelly or butter.
Here I make both...

Guava Jelly for yo' belly

1 lb of guavas- I used a mixture of pink and white
3/4 cup raw sugar

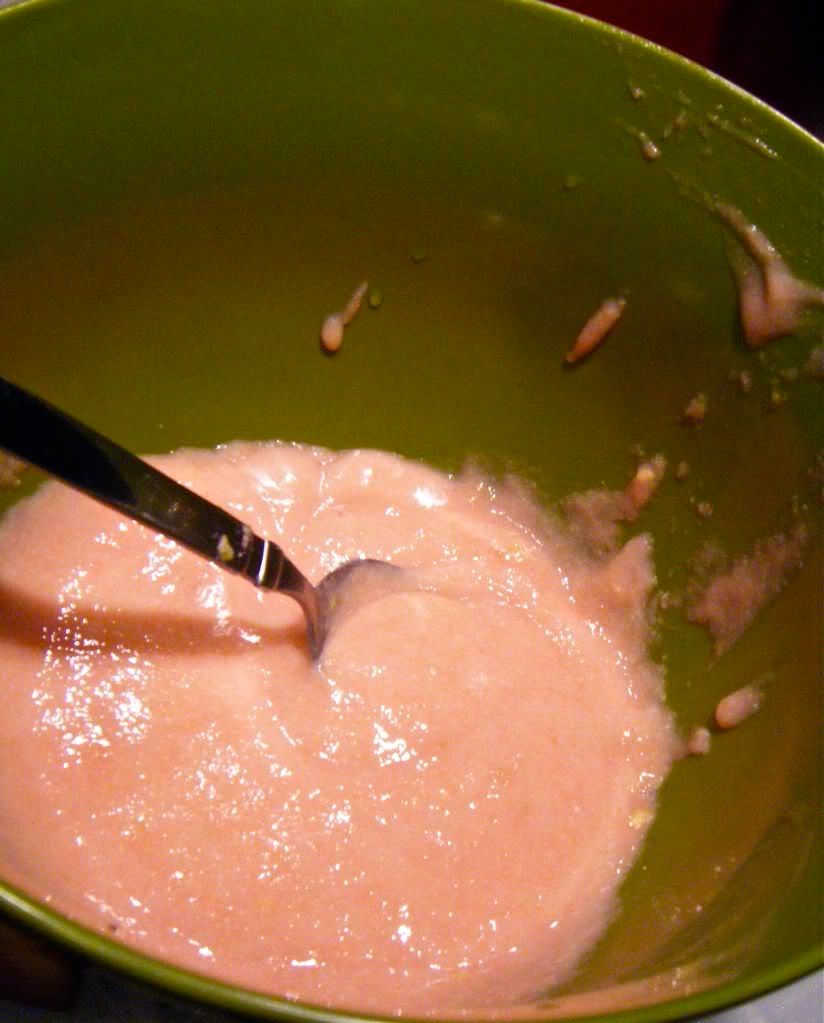
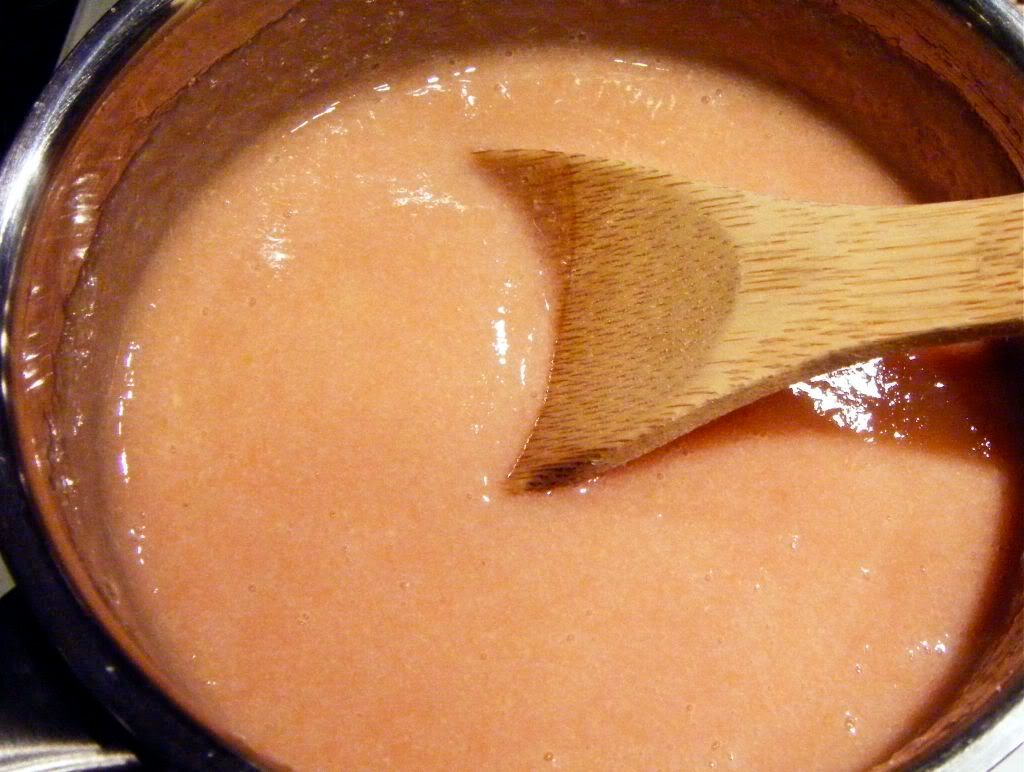
Cut of the ends of the guava and quarter. Pulse through a processor
until the skins are blended. Push the pulp through a strainer with a
spoon or squeeze through a cheesecloth to remove the seeds. You will
get something that looks like melted ice cream.


Pour into a medium sauce pan and add the sugar. Heat over
medium-high, stirring constantly. Cook for about 15-minutes to cook
off some of the liquid and thicken the sugar.


Once it looks to be about the consistency of preserves or a thick
sauce, remove from the heat and either can and process or allow to
cool.

This makes enough for a 1 pint jar

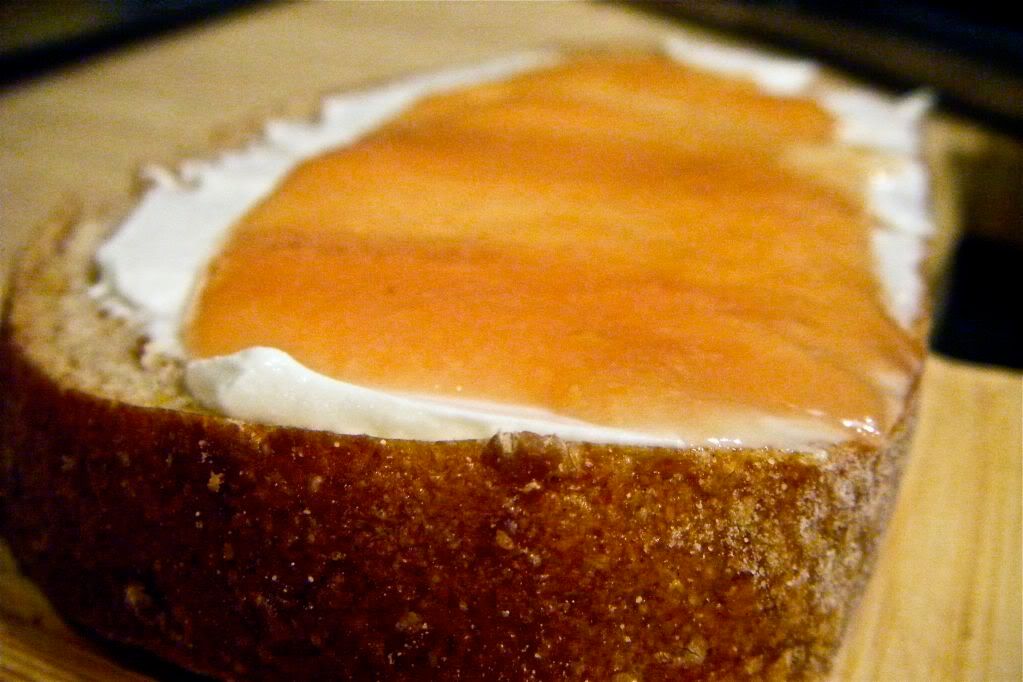
First we allowed it to cool and ate it over toast and tofutti better-
than-cream-cheese.


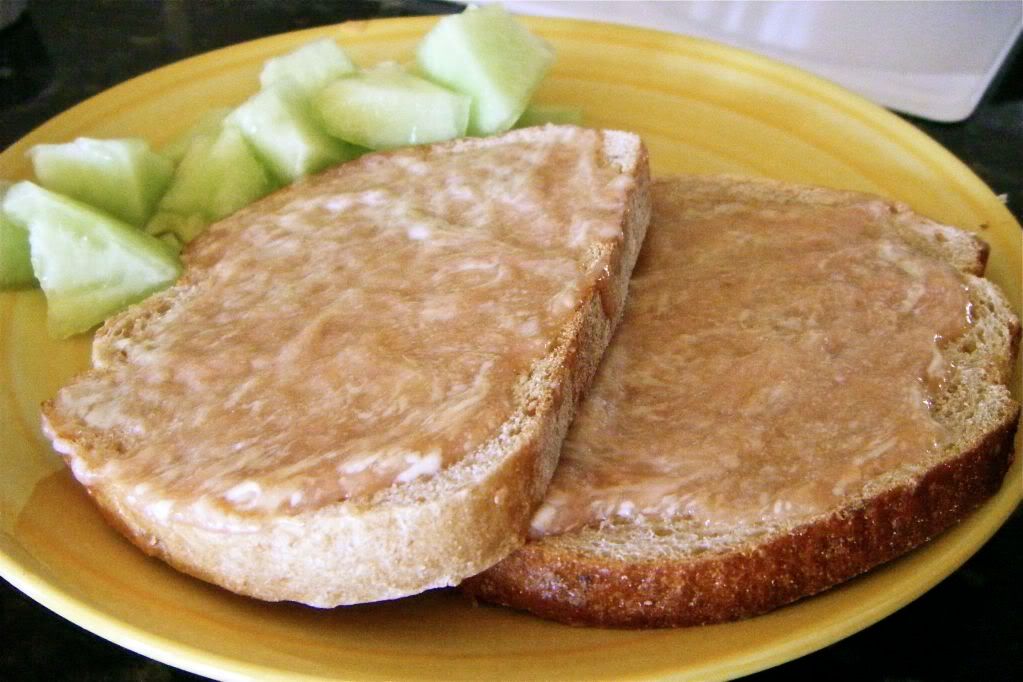
But for breakfast I made it into a Guava Butter spread. I only made
enough for breakfast because its not the ideal health food if you
know what I mean.

It is basically 2 parts guava jelly and 1 part earthbalance. Melt
the earthbalance and stir in the jelly. Pour into a small dish and
chill or freeze until it re-solidifies.


I would try your local farmers market and ask around for where to
possibly find some guava. Better yet, if you have a mexican market
near by, they are almost bound to have guava!

Sunday, October 24, 2010

Taste of Aloha Part Five: Hawaiian French Toast

The best sweet breakfast item you can fix for a local Hawaiian themed
morning, is by far the Sweet Bread French Toast. I helped you through
a vegan sweet bread, the rest is easy from there.

You can mix up a french toast batter with a few simple ingredients

1 cup of soymilk
1 cup applesauce
a few tablespoons flour
1 tsp cinnamon

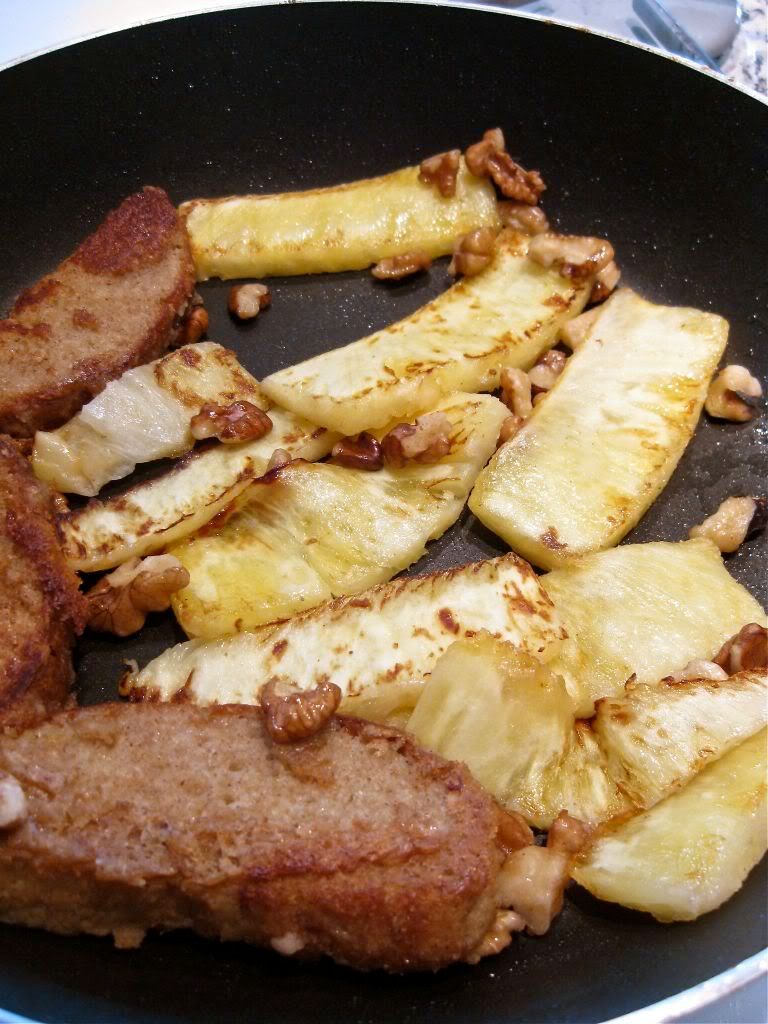
macadamia nuts (opt)-- I used walnuts here because they are pretty
hard to find or usually expensive unless you're lucky!

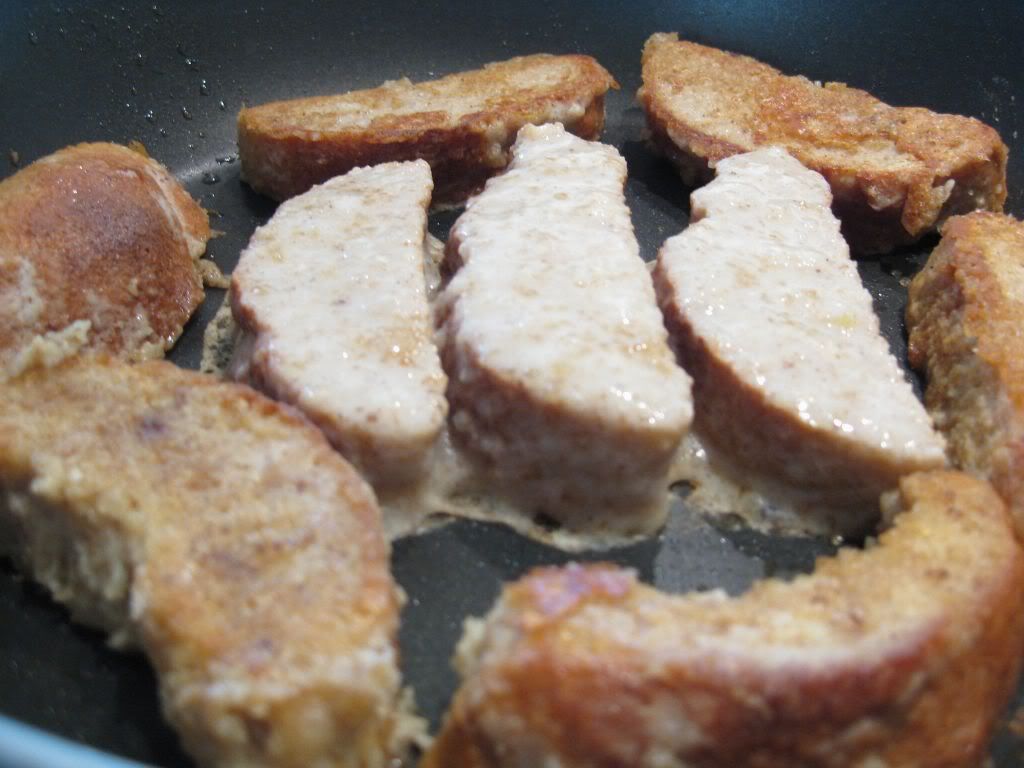
You slice the bread nice and thick and soak in the batter flipping
to make sure each side is coated, than dip it in the chopped nuts
before dropping on to a heated/greased pan over medium-high heat.


The non-vegan sweet bread comes in huge long rectangular loaves,
but I had some abnormal shapes to use up here.


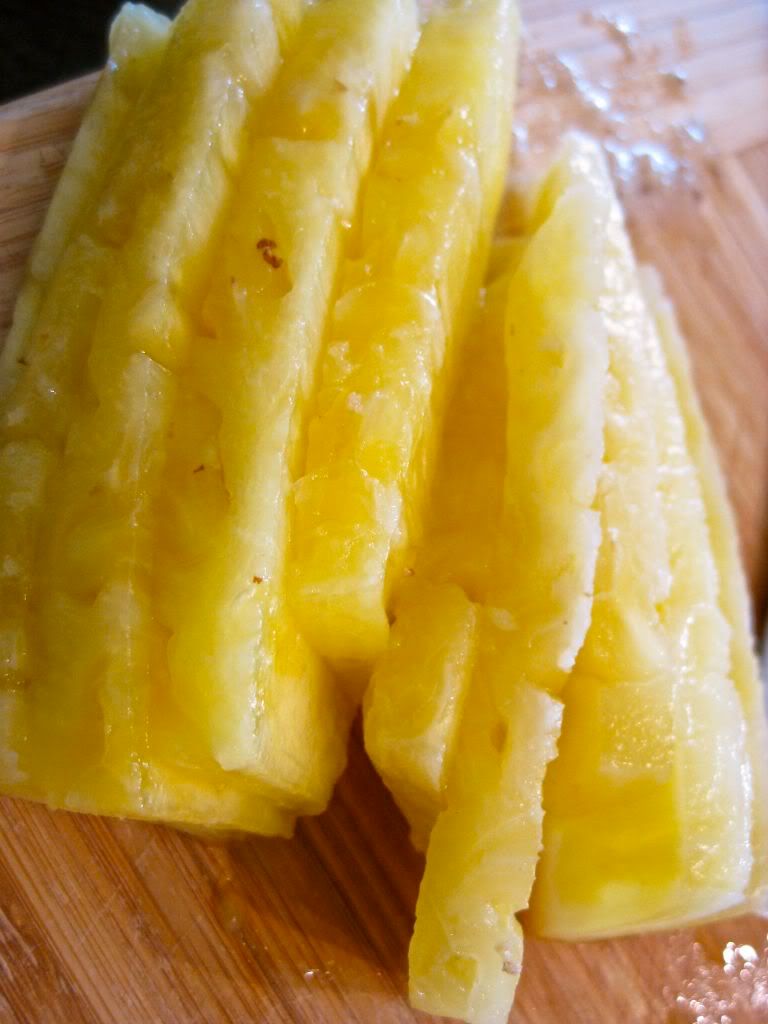
We also added some sliced pineapple to the pan to serve grilled over
the french toast.


Now if only we had some coconut syrup to top it all off...

Wednesday, October 13, 2010

Taste of Aloha Part Four: Kona Coffee Kahlua

If you're lucky enough to have been in my social circle in the last
couple months, you would know how I went absolutely nuts with
making my own alcohols. Now I was not planning on talking about
boozin' it up, but Kahlua is a standard in our house. This is a recent
thing. I got a bottle in a basket at Christmas and since Monkey-man
had a taste, there was no stopping it.

Only problem with Kahlua is that it can be damn expensive, so I
started making my own. Yet -- I will only make it with Kona coffee.

I first learned to make Kahlua from my Aunt Carole, who told me a
story about the first time she made Kahlua for her friends, co-workers,
and clients at a party. Apparently, some of the guests started
complimenting her on the hot cinnamon-like zing that followed the
sweet mellow flavour of coffee. At first my Aunt was baffled, but
come to find out the sweet sugary liqueur was bombarded by fire ants
and that was what was burning people!! I keep mine ant-free.

So back to Kona Coffee. Kona is located on the West side of the Big
Island and famous for their coffee bean plantations. As an avid drinker
of the joe, I've even gone and roasted my own coffee on the Kona side.
Hands down, the best coffee I have ever tasted was the peaberry at
Kope Lani on the main strip, Alii Drive.

The street is a famous tourist shopping area and their store front
sits right across from the breaking waves with an outdoor patio.
The coffee is smooth, dark and rich. A hot little sip of heaven.
Perfect for a little potion making.

Most Kahlua recipes you'll find require instant coffee--- lets not
go there. Other recipes require it to sit for at least a couple of
weeks. This recipe is ready to drink as soon as it is cooled and
strained.


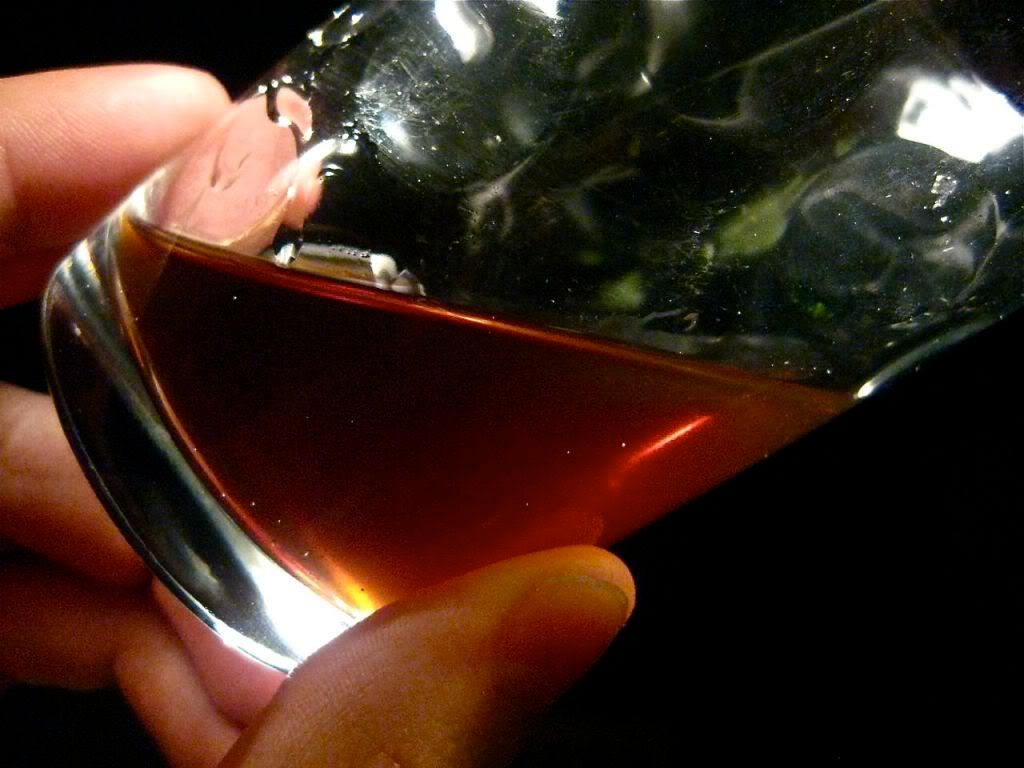
Kona Coffee Kahlua

2 cups water
1 1/3 cups evaporated cane sugar
3 tbsp Freshly Ground Coffee
2 tbsp vanilla extract
2 1/2 cups vodka

Combine the water, sugar and coffee in a medium saucepan and
bring to a boil. Turn down and simmer for about 10-15 minutes.
Remove from heat and allow to cool completely. Using a
strainer lined with a coffee filter, strain the coffee syrup
you've just made.

Pour into a sterilized bottle and add the vodka and vanilla.


soymilk white russian


**NOTE** Since this recipe uses vodka, please note that the alcohol
percentage is higher than your average store bought Kahlua.

Sunday, September 26, 2010

Taste of Aloha Part Two: Manapua

Here is a popular snack you'll find in pretty much any Hawaiian
convenience store.

Manapua are a large steamed bun derived from Chinese cha siu baau.
I believe they were sucked into the local cuisine via the merging
of peoples in the plantation culture.

The traditional buns are made with lard filled with shredded
flesh and bbq sauce, etc. But there are popular vegetarian versions
that are either filled with purple sweet potatoes or red beans.

The red bean versions always reminded me of the Japanese Taiyaki
(red bean filled cakes in the shape of fish) that I used to get
in Little Tokyo or at Sumo tournaments. However those are made
with more of a waffle batter, where as Manapua have a light, sticky
steamed exterior.

These are easy to make and very very filling.
They will also puff up quite a bit when steaming, so don't be
surprised when you lift up that steamer lid.

Vegan Red Bean Manapua


2 cups of cooked azuki, red beans
2-3 tbsp agave syrup
2 1/2 cups unbleached white flour
1 tbsp baking powder
3 tbsps powdered sugar
2 tbsps earthbalance or vegetable shortening
1/2 cup water
1 tbsp vegetable oil

Mash the cooked red beans with the agave syrup until it reaches
desired sweetness and is mostly smooth.

Sift the flour and baking powder into a bowl, add the sugar and mix.
Add 2 tbsp earthbalance, cutting in until evenly distributed.

Add just enough water until it comes forms a firm mass.
Roll it into a ball. Cover and let it rest for 30 minutes.
Cut into 10-12 small pieces and flatten in to discs.
Put a spoonful of bean paste onto rolled out dough.
Pull the sides around the filling and pinch together.

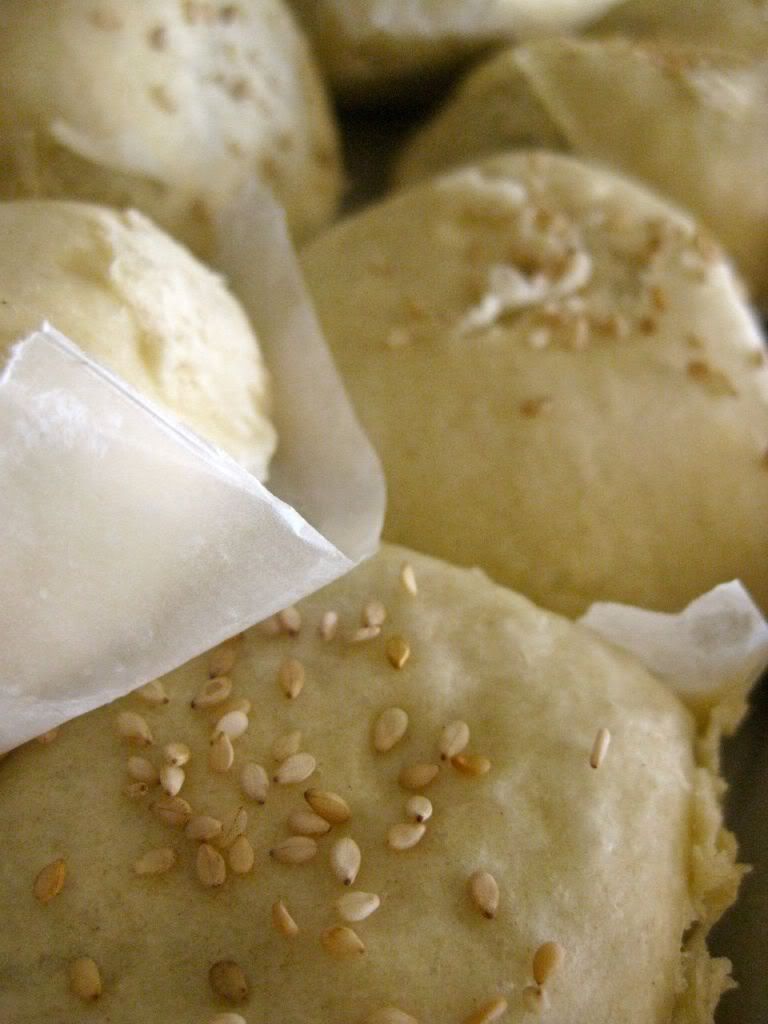
You can place on a piece of parchment paper in your steamer
which will make it easier to handle, but it is not entirely necessary.

Brush the tops with vegetable oil.
Then steam the buns for about 15-20 minutes.
Immediately after removing dip tops into a scattering of sesame seeds.

These can even be frozen and reheated later for a nice snack!

Tuesday, September 21, 2010

Goodbye Summer, Hello 7 Days of Aloha

I am officially back from my summer break and about to start
school in a few days. Back to the world of administrative studies
and writing about policy! But also back to the lovely world of
writing about food and making for all of you.

Over the summer I spent sometime in the California mountains
with my Grandparents testing, writing, and drawing. It gave
me a chance to test out some key recipes on some very willing
omnivores.


The view from my Grandparents' mountain house


Then I took off to Hawaii to stay with my parents and younger
brother for three weeks. It was absolutely gorgeous, as usual
and I got quite a tan. There I got to throw somethings a my
brother who is pretty picky just to see what a picky kid would
think of some of the cookbook recipes. Thank goodness it went
over well and I got some good ideas from all of my ventures...


Our new favorite 'secret' beach

I didn’t blog most of this because of spotty internet, busy
schedules and sometimes downright laziness. Yet now I am
switching in to high gear and taking on some new projects.
I’m doing some light catering again, which is always fun. Yet,
I’m entering the larger stages of the cookbook project and
illustrating is going to be intense.

This past weekend I picked up another catering gig and did a
job for Compassion Over Killing’s Vegan Outreach at Animal
Acres. I will post pictures of that later as I am still unpacking
at my house and haven’t uncovered my camera yet from all
my luggage.

Before I left I promised to do a series on Hawaiian cuisine,
so I thought I would celebrate my return with just that.
Plus, why not start with something everyone loves...

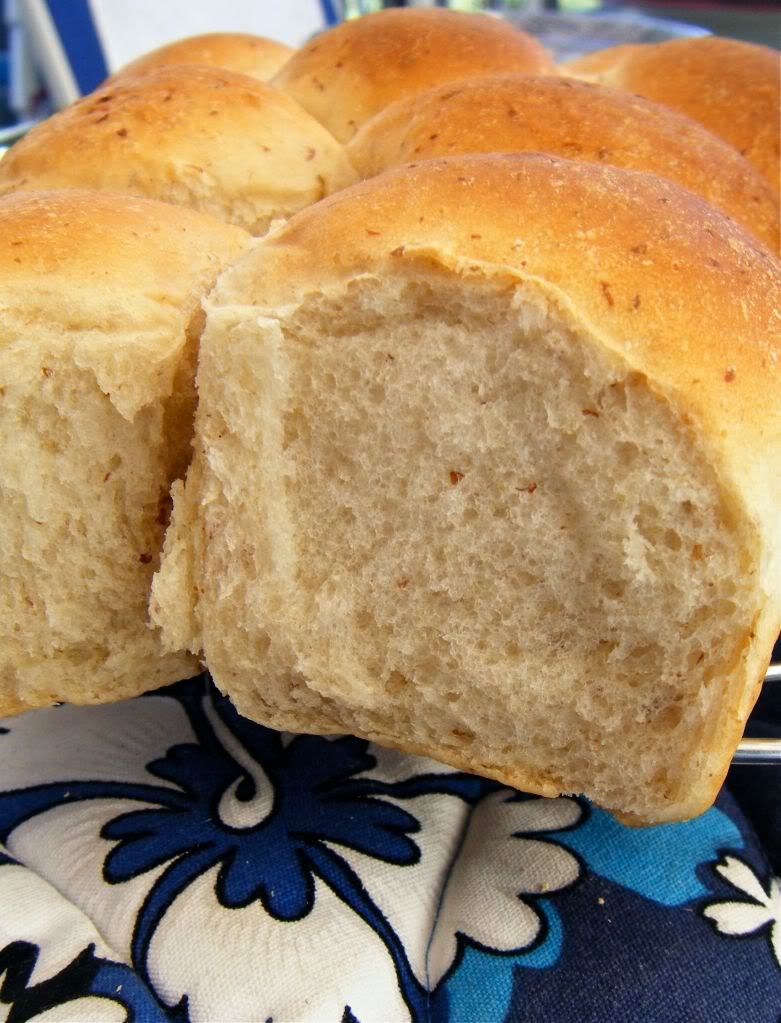
In Hawaii everyone knows and loves this light, sweet, fluffy
bread. Sometimes it is called Hawaiian sweet bread, sometimes
Portuguese sweet bread... I’ve had it in all different flavours as
well; Taro, Mango, Guava (Passionfruit).

However, these tastings were all in my pre-vegan days as the
traditional recipe is packed with eggs and butter. They are both
yeast and egg leavened, but my adaptation was better if I do say
so myself. The only thing different was the colour from no egg
yolk.

French toast from this sweet bread is very popular. I like encrusting
it with macadamia nuts and serving it with guava butter!


Hawaiian Sweet Bread


Ingredients

1 tbsp instant dry yeast
2 tbsp warm water
3-4 cups unbleached all-purpose flour or bread flour
1/2 tsp sea salt
2 tbsp flax meal beat with 6 tbsp water
1/2 cup coconut milk
3 tbsp earthbalance
2/3 cup vegan white sugar
1 tbsp vegetable oil
Soymilk for brushing (opt)

Make a paste with the yeast, salt and water and set aside.
Warm the earthbalance and coconut milk over very low heat,
but do not cook or get it ‘hot’. Add the sugar and flax to the
coconut mix, then pour over the yeast paste.

Add the flour a half cup at a time until it forms a ball and turn
out on to a clean, floured counter top. Knead in some flour if
it is too soft to knead. Knead for about 10 minutes.

Place in a mixing bowl with the vegetable oil and roll the dough
around to ensure it is greased. This prevents your bread dough
from cracking and becoming hard while rising. Cover the bowl
with a towel and place in a warm spot.

Let it rise for about an hour and a half or until it has doubled in
size. Remove from the bowl and using a pastry knife or something
similar cut small balls about the size of plum. Fold the piece of
dough under a couple times to make a nice smooth roll.

Place onto a greased sheet as you go. After all the rolls are shaped
allow them to rise again for about 30-40 minutes. Brush the tops
with a little soymilk if you want before baking at 350F for 25-30
minutes until the tops are golden brown. This may differ a little
as I originally baked these at a high altitude and adjusted the
recipe after the fact.

Food & Drink Blogs Nutrition blogs & blog posts