Showing posts with label dessert. Show all posts

Friday, October 14, 2011

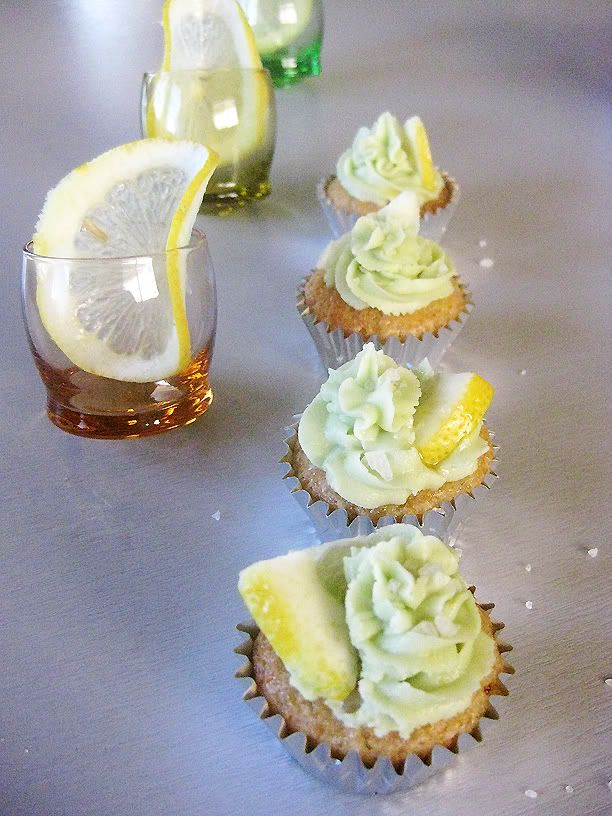
Vegan Margarita Cupcakes: The Real Deal


As part-two of the fiesta cupcakettes that I made for MonkeyMan's
Aunt, I wanted some crazy margarita cupcakes. Obviously citrus,
but I didn't really know where to go from there.

Hopefully I won't get assaulted for this, but why are there no cupcake
recipes other than from the 'cupcakes take over' book. I looked over
the recipe and could just tell it wasn't going to be flavourful enough.
No, I wanted a sharp citrus, a creamy cupcake, and a strong kick of
tequila. Not a lingering aftertaste and some glaze with sparkly sugar
on top. Too harsh? I just wanted something that would knock people's
socks off. If it was just the tiniest bit bland, people are going to
immediately blame it on being a vegan cupcake.

Ole!


Margarita Cupcakes: El Auténtico

Ingredients

Juice and zest from one lemon
Zest from one lime
3/4 cup coconut milk/cream
(if using cream, reduce the oil and increase the cream to 1 cup)
I Like how this adds a little more of a topical taste
1/4 cup oil
3 tbsp tequila
2 tbsp triple sec
1 tsp vanilla
1 cup sugar
1 1/3 cup cake flour
2 tsp corn starch or arrowroot
3/4 tsp baking powder
1/4 tsp baking soda
1/2 tsp salt

1/3 cup earth balance
1 1/2 cup powdered sugar
lemon or lime zest
1 tsp lemon or lime juice
4 tbsp tequila (Or more)
dash of salt
(one drop of each yellow and blue colouring: optional)

(+rock salt and more tequila)

Combine the lemon juice with the coconut, stir and set aside.
Sift together the dry ingredients (including the sugar).

Stir the coconut/lemon once more and add the alcohol, vanilla, and
oil. Gently combine the wet and dry ingredients, just until mixed.

Portion out into cupcake cups, about 80% full.

Bake for 12-15 minutes at 350°F. Remove when a tooth pick inserted
into the middle comes out clean, or you start to see the tiniest bit of
gold on the tops.

Remove from the pan and allow to cool on a rack. Right after placing
the cakes on the cooling rack, brush the tops with more tequila, making
sure to get around the edges too.

While the cupcakettes are baking, prepare the frosting.
First cream together the sugar and earthbalance, then add the zest,
juice, salt and a little bit of the tequila at a time.

The frosting should be smooth and fluffy, but not stiff or wet.
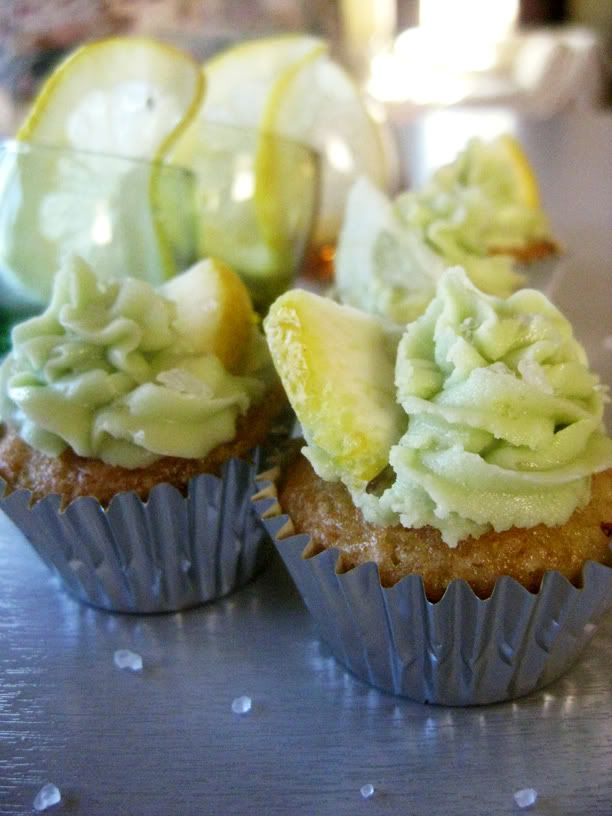
Right before frosting, brush the cakes again with tequila. Pipe the
frosting on in your favorite design, then top with a tiny wedge of lemon
or lime and sprinkle lightly with rock salt.

These went faster than a blink of an eye. Maybe a guacamole or salsa
cupcake should be next? Or is that just too weird? Okay.

How about a spicy mango?

Tuesday, September 6, 2011

Vegan, Soy, Gluten-Free Peach UpsideDown Cake

With a lot more gigs picking up and all the summer travel plans,
the side work of writing, blogging and testing has taken the sideline.
However, I’ve been promising this posting for quite a while and
couldn't keep it from you forever!

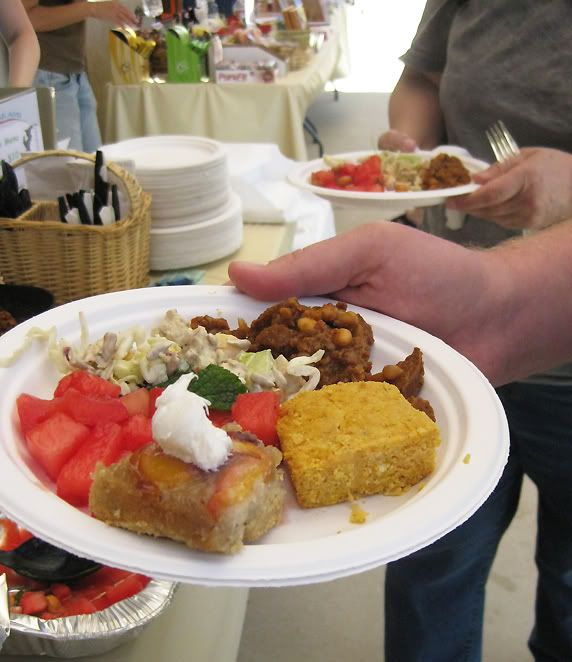
Last month, I whipped up a summery storm for the Animal Acre’s Hoe
Down
. Cooking and spending time at one of my favorite places?
What could be more fun!

Going with the summer/western theme we had BBQ Tofurky Baked-
Beans, Gardein Chick’n Salad, Tomato and Watermelon Salad,
gluten-free Sweet Potato Corn Bread, and gluten-free Peach
Upside-Down Cake! All my favorite tastes of summer before it
slips away to chilly autumn nights.


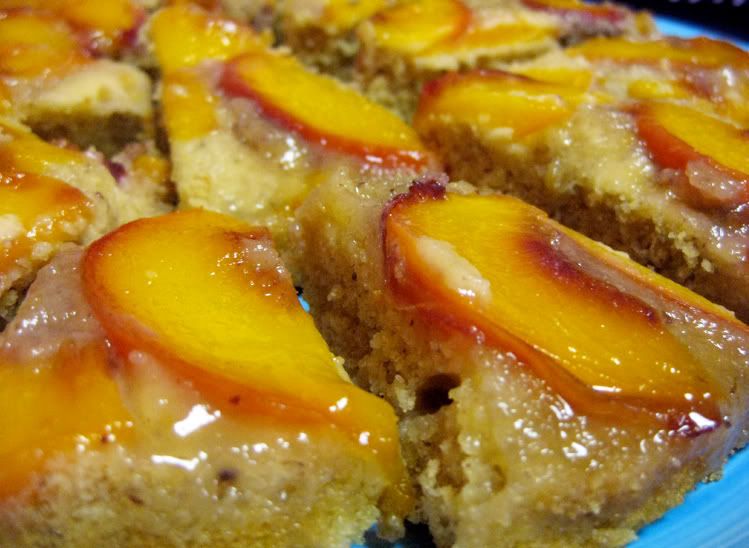
I just had to share the recipe for the Peach UpsideDown Cake!!
This cake can be done with pineapple, cherries, mango or any of
your favorite fruits—but I can’t get enough of fresh juicy peaches
when their in season. Served with vegan whipped cream, it is simply divine!

I’ve been doing a lot more gluten-free, so I hope you all enjoy!

Gluten-free Vegan Peach Upside-Down Cake


2 large ripe peaches or about 2 cups, sliced
1/4 cup turbinado sugar
1 1/2 cup All Purpose GF flour
1/4 cup rice flour
1/2 tsp baking soda
2 tsp baking powder
1/2 tsp powdered ginger
1/4 tsp salt
1/4 cup peach pulp or juice
1/4 cup vegetable oil
2 tbsp flaxmeal whisked with 3 tbsp water
1/3 cup turbinado
3/4 cup almond milk
1 tsp lemon juice
1 tbsp vanilla extract

In an 8 or 9 inch pan sprinkle the first quarter cup of sugar, then
place the peach slices over it.
Add the lemon juice to the almond milk and allow to sit and curdle.
Sift together the dry ingredients: flours, soda, powder, ginger, and salt.
Separately mix the juice/pulp, oil, flax sugar and vanilla. Add the
almond ‘buttermilk’ to the liquid mix. Gently fold in the dry mix,
just until blended and pour over the peaches in the cake pan.

Bake at 350F for about 25-30 minutes.
Once removed from the oven, put a plate over the pan and
(being careful to not burn yourself) flip over and let the cake slide out.

Allow to cool, but eat it while its warm with cream (Peaches and
Cream!!) It doesn’t keep that long, so eat it the day of at least!

Tuesday, July 19, 2011

Harry Potter Cauldron Cakes

First off, I know not everyone out there is a Harry Potter fan and
not everyone is an avid fan as some of us. If you’ve never read the
books, watched the films, or taken part in the wizarding world of
J.K. Rowling, I strongly encourage you to.

It may not change your life, but you may be missing out on some really
good entertainment. What’s all the hype about? It may have just gotten
on your nerves and now you’re ignoring it out of principle. Get over it
and go read the books. Really. Honestly. It’s not high classic literature,
but they are really FUN and undeserving of your contempt.

I am not just saying this because of how much I love swords and
sorcery, or because I was one of those teens those wore capes to the
midnight book releases, or was one of those who finished the last book
in less than 48 hours.

I enjoy fan culture like this because of the sense of camaraderie.
Sure you can go to a rocky horror picture show screening or some other
cult flick and experience the same type of tuned-in energy, but the
whimsy of the whole thing becomes addictive. The HP bug doesn’t turn
off when you leave the theater, it stays with you the whole way home
and the next morning and lingers-- leaving you wanting more!

Cult flicks are tons of fun, all the fans cheer when certain characters
come on or when certain credits roll, but Harry Potter is much more.

I think it also has something to do with how loyal the movies were
to the books and how disappointed I was in the new Star Wars and
Lord of the Rings movies. I’ve given up on comic book films (Scott
Pilgrim excluded). I still enjoy the rebooted films like TRON and
Star Trek etc. But they simply don’t exude the same intoxicating energy
that Harry Potter does.

It is engrossing because of the depth, the detail, and the sheer
extent of character development. For many of us it was also a coming
of age ritual. It was something for us to look forward to each year
and to hide away in when reality got a little low. Hogwarts was a little
escape for each of us and sadly it has come to an end. I was a few years
older than the kids in the books when it first came out, but I was still
growing up while I was reading them. So it truly is the end of an age for
some of us.

Now all the films are out, I plan on going back and rereading the series
(when I get some time-- Eventually). I’ve read the first few books more
than once, but not the later ones. So, I’ve gone a little fuzzy on many of
the details. Besides, it is always fun to go back and try and pick up on
all the little hints when you know what the ending is going to be.

To be honest, the end has left me feeling a little low and really old.
I don’t like waiting for Halloween to costume up. How often to I get to
flaunt my Ravenclaw uniform? For now, I’ll have to bid a fond farewell
to Hogwarts and a turning point in my life-- now I’m coming up to my
quarter-life crisis who knows if anything will catch on like Harry Potter
and steal the hearts of so many muggles... at least in our lifetime!

So lets all raise our butterbeer and pumpkin juice to what was a damn
good, magical decade!

Yes, I saw it opening night-- not the midnight showing, but still...
And of course it was epic! (Surprisingly violent, watch out little ‘uns)


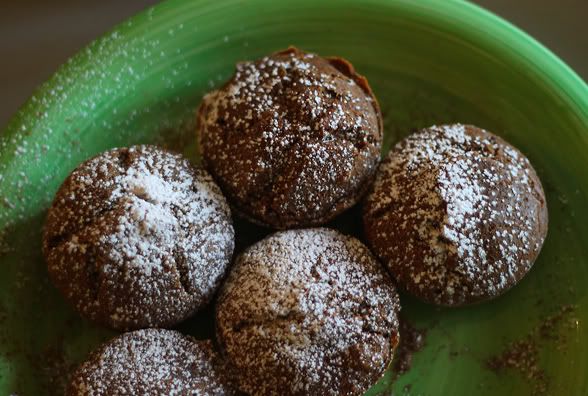
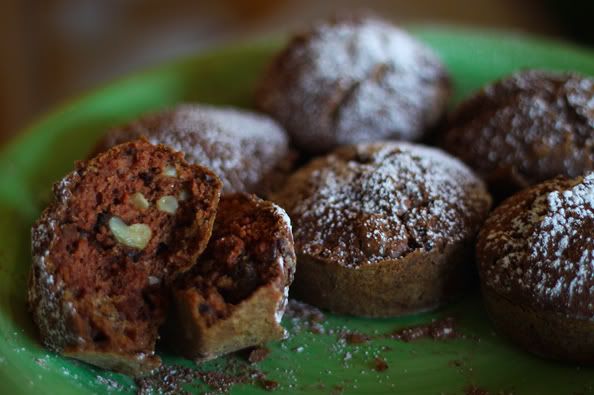
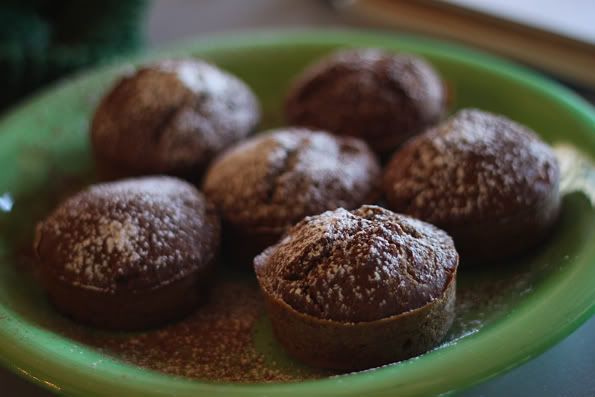
In celebration of Book 7 Part Two, I made some Cauldron Cakes
for your enjoyment. To be honest can’t remember if there was a
description in the books of these or not. So I just made what I thought
Cauldron Cakes sounded like. These are not sweet, so don't expect a
cupcake. They are hearty and look like they were cooked over a cauldron!

Harry Potter Cauldron Cakes


3 cups unbleached wheat flour
3 tbsp powdered sugar
2 3/4 cup non-dairy milk + 1 tsp apple cider vinegar
3 tbsp cocoa powder
3 tsp baking soda
3/4 cup vegetable oil
1/4 cup berry jam
1/2 cup chopped walnuts
1/3 cup raisins, cranberries, cherries or chopped dates

Sift together the dry ingredients.
Mix the oil, jam and curdled non-dairy milk, slowly add to the
dry mix and stir briefly to not over-mix the soda. Add the nuts and
which ever dried fruit you like.

Pour into greased and floured cupcake cups or mini bundt tins.
Bake for about 30-40 minutes at 350•F.

Serve while still warm with powdered sugar and jam.


Try em with some Pumpkin Juice!

Here is also a Vegan version of ButterBeer from PETA2 which sounds
pretty good, except I might add some vanilla vodka or spiced rum
to give it a real kick.

Saturday, May 7, 2011

Love Your Ma'ma!

I know this is super last minute, but...

As a very special treat, I'm actually officially filling orders
for Mother's Day boxes in Los Angeles. If you're interested in
some taste vegan treats and forgot to grab something-- I've got your
back with...

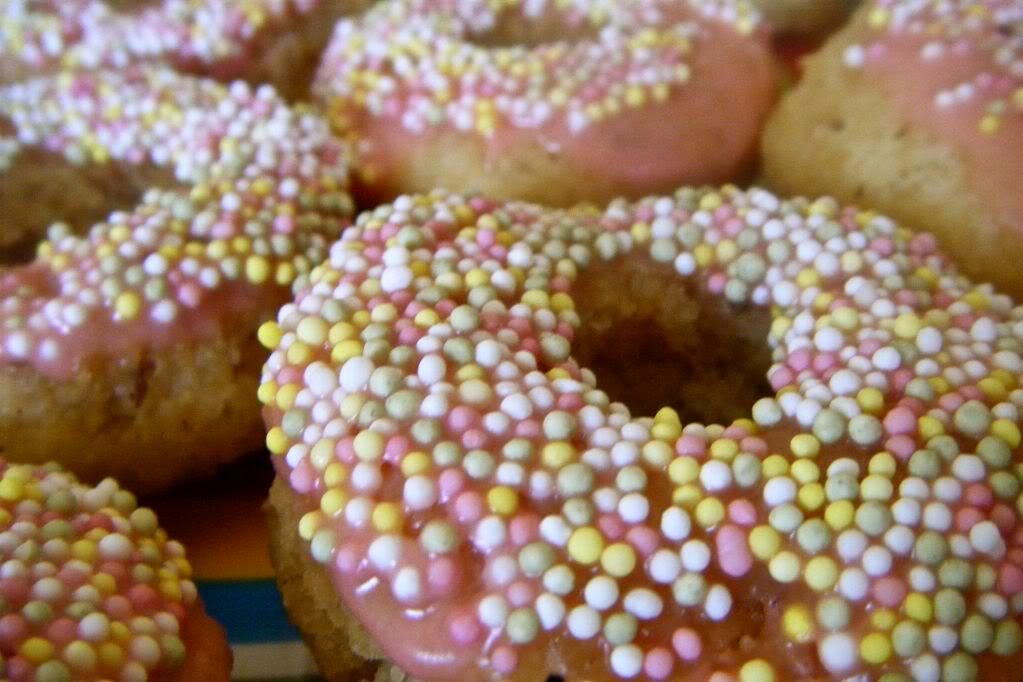
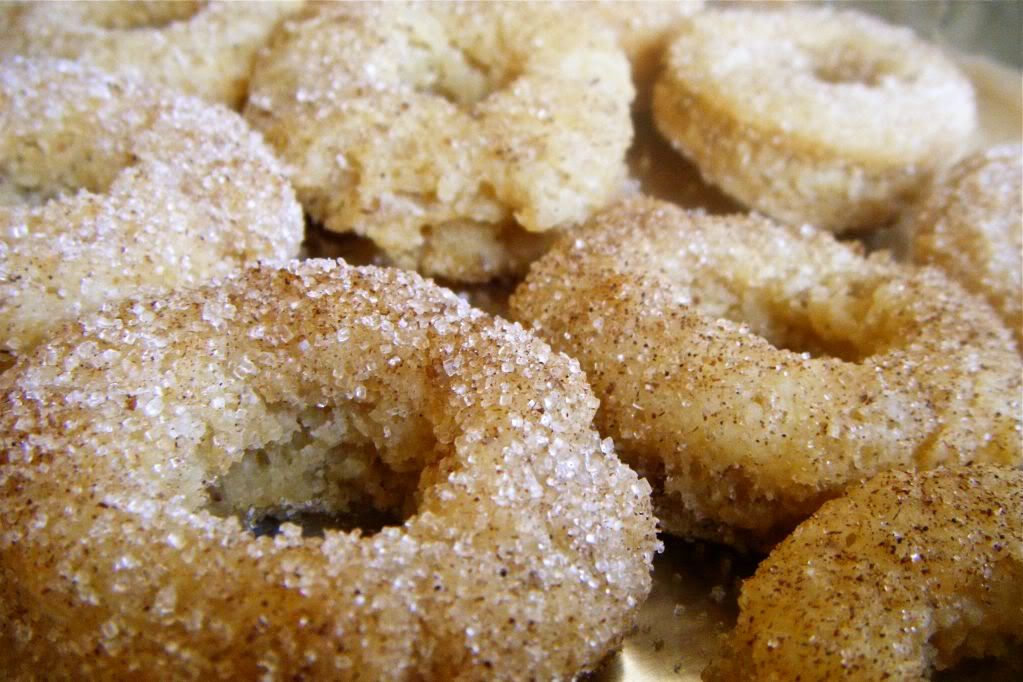
Cake Donuts! : $12 a box - A pack of 6 classic cake donuts, 2 in each flavor:
Vanilla-Lemon
Cinnamon Sugar
and Original Sprinkle


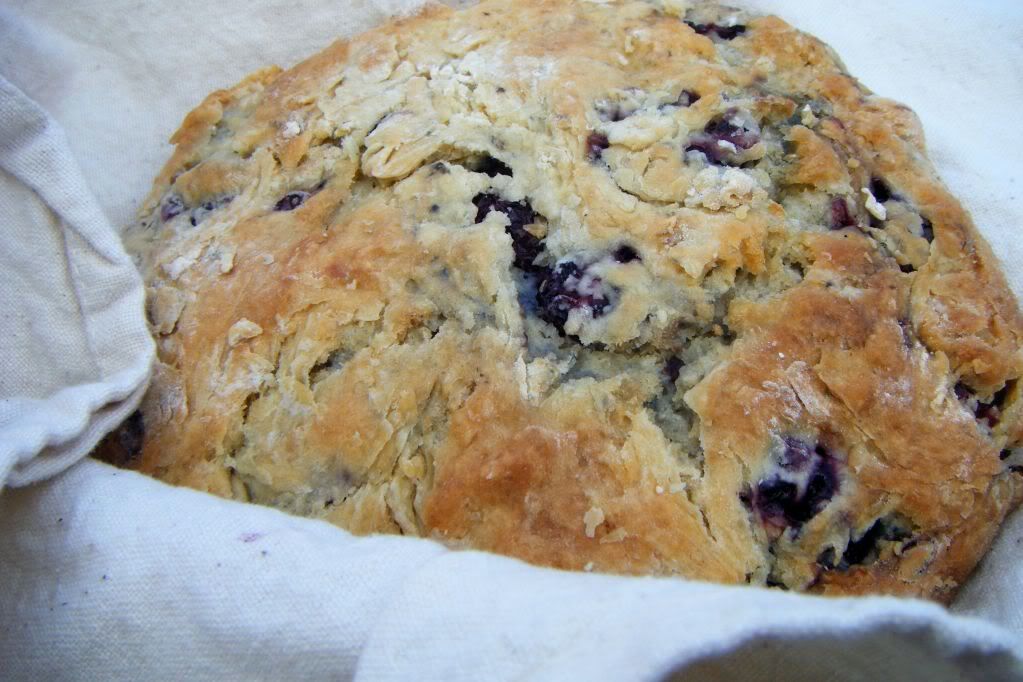
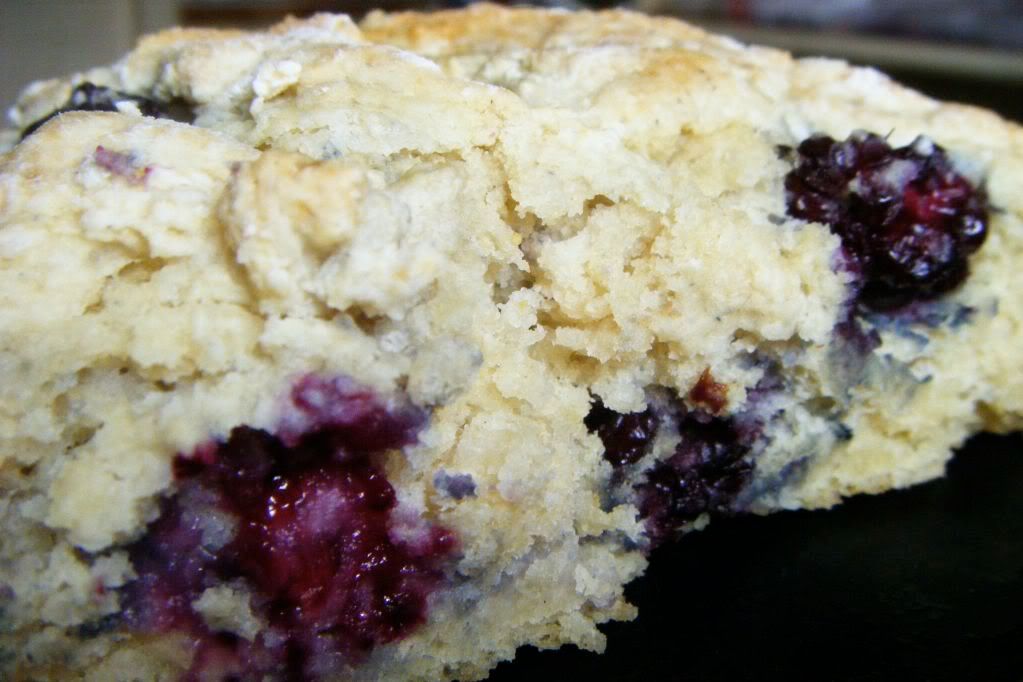
Breakfast Scone Box: $12 a box - Features 4 delightful types of scones:
Orange-Cranberry
Green Tea
Ginger-Lemon
and Savory Sage


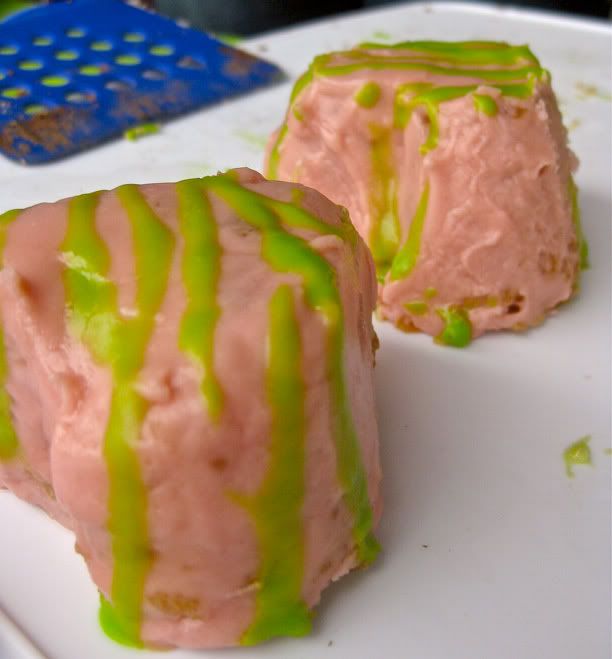
Fairy Cakes: $4 for each miniature cake
Raspberry with White Cake
Mango with White Cake
and Chocolate Creme


Order Now while you still can by emailing me misskitchenwitch(at)gmail(dot)com

Tuesday, March 8, 2011

Launch Party Prep, Mochi and Memories: Kushi Dango Recipe

Huzzah! Am I ever glad to be back on my broomstick!
It took too long, but I am over my illness and the doctors set me right.

I am most pleased to actually be able to enjoy cooking and food again.
Not sure who is happier though, me or Monkey-man! He was eating the
bland, simple foods right along side me. I couldn’t stomach much and
he was sweet to not make me feel left out of something exciting. But I
don’t think he could stand eating beans on toast much longer either!

So I am back and getting ready for the Compassion Over Killing
Los Angles Office Launch Party
! It is going to be amazing! There is
going to be tons of great people, food, and a darn good time for all!
You can check out the event on Facebook or get your tickets here!

One of the product donors, Eco-Vegan, is donating some amazing
veggie meat for the party-- and I have the honor of dressing and
cooking it up for the party-goers!

Tomorrow I’ll show you the awesome samples they sent me to test out
the recipes for the party.

Because of the party, I’ve been working on some of the menu items.
One of which will be Mango Mochi! Not a lot of people may be very
familiar with mochi and I am a huge exception to that rule.
Mochi has become a little better known lately, but is pretty unusual.

Mochi is a Japanese sweet made from pounded sweet, sticky rice.
Depending on the occasion, it will be served plain, flavored, colored
with barley or beans, wrapped in pickled leaves (sakura-mochi),
filled with sweet bean paste (an-mochi), baked, served on sticks,
the list goes on and on.

I chose this dish for a number of reasons... first my menu is
Thai-Japanese fusion. A traditional Thai dessert is a steamed,
layered, sweet rice cake that is very similar to a plain Japanese mochi.
Second, I wanted to choose something that would be easy to eat,
pick up, and would be soy and gluten-free for those with allergies.
But most of all, I have very fond memories of mochi and I’d love to
share them at such special occasion...

I took Japanese language courses for many many years growing up
and became entranced with many of the cultural traditions. Wish I was
still fluent, I was as a teenager. Not like riding a bike though.
Watching anime as a kid I loved watching the characters munching on
the sticky treats. Of course the American producers would change the
dialogue and call mochi donuts instead to match US interests.
But I also grew up in a very heavy asian community in So Cal,
so many of the shops nearby offered fresh mochi!

Also, when I was growing up my parents were very into watching
Sumo. I know this may sound very weird to you, but its true. It is
not a bunch of fat guys bumping bellies like many Americans believe.
It rich in cultural traditions (many of which are dying) and extremely
cool to watch. Whenever they got the chance, my parents would take us
to actual tournaments. Instead of hotdogs and peanuts, you’d find red
bean cakes, mochi and Sapporo!

Well, I didn’t drink beer, but I certainly enjoyed the sweets and
maybe some green tea soymilk or red bean ice cream!

Skip to my teen years- Hilo, Hawaii. The communities in Hawaii
emerged from a plantation culture, a conglomeration of Japanese,
Chinese, Filipino, Portuguese, Thai and so on. As such many of the
traditions are seen in the local faire. You see a lot of sushi, char sui,
and yes mochi. Hawaiian mochi is often baked instead of steamed
(oh gods, or worse microwaved) and made with condensed milk or
butter. This yields more of a chewy cake instead of a plush bun.
But there are traditionalists, and my favorite was Two Ladies in Hilo
who would make the Strawberry-An Mochi, read bean filled, and even
Taro. But my favorite was the Momo-Mochi-- (Momo= Peach)
Peach and white bean filled. PEACH LOVE!

(To find more vegan Hawaiian Recipes, check out my vegan-hawaii series)

It is from the Hawaiian fusion flavor that I pulled out some wicked
mango mochi. I'll be posting some pictures as I go along and certainly
of the party, but here is something in the meantime. These we would
get at sumo tournaments and anime expos. Plus, something you can
depend on being vegan. FYI, many of the prepackaged versions do have
MSG in the sauce. Find it fresh! If you live in LA, you can get it in
Little Tokyo.

Easy, delicious and not as sweet as your usual mochi cake these are
great for parties or just a snack. Careful, they are addictive!

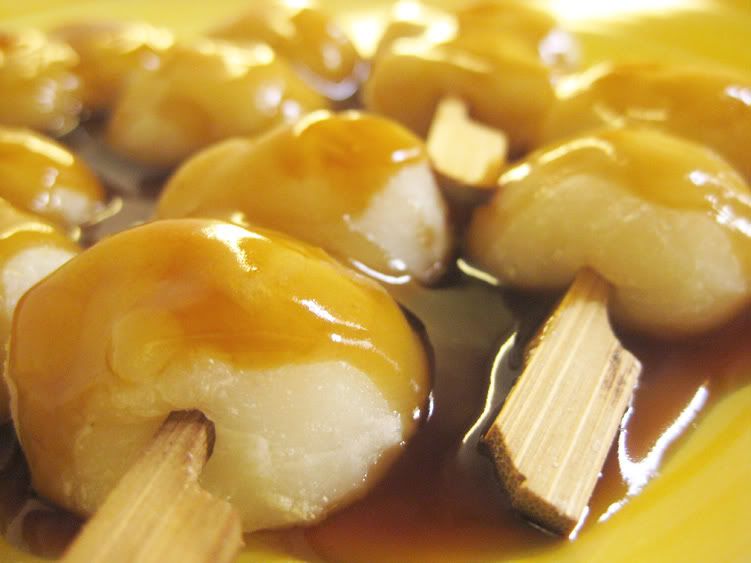
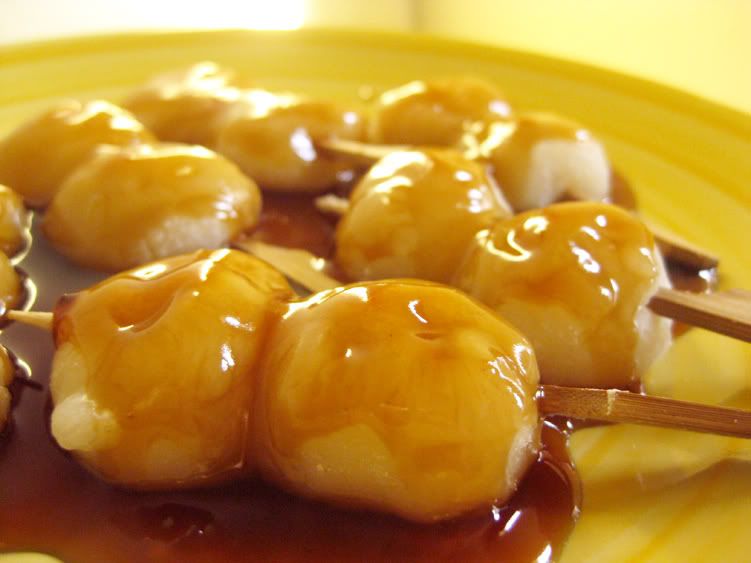
Kushi Dango


Mochi:
1 1/3 cup rice flour
3/4 boiling water

Mitarashi Sauce:
1/3 cup water
1/4 cup sugar
2 tbsp soy sauce
2 tsp potato starch + 1 tbsp water

You can use mochiko (sweet rice flour), they will just be a bit
stickier and chewier. Joshinko, plain rice flour is made from long
grain rice and not as glutinous as the short grain mochiko. Don’t try
to use western style rice flour-- the stuff you’d find in the gluten-free
zone of American and western markets-- it is not the same as Japanese
or other Asian rice flours.

I used party picks here, but traditionally they are grilled on skewers
(3 on each).

Pour the hot water over the rice flour and stir with a wooden spoon or
paddle. Once it has cooled enough to handle, knead in the bowl with a
little extra rice flour. It is more folding over and over to make sure
there are no lumps, not exactly like you’d knead bread dough.

Next pull off little scoops and roll them in between your palms to form
smooth balls. They should be around 3/4 inch in diameter or about the
size of a walnut in it’s shell.

Place into a lightly greased steamer with some room in between. They
will expand and stick together, so give them some space if you can.
Steam the rice balls on high for 10-15 minutes. Scoop them out and
push on to damp skewers. They will be very sticky.

While your pan is heating, start the sauce by bringing the water, sugar
and soy sauce to a boil. Add the potato starch mixed in water and stir
til thickened. Keep on low.

Place the skewered mochi on a hot, non-stick pan and grill each side
until a golden brown. Brush with the mitarashi sauce and serve
immediately. If you used a joshinko rice flour they will last longer,
if you used mochiko they will get denser the longer you wait.

Monday, December 27, 2010

Cookie Commotion: Folk Style Painted Cookies

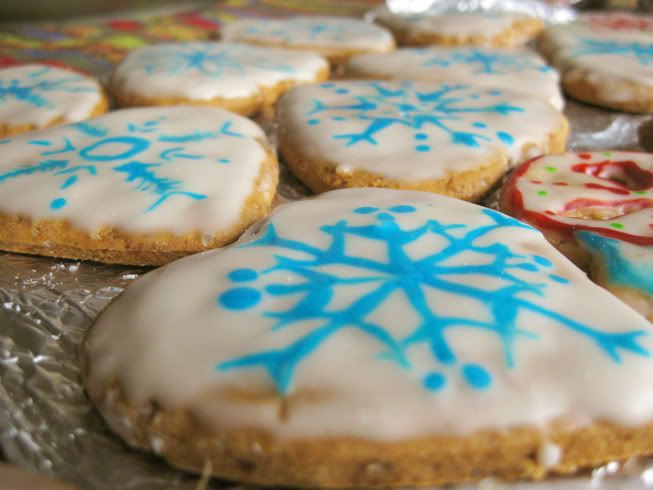
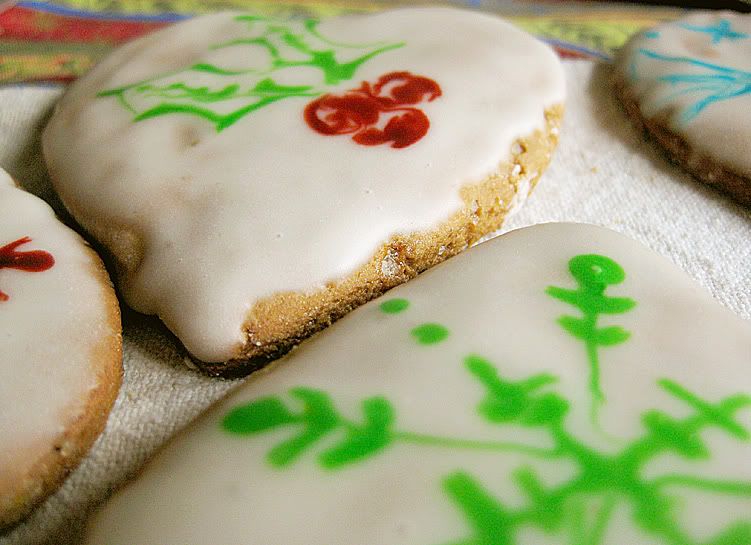
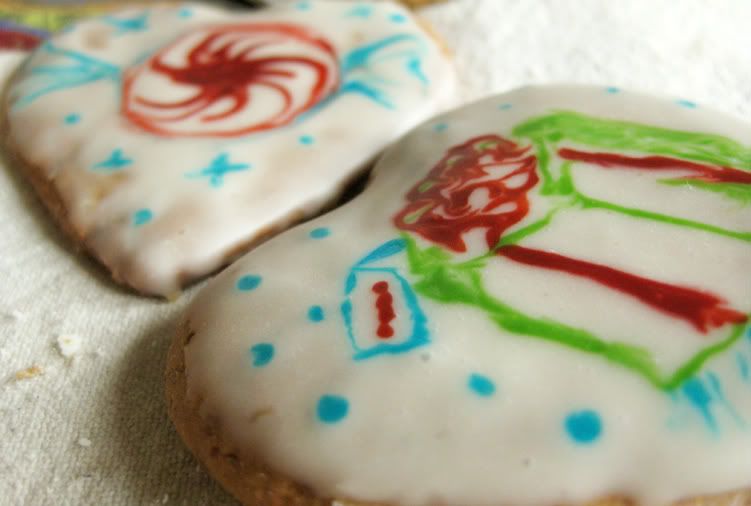
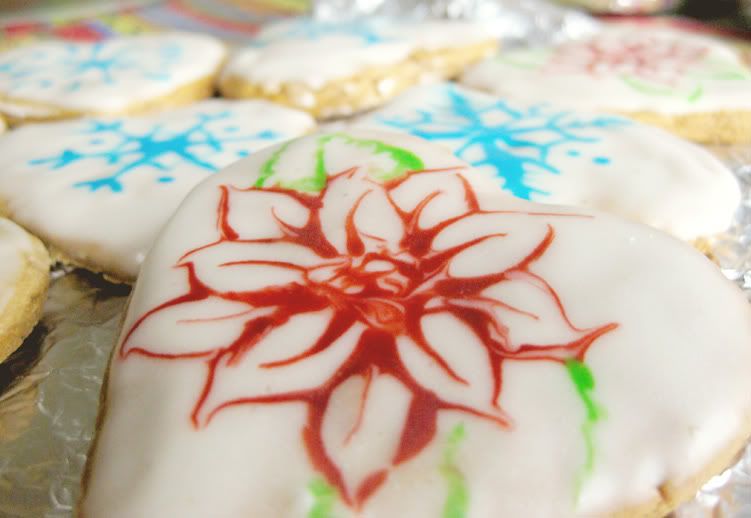
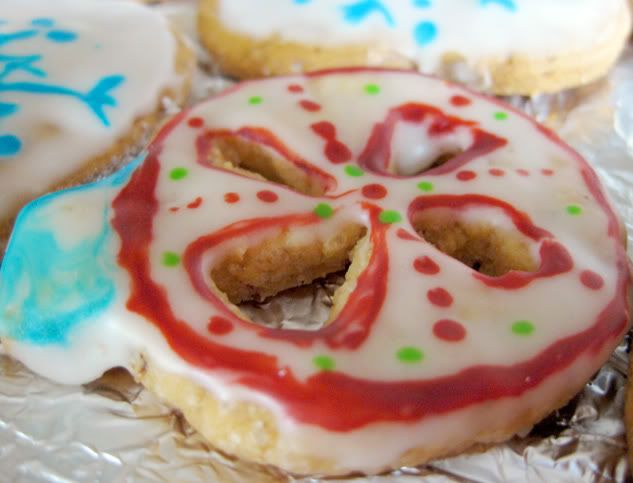
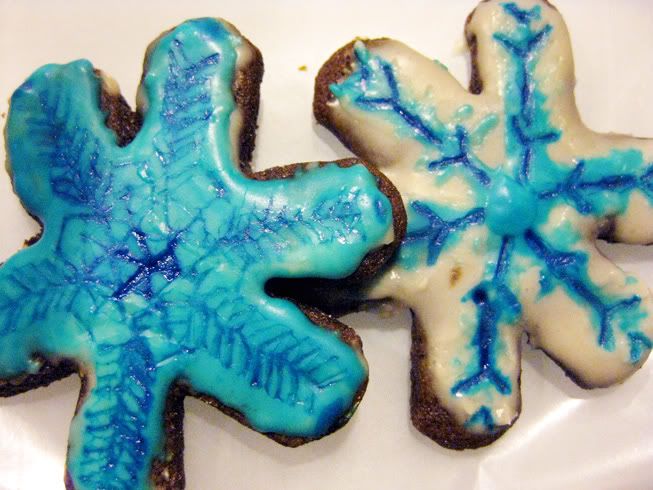
Finally I got the hang of the painted effect that I was
trying to do on my gingerflake cookies.

It is done by dipping the cookie in glaze and then using
a toothpick to spread colored glaze into pretty designs.


Separate a little bit of glaze to make the extra colors.
You won't need a lot, only a few drops of glaze for each.
Then add as much color as you need.

I added some orange extract for extra flavor and had some fun!

With each stroke you'll have to dip the toothpick to draw.
Its very easy and super pretty, check it out!

Don't let the glaze harden and dry before doing the color
or it won't work.


Saturday, December 25, 2010

Cookie Commotion & a Merry Christmas

Merry Christmas to everyone out there celebrating!
I haven't been able to get out here posting anything,
we had to take a last minute trip to Palm Springs to visit
with my Uncle who is not doing so well. So, our personal
Christmas is being postponed a couple of days until we
can get home and replenish our energy sources.

Since I'm a little backlogged I'm going to continue showing
off the cookies I've been making for my friends and family.
A lot of these ideas can be used through out the year for
different holidays or just if you feel like being fancy.


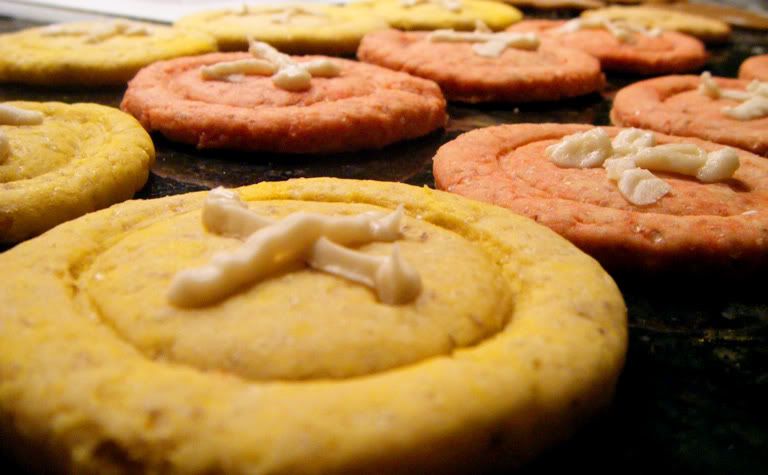
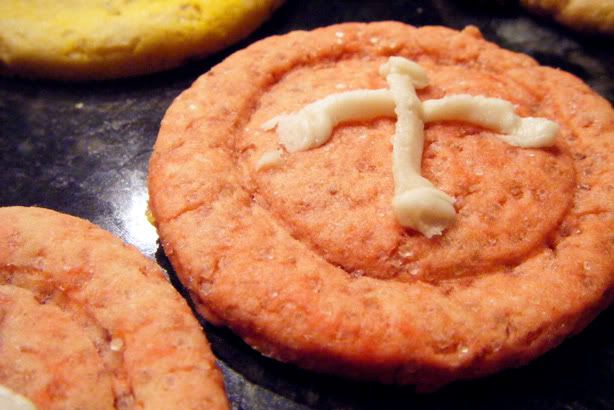
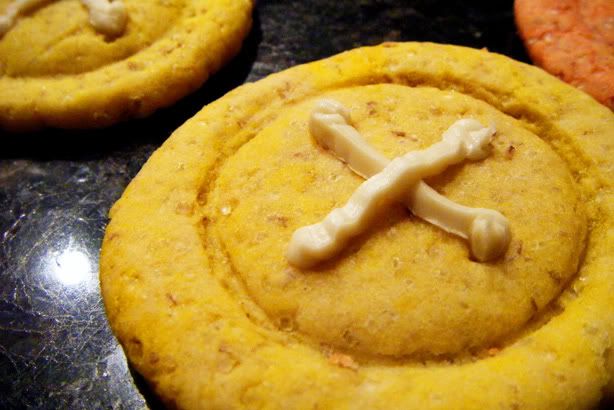
So here are my 'Cute as a Button Cookies'.
They are just some basic colored sugar cookies with a
decorating twist. I'm going to do these again in Easter
in a whole range of colors. The pastels are so cute and
they were perfect with just the little tiny bit of frosting.


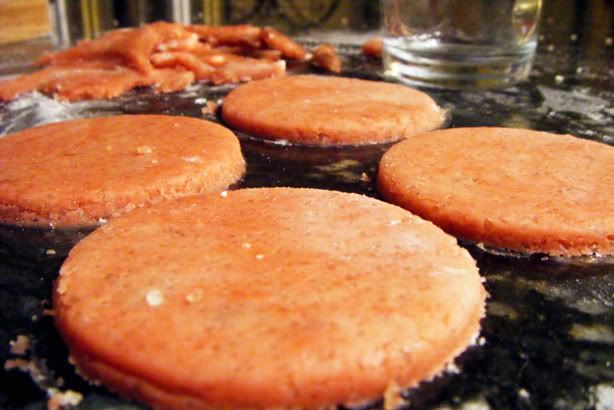
First you cut out a basic round shape.


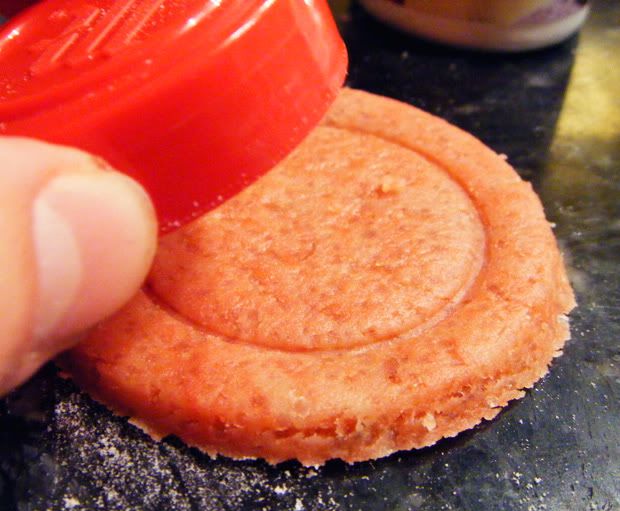
Then you use a lid to make a deep impression on the cut
out shape, to make the ridge of the button shape.
Add little holes for the button holes with a toothpick.


After they are baked you add a little bit of frosting
with a pastry bag to make the 'strings'.

You can of course flavor the frosting or the cookie dough
to match the colors. I was thinking of adding strawberry
or raspberry extract to the pink ones and lemon to the yellow.


I'll have more treats for you tomorrow. In the meantime,
have a beautiful holiday.

Wednesday, December 22, 2010

Christmas Cookie Commotion & Yuletide


I was really excited for Monday as Winter Solstice aligned with
a lunar eclipse. However, we've been getting some nice rainfall
here in Los Angeles and I'm certainly the last one to complain about
rain. I know our water reserves needed it more than I needed to see
a lunar eclipse. Alas, our night was cloudy.

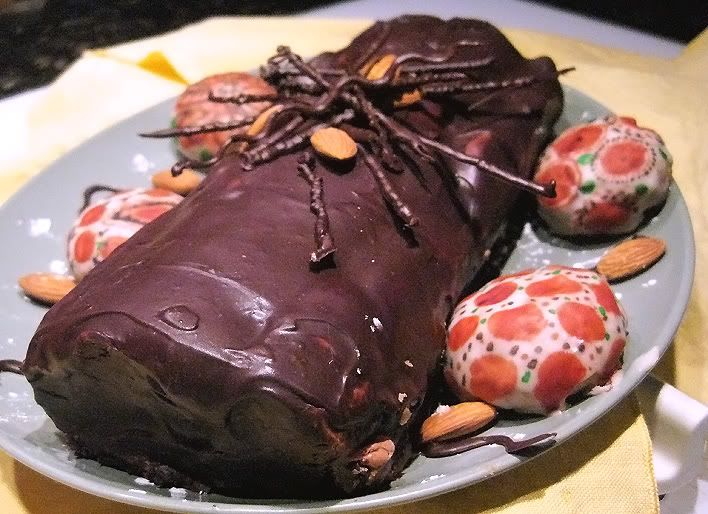
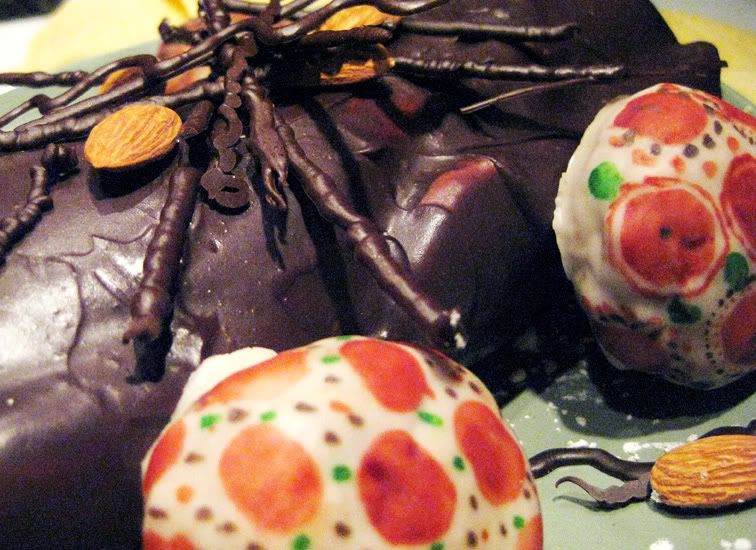
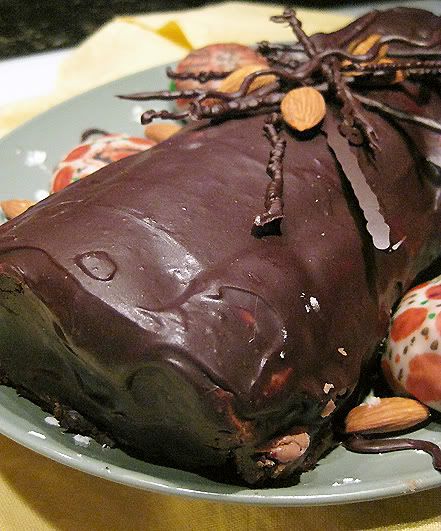
Yet, the rain certainly didn't stop me from making Buche De Noel:
A french sweet cake in the shape of a Yulelog. Otherwise known as a
chocolate heart attack! Traditional French versions are filled with
chocolate whipped cream and rolled with a egg-laden sponge cake.

I just used a basic vegan chocolate cake and made a special flavored
chocolate frosting for the filling.

My frosting is about 1 1/2 cup of powdered sugar, 3 tbsp cocoa powder,
3 tbsp earthbalance, a tbsp- 2 tbsp of soymilk and 1/2 tsp of raspberry
extract.


I went pretty overboard with the presentation and everything.
I frosted the middle (filling) and then frosted the log when it was
rolled up. Then I melted semi-sweet chocolate chips with a little
bit of soymilk to make a firm chocolate glaze. Usually it is just
chocolate frosting on the outside, scraped to look like a wooden
log. But I really like the glossy chic-ness of the glaze.
Very neo-traditional!


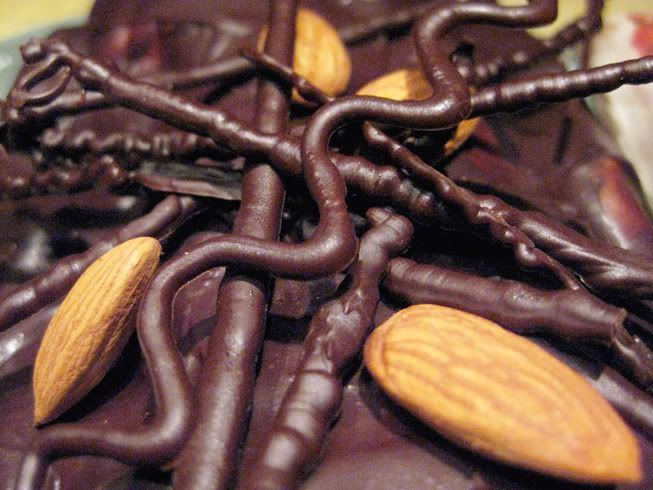
I melted some more chocolate chips by themselves and drizzled designs
on to wax paper, then froze them to make the twigs on the top.


Then I topped it with toasted almonds, some powdered sugar for snow
and some decorated truffle cookies.


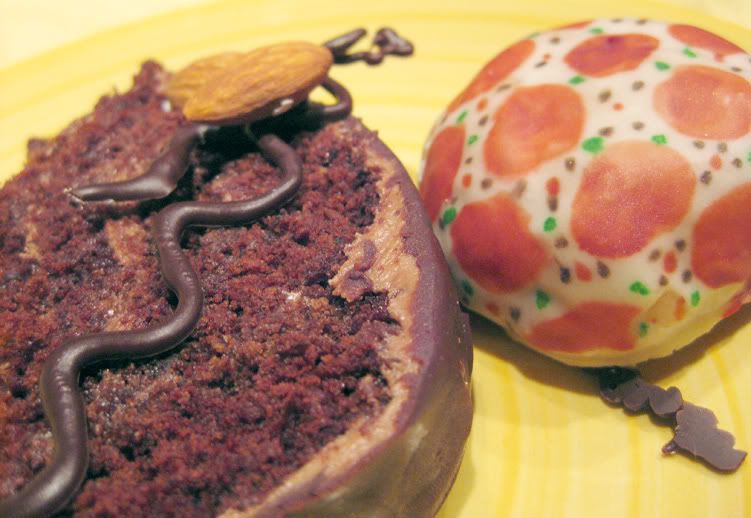
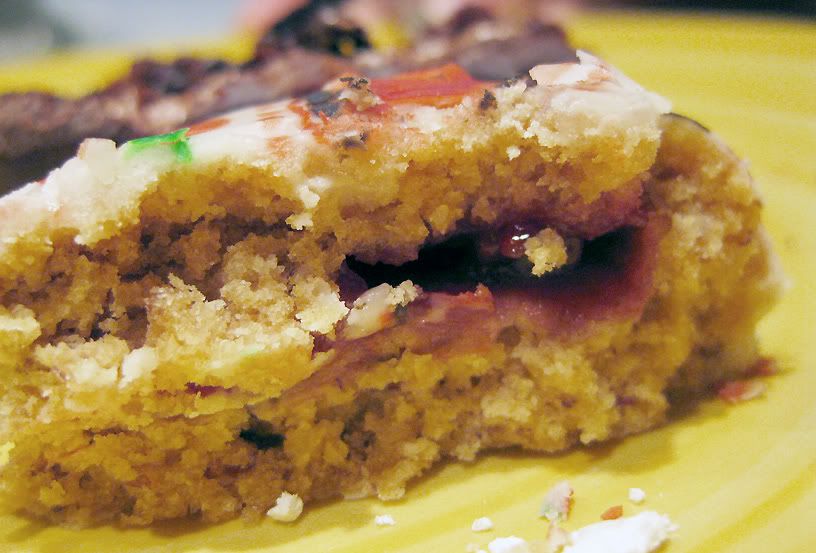
Traditionally, the plate would be adorned with meringue mushrooms,
but I make sugar cookies filled with raspberry jam. I then glazed them
and painted them with coloring and vodka, like my snowflakes from
yesterday.


Here you can see the jam in the little pocket. I just shaped them
into little bowls, plopped in the jelly, then covered it up with
another piece of dough and rolled it gently before baking.


Monkey-man had to work late, so this was his surprise when
he came home. I love Buche de Noel and its much more eco-
friendly than burning a wooden log!

Tuesday, December 21, 2010

Christmas Cookie Commotion: Gingerflakes


I don't know how many times I've mentioned it, but as I've probably
said at least once-- gingerbread is my absolute favorite
cookie
. I love the depth and muskiness of molasses along with the
soft and chewy texture of the cookie itself. I could live off of them,
at least for a bit.
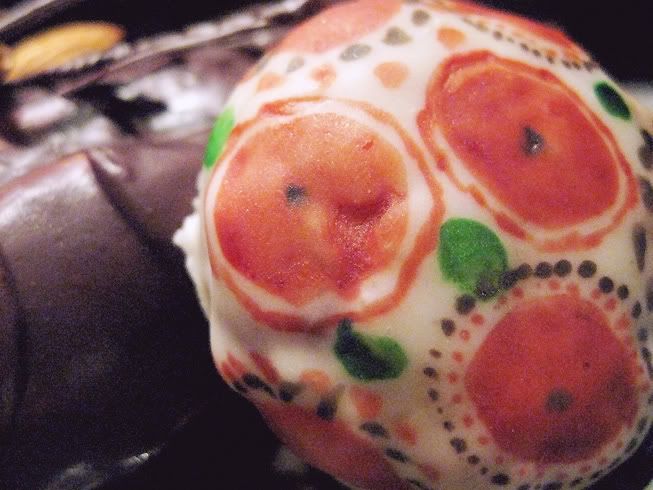
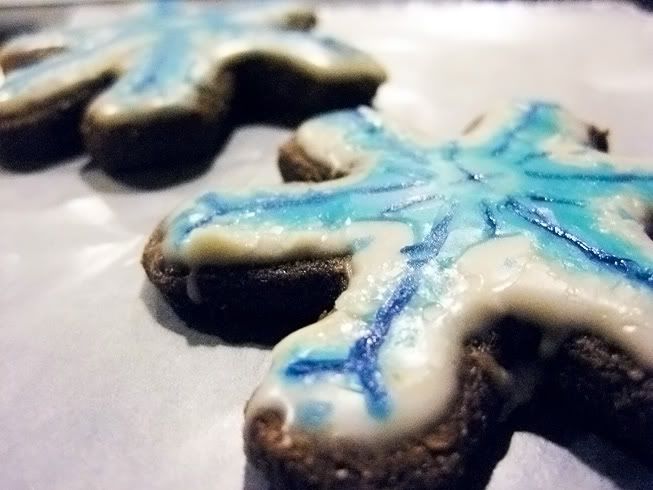
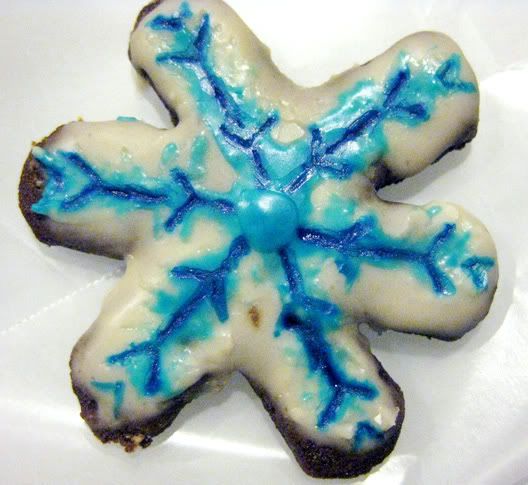
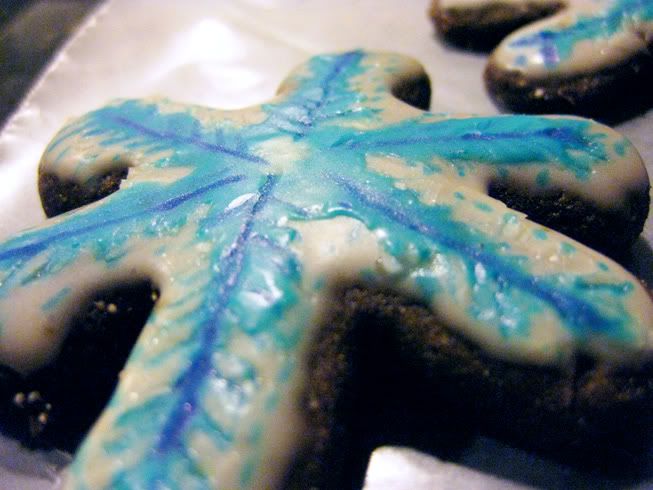
Instead of the typical gingerbread men and piped icing, I did some
glazing that was perfect in my head but came out a little bit weird.
I wanted to try the effect of glazing and spreading drops of color
with a toothpick, but I let it dry to much. So I came out with some
smeared bizarre looking flower-flakes.


So I pulled one of my favorite tricks that I learned from doing fondant
and cake decorating... Coloring and vodka. I mixed some blue coloring
with a tsp of straight vodka and painted on the patterns I had wanted
to do.


I used a clean new paint brush and gently tapped the brush into
the glaze, so it didn't drip and had a darker color.


Personally, I really like the result. But like I said yesterday,
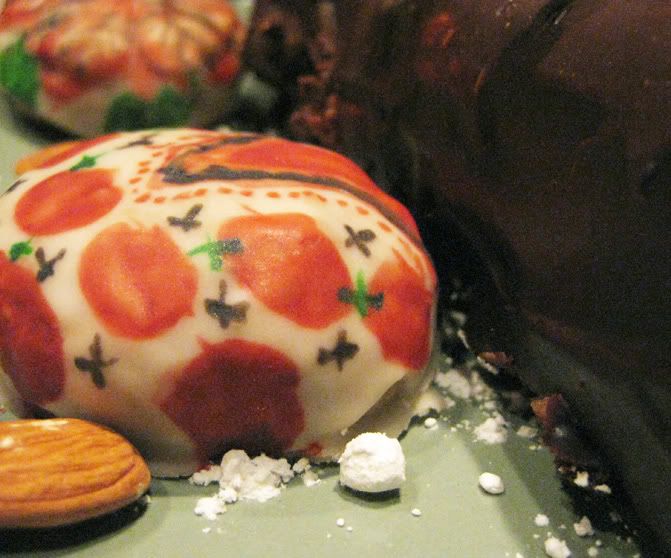
I'm going to get a properly shaped snowflake next time.
Tomorrow I'll share my Yule pictures with you, in the meantime
here is one of the Christmas cards I made to send out this year!

Monday, December 20, 2010

Christmas Cookie Commotion!

I originally saw these done in a non-vegan cook book and wanted to
try the idea out for myself, just to see how they would turn out.
The original is full of butter, eggs, and refined candy-- lifesavers
I think. I'm not so much concerned about the candy as I am about
the artificial food coloring that goes into those or jolly ranchers.

There is a lot of things that I will tweak on my second try,
but I'll tell you about that after. Overall this is a really awesome
idea and pretty fun, albeit time consuming. But if you've already
allotted a good amount of time to decorate cookies, there are no
worries there. The project?

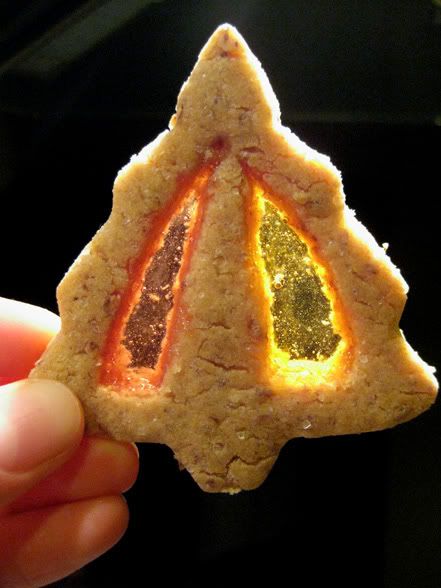
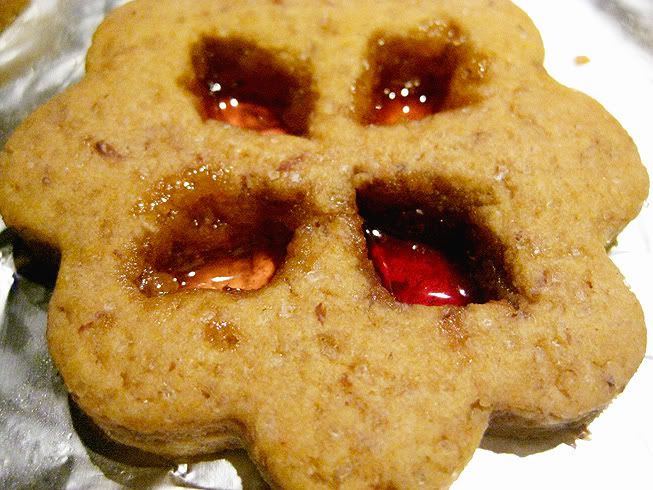
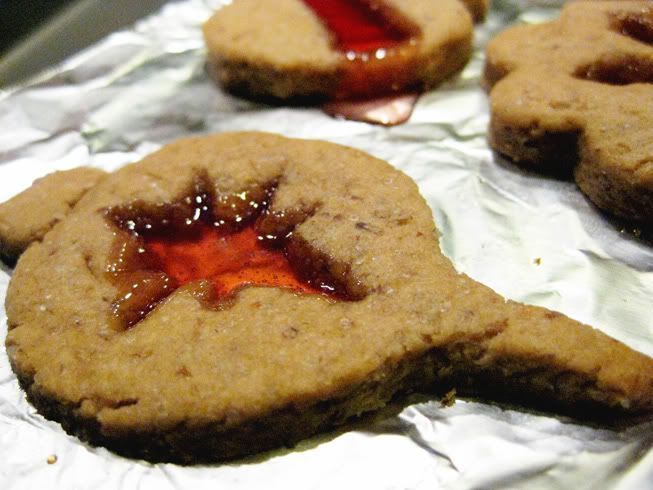
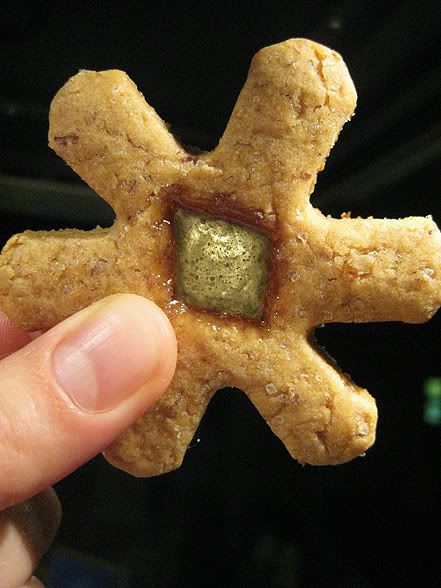
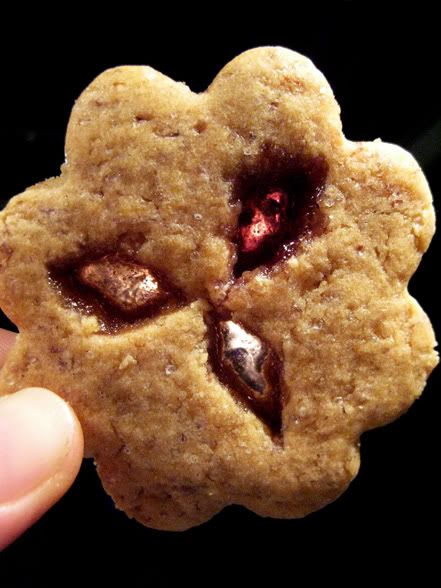
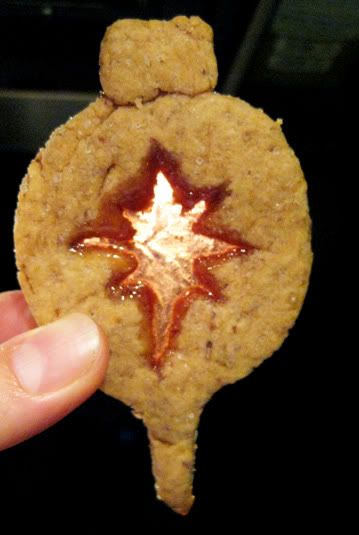
Stained Glass Cookies


I have no doubt that you'll surprise your friends and family by gifting
these, as they are pretty stunning.

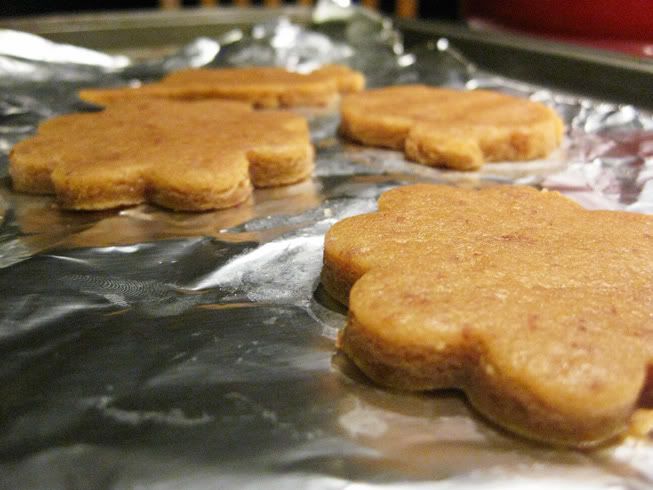
You start with a basic sugar cookie recipe, roll out, and cut out your
desired shapes...


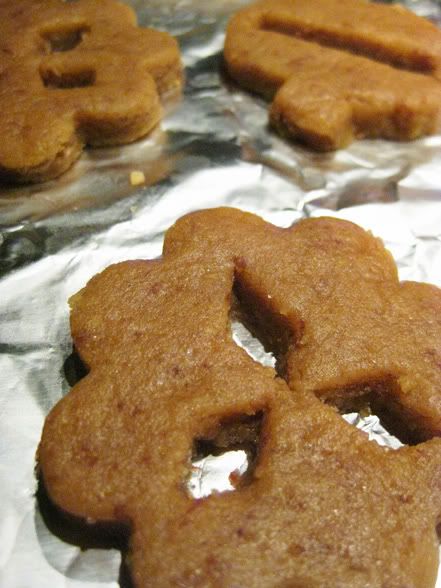
From there, you cut out some small shapes from the cookies that will
serve as the windows.


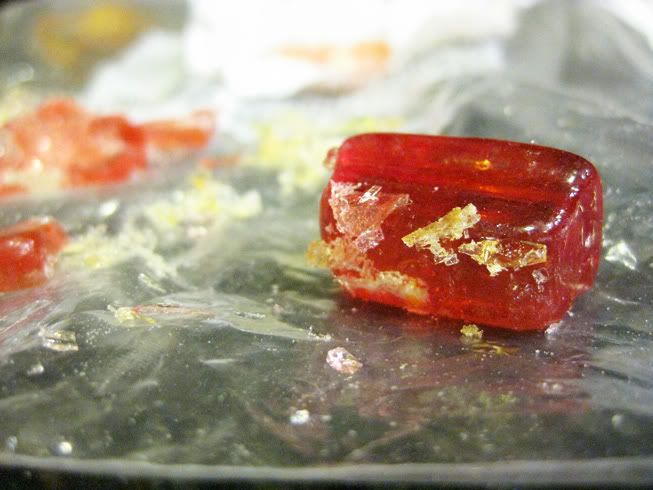
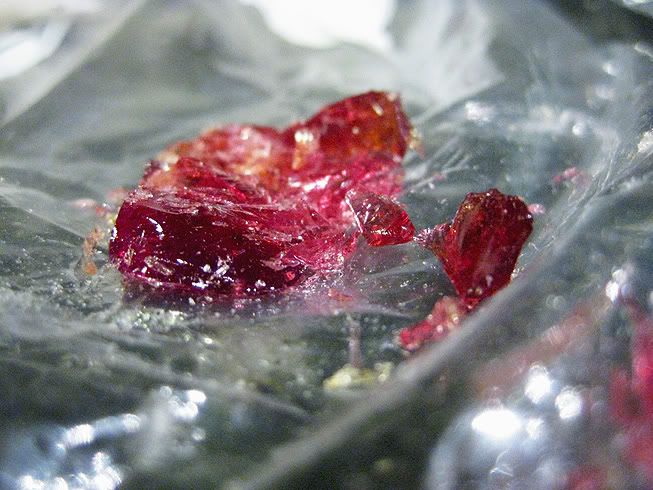
Next you're going to select your hard candies.
I'm using Fox hard candies. They are colored from fruit and vegetable
sources and sweetened with juices. I believe they are from the UK,
judging from their vegetarian symbol on the back of the packet. I
got them from Cost Plus World Market for $2.99.


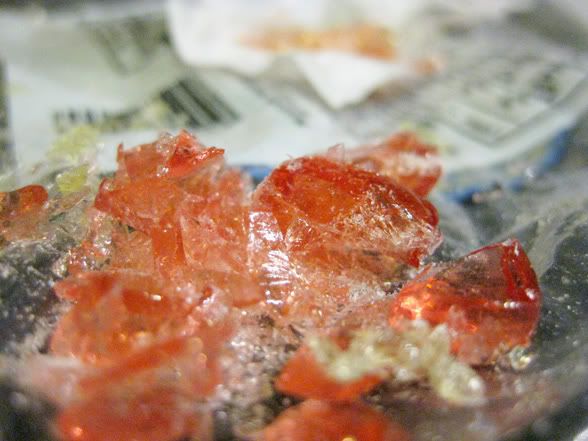
The original author says to put the candies into a plastic bag and
pound them with a hammer. But I just kept mine in the original wax
paper wrapper and hit them with my marble rolling pin.


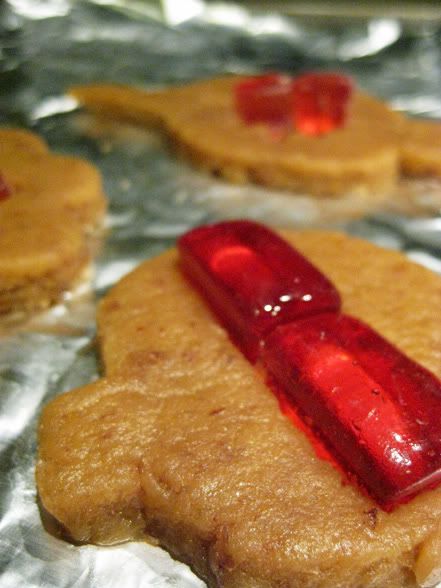
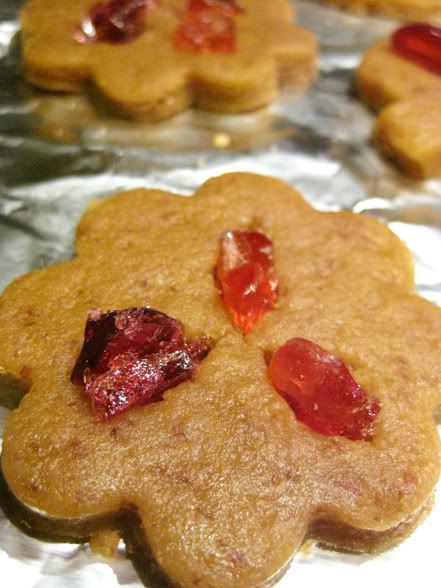
Next fit the candies, whole or broken into the cut shapes.
This took the most experimentation because I was putting too
large or too small candies in the holes.


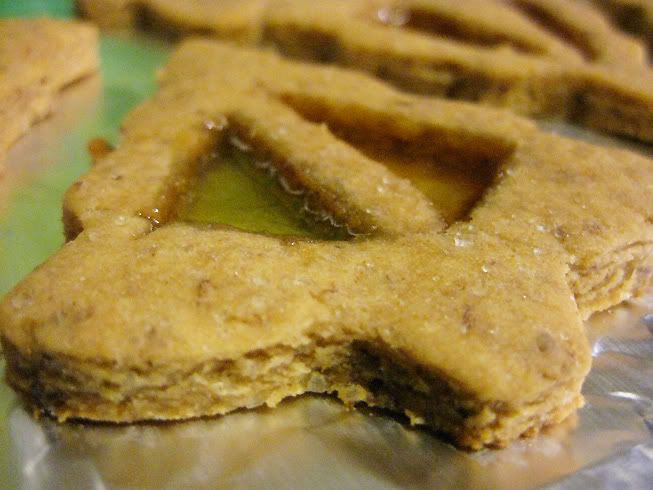
You'll be baking these on foil or parchment paper as to remove
them from the hot pan to cool. Also press down around the edges
of the hole so the candy does not leak down under the cookie while
they are baking.


Once they are baked, let them sit on the pan for one minute. Then
remove the paper/foil with the cookies on it and let that sit for
about 20 minutes, until the candy and cookie are completely cooled.


The things I would change:

I'd definitely not use whole wheat or even the white whole wheat
flour again, as it made for a much darker cookie. If doing a darker
cookie I'll make it a chocolate or gingerbread.

I'll be flavoring it with almond extract instead of vanilla, to keep
the colour of the dough lighter.

Get a better snowflake cookie cutter. Frankly, the snowflakes I made
looked pretty... 'special'. They looked like trippy hippy 60s flowers,
not snowflakes.

I'll go back to my go-to sugar cookie recipe. I used a veganized
version from the original recipe from the book and it was too dry
and the cookies cracked a little.


Stay in touch for my next cookie adventure!
Tonight I'll be doing my traditional Buche De Noel for a perfectly
Bewitching Yule, my true holiday celebration! But don't tell Monkey-
man-- It's a surprise!

In the meantime you can check out my other cookie recipes:

Pumpkin Gingerbread Fluffkins
Classic Gingerbread
Applesauce Oat Cookies
Snickery Doodle Cookies
or some Pumpkin Biscotti with Cranberries

Yule Blessings and enjoy the total Lunar Eclipse tonight!

Food & Drink Blogs Nutrition blogs & blog posts