Showing posts with label earthbalance. Show all posts

Tuesday, October 11, 2011

Mexican HOT Chocolate Cupcakettes

Monkey Man's Aunt had her big Five-O last week, so I've been planning
on sending some vegan goodies that direction for a while. Since her
party theme was Fiesta, I couldn't resist going loco for flavour.

This is part-one of these fiesta cakes. I call the mini ones cupcakettes
because I think it sounds cuter. And this is my first official blog
featuring cupcakes. I don't really care for them. If I have the option of
pie or something else, cupcakes are the last thing I would order.

SO. If I don't really like cupcakes and I say these are good...
You better bet these are smokin' Good!

For the initial recipe inspiration, I have to give a big 'ol shout-out
to "Yeah That Vegan Shit" and her Mexican Chocolate Cake!

I basically pumped up the spices, HOT factor, made my own frosting to
top 'em, and overall revamped it for richness. Not being able to resist
chipotle, I had to throw some in. I don't care if that bandwagon has
come and gone as far as food fads are concerned, I am forever sold on
the smokey spiciness!

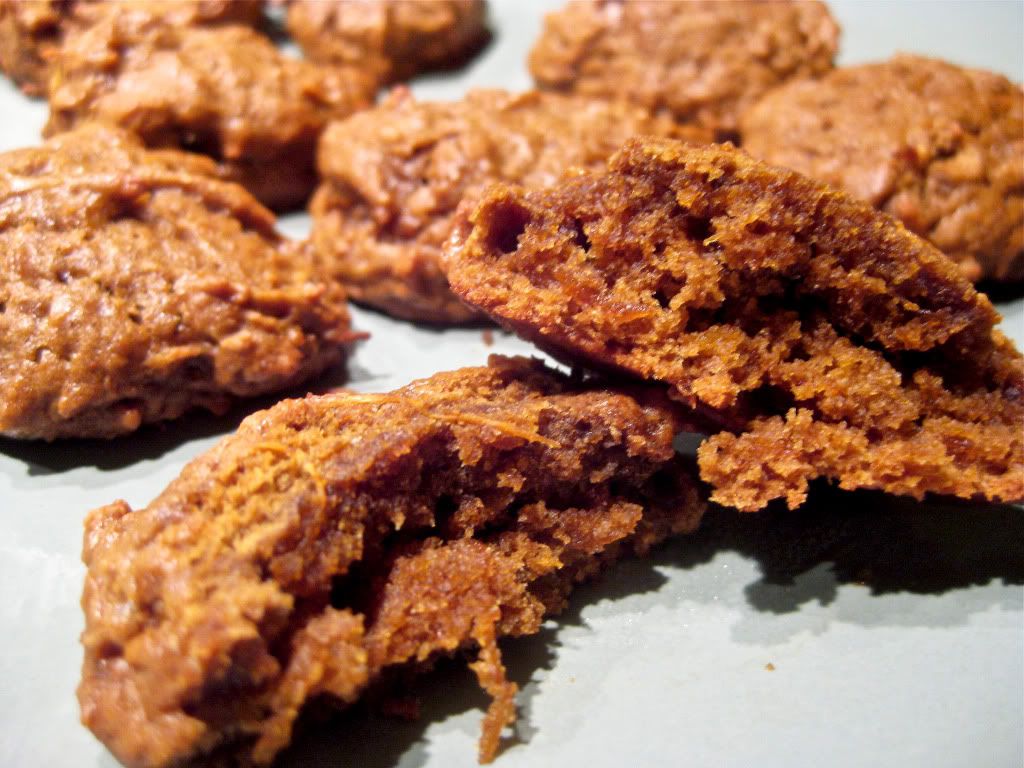
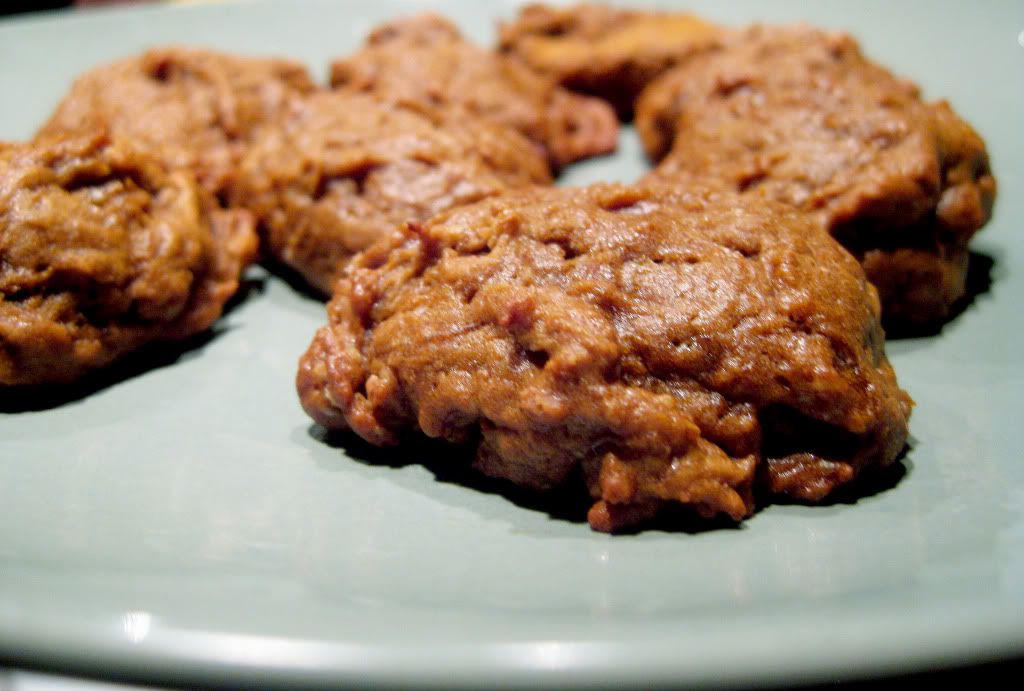
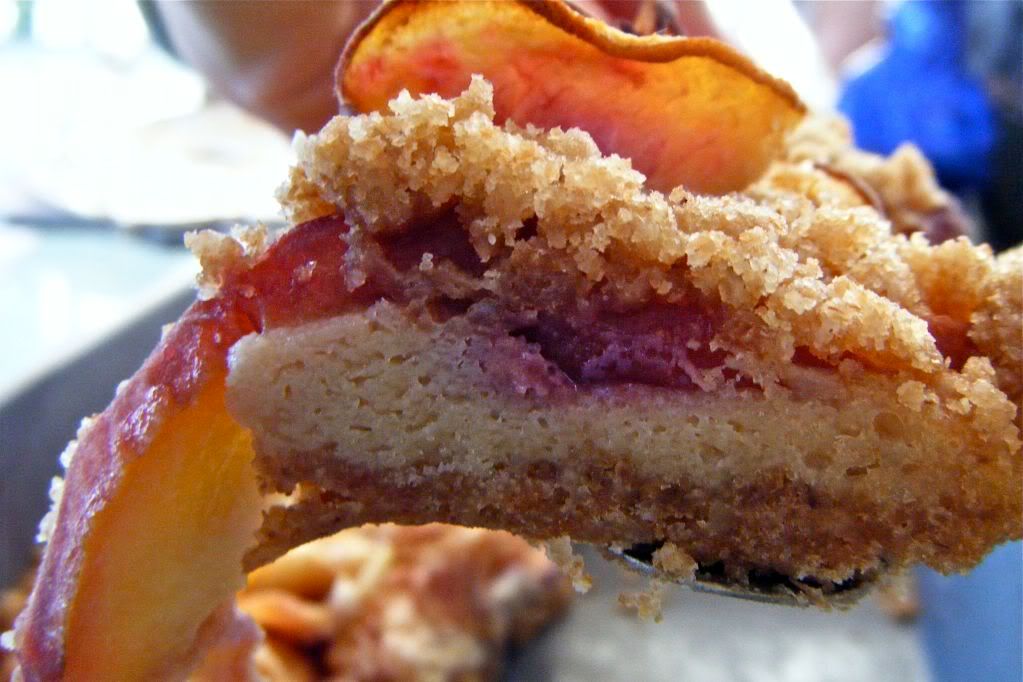
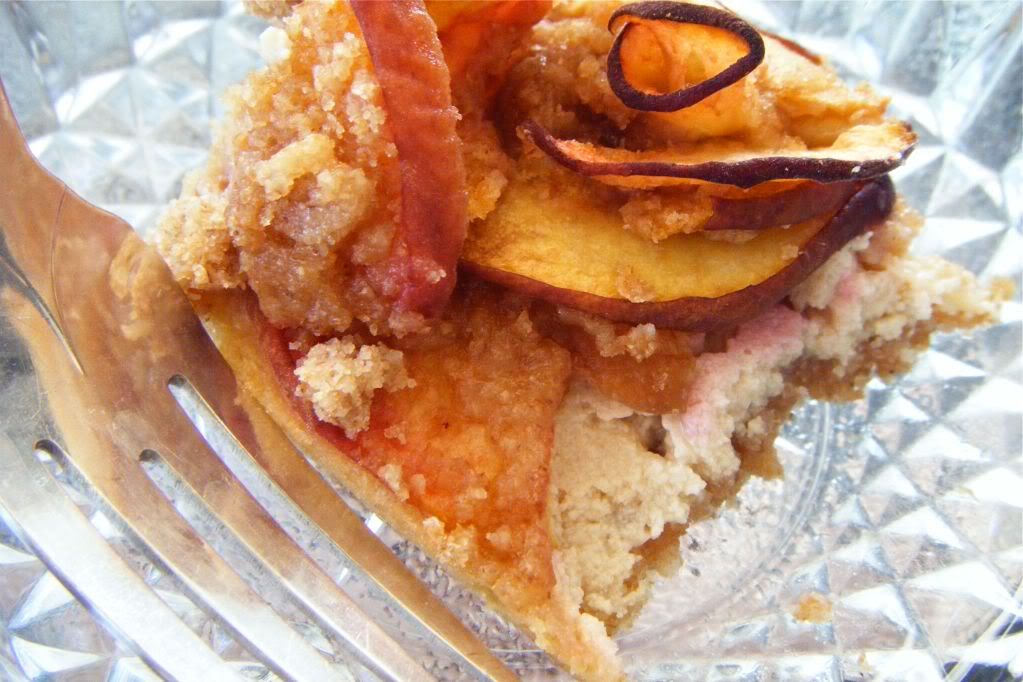
These were rich, moist, and oh so spicy. Not overwhelming, but you
definitely get a warm kick after the first bite.

(Please be warned that I have a very high heat tolerance,
so please taste as you go).

Mexican HOT Chocolate Cupcakettes


Ingredients (yields 36-40 cupcakettes)

1 1/2 cups cake flour
1 cup sucanat
1/2 cup cocoa powder
1 tsp baking soda
1 tsp cinnamon
1 tsp cayenne pepper
1 tbsp mild chili powder
1 tsp vanilla extract
1 tbsp lemon juice
1 chipotle in adobo sauce, diced
1/4 cup vegetable oil
1 cup almond milk

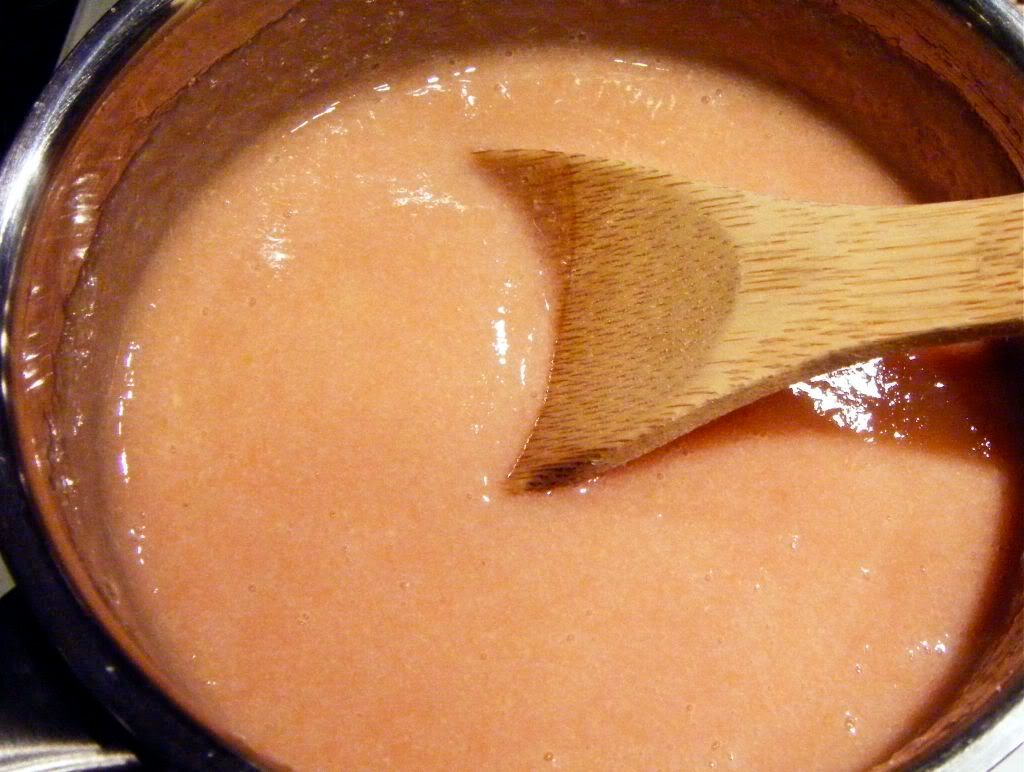
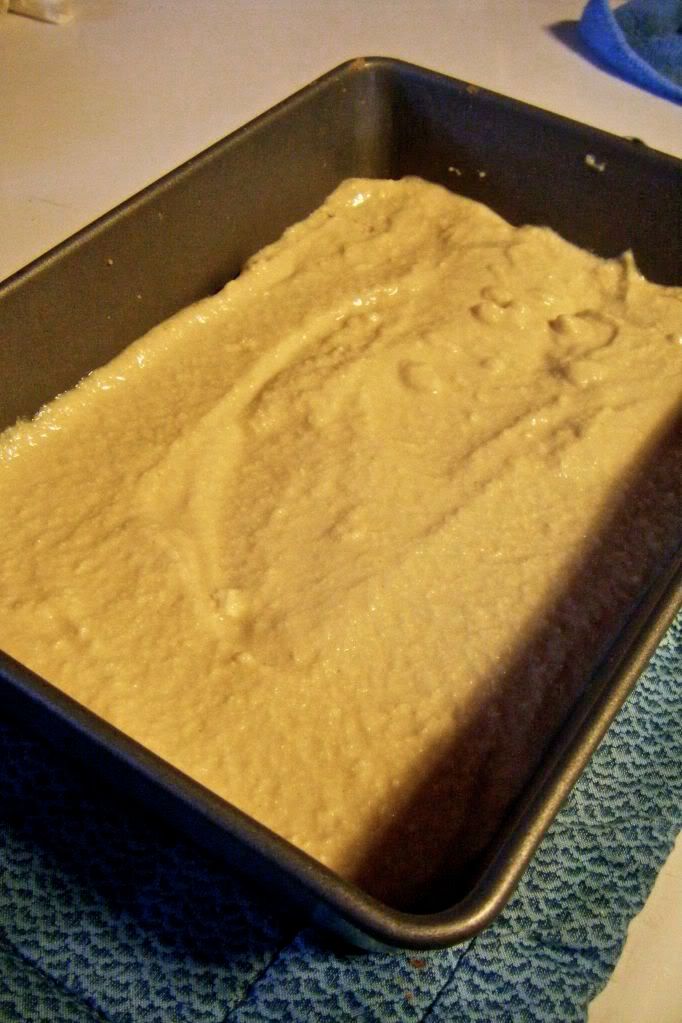
Add the lemon juice to the almond milk and stir, set aside. Sift together
all the dry ingredients, make a well in the middle of the bowl to add the
wet ingredients.

Add the vanilla, oil, and chipotle and about 1-2 tbsp of adobo sauce to
the almond milk. Pour into the dry ingredients and mix until just
combined.

Pour into mini or regular cupcake cups and bake for 12 minutes at
350°F, or until a knife inserted into the center comes out clean.

It depends on what size you’re baking. Take a peek through the
window of your oven first, if they look like they are still rising—
DO NOT open your oven door! This could cause your cakes to fall!

Once baked through, remove from tray and allow to cool on a baking
rack before frosting.

Mex Hot Chocolate Frosting

1 1/2 cups powdered sugar
3 tbsp cocoa powder
1/4 cup earthbalance
2-3 tbsp almond milk
1 tsp vanilla extract
1 tsp cayenne
1/2 tsp cinnamon

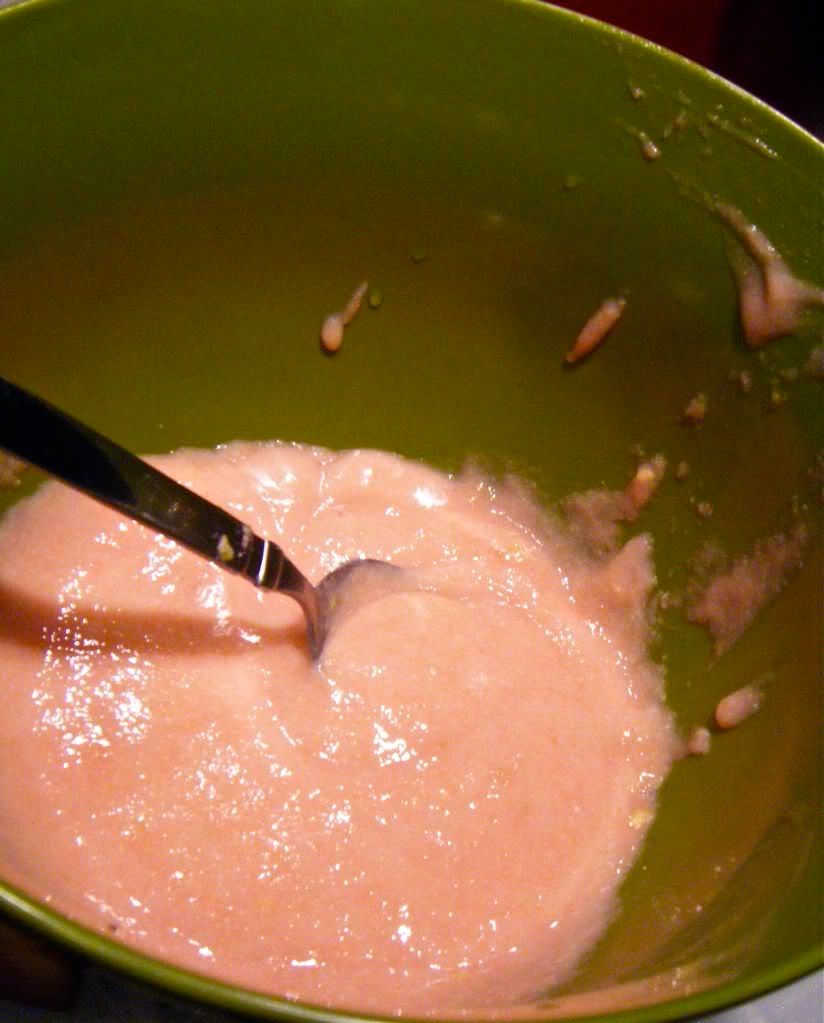
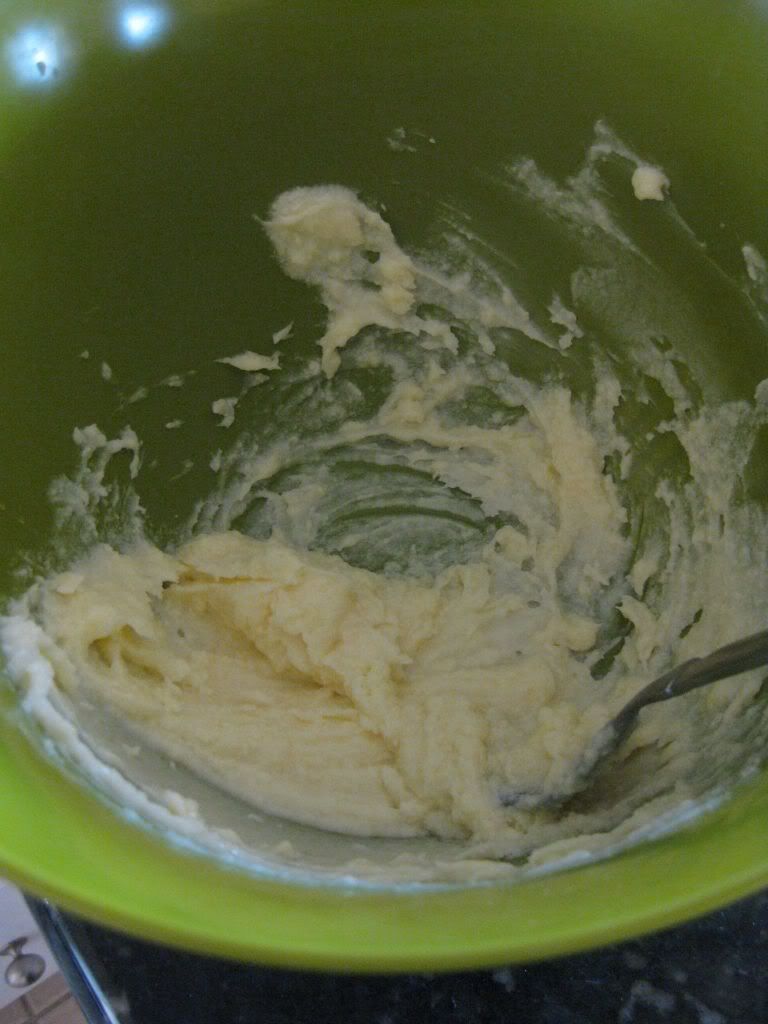
Whip together the powdered sugar and the earthbalance, then add the
vanilla, cocoa, and spices. Add the nondairy milk a little at a time to
get the right consistency. It should be soft and smooth enough to pipe,
but not wet or runny. If it is too wet, just add a little extra sugar and
cocoa to absorb the moisture.

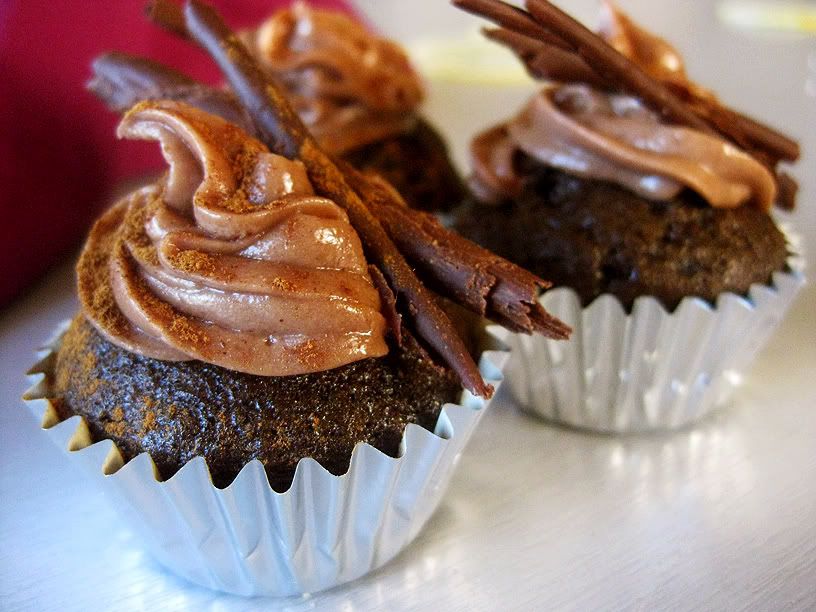
Spoon into a small star and pipe on your classic swirls, or whatever
design you like best. I topped them off with a chocolate cigarette and
a dusting of cinnamon.

Check back soon for some fan-frickin-tastic Margarita Cupcakettes!

Tuesday, January 25, 2011

Beet Bejeweled Risotto

Since we had recently gone a little over the top with bread, we hit up
some standard burritos and tacos, and then I had to move on
to a different starch for my meals.

I’ve recently developed a love affair with risotto. There are so many
myths surrounding risotto, telling people it is too hard to make
unless you’ve got Gordon Ramsey screaming over your shoulder,
telling you what to do. I’m here to tell you that risotto is super easy.
If you can pour broth into a pan and stir rice around for a half
hour, you can make risotto.

Of course I like twisting the flavours around. You’ll usually see
some tomato and basil risottos-- anything you might find replicated
from a pasta recipe. Most of all I wanted to change the colour of
the actual dish, so what better than beets? The beets are steamed,
peeled, and chopped before hand so that they are ready to go when
you’re making the risotto.

Its perfect because I wanted to start up some themed dishes to get
you all ready and in the mood for St. Valentine’s Day.

Yes, I know a lot of people really hate St. Valentine’s Day.
Especially, if you’re single or sometimes with a really annoying person.
Well if St.Valentine’s Day is about love, what about loving yourself
a little? Love yourself with a special meal, some dark chocolate,
a glass of wine, and your favorite movie.

Or throw a little dinner party and then you won’t be alone. Maybe
invite all your single friends so no one feels alone out there in
the world of candle light couple events... I honest have never seen
St. Valentine’s as something corporate or designed to make you feel
bad for not having a significant other. I always used it as a day to
remember all the people I love. I’d make cards, cookies, or candy for
all my friends and family. Later on in life, I got little things here
and there from boys and that was nice too. But I wasn’t expecting it,
so it was even better.

Getting back to cooking.... If you are trying to multi-task while
making risotto, good luck. I mean forget it. You’ll probably end up
with some hard, sticky rice. You can hardy leave the pan alone for a
minute without it drying out.

So make sure everything else is set and ready to go. Feed the cats,
take out the dog, avoid interruptions. And enjoy~

Bejeweled Risotto


3 medium beets, cooked, peeled and chopped
1/2 large onion, minced
4 cloves garlic, minced
3 tbsp earth balance or olive oil
1 cup vodka
6-8 cups of vegetable broth
or water with a few bouillon cubes dissolved
2 cups arborio rice
1/4 cup daiya moz cheese
black and white pepper
sea salt
sage, thyme, lemon zest

First heat the oil in a large frying pan or saute pan.
Add the onions and garlic and cooking in the oil for a few minutes
at a medium to low high heat.

Add the rice, coating well with oil. Cook for about two minutes,
stirring. Add the vodka, making sure that it is warm or room temp
to not shock the rice leaving it unable to cook properly.

Once the vodka is almost absorbed and the liquid looks sparse,
add a 1/2 cup of warm or room temp broth. You will continue to do
this. Add broth, stir, cooking it just at a light simmer until the
liquid is not quite gone, add more broth. Don’t let it get too dry.

Once it starts to look puffy and sticky, start testing it to see if
the center is cooked. Once it is near al dente, add the seasonings
and chopped beets. Continue to cook until the beets are hot and the
colour has distributed nicely. Add more broth still as needed.
Finally, add the daiya and stir until completely melted. Serves 4-6

I had mine with some garlic-chili grilled tofu! Yum!

Wednesday, January 5, 2011

Plethora of Panini: Beet on the Brat


One of Monkey-man's Christmas presents was a cast-iron panini press
that I seriously had to hunt down. He's been ogling cast-iron pans
for awhile and next to pizza I am pretty sure sandwiches are his
favorite. Finding it was a hassle. I knew Macy's carried them and after
dealing with countless, stupid employees-- I found one at the Macy's
on Lake. Thank goodness my Monkey-man enjoys the more practical
gifts because this has certainly opened us up to a new series as we're
breaking in the ol' cast-iron.

Cast-Iron takes pampering. You should never wash it with soap, leave it
wet or use metal utensils on it. If you cook things on it that require
cleaning after-- something that sticks-- than clean it with very hot
water and a scrubber. Dry immediately afterward and oil to prevent
rusting. It may seem scary, but if you're cooking something like plain
toast, etc. you just brush it off, re-grease it and leave it. This
will age and season your pan.

I've seen people that cook meat just leave their pans with the fat, crap
and everything. Yeah, gross. Many argue that you should NEVER clean
your cast iron, but I do not agree. I say that you should try to never
use soap on it-- or at least don't use a lot and only when you really
need to. I believe in caring for your dishes properly, but I also
believe in not getting sick from bacteria festering on a pan.

Having said that, cast-iron is great because you can cook on the stove
and then stick it straight into the oven or actually use it as a baking
dish for things like corn bread or roasted vegetables. Our has ridges,
so it wouldn't be entirely ideal for that, but it is a possibility.

On to the food!
Panini, or Panino, is basically an Italian Sandwich. More accurately it
is a bread roll. A stuffed Panino is a roll stuffed with sandwich fixings.
This is derivative of the Italian word for bread: Pane. Often they are
served hot or grilled on ciabatta or focaccia. Americans refer to any
grilled sandwich as a panini, as being grilled is the deciding
characteristic. Whereas any sandwich is called a panini in Italy.

If you don't have a stove press you can use an electric one. Some
waffle makers double as panini presses. You can use a heavy pan and
a brick wrapped in foil. Just allow the brick to heat with the pan
before adding your prepped sandwich. Or you can just set a heavy pan
on top of your sandwich and plan on flipping it.

Part One: Beet on the Brat Panini

Ingredients

Beets or beet pulp (See Below)
2 cloves garlic, minced
vegan cream cheese
mustard
Miso
1/2 Red Onion
Vegan deli slices: ideally field roast, sliced seitain, or something
similar to yves roast slices. I'm sure Tofurky would be good too...
But stay away from the bologna style stuff.
Olive Oil or Earth Balance

When I make Borsht I blend the whole pot and push it through a mesh.
I usually end up with about two cups of beet pulp that I use to fill
dumplings, spread on sandwiches or mix into something else.

I had some left over beet-pulp from our postponed Christmas Dinner
that I still needed to use. You can steam beets and blend them with
a little broth, garlic powder, and salt and pepper. Or you can just
steam a beet and slice it very very thin.

Heat your pan and saute the sliced onion until soft and caramelized.

I made two sandwiches here... spreading vegan cream cheese, mustard,
and light miso on one side of the bread and then sprinkled it with
diced, raw garlic.


Oil or grease the other side of the bread.
Arrange the deli slices on the side with the cream cheese.
Spread or arrange the beets on the other side of the sandwich and
top with the cooked onion. Squish the sandwich together and grill
according to the type of pan you are using.

Cut in half and serve!

Thursday, November 18, 2010

Pumpkin Patch Part Six: Pumpkin Gingerbread Fluffkins

I have to confess I am more of a cookie dough person than a
cookie person-- that is with the exception of gingerbread.
During the holidays I can practically live off of gingerbread
I almost did when I was a teenager.

I used to work in retail and during the holidays we would have
to start work at 3:30 in the morning. So I certainly wasn't
hungry enough for breakfast, but I had to eat something for
some energy... So, I'd eat a gingerbread man. Then another one
on my break. By then I was off at noon and I could go home and
eat some real food, but I was so wiped I wasn't really hungry.
Yeah, so I'd eat another gingerbread.

Bad of me, I know.

But combining pumpkin and gingerbread was such a natural idea
to me. Two of my all time favorite things combined into one
delicious morsel. I've seen a lot of pumpkin gingerbread
before, but in loaves-- not cookies. I like the rolled gingerbread
more, but these are still pretty tasty.

The rolled gingerbread comes out with either a little crunch or
snap or kinda chewy. I like the chewy kind. Drop gingerbread
comes out soft and fluffy-- like these! That is why I called them
fluffkins!

Pumpkin Gingerbread Fluffkins (about 2 batches)


1 cup cooked pumpkin, pureéd
1/2 cup turbinado sugar
1/4 cup earth balance
1/4 cup molasses
1 tsp vanilla extract
1 1/4 cups flour
1/4 tsp salt
1 tsp cinnamon
1 tsp ground ginger or 1 tbsp fresh grated
1/4 tsp nutmeg
1/2 tsp baking powder

Cream together the pumpkin, sugar, and earthbalance. Next add
the molasses and vanilla and set aside.

Sift together the flour and other dry ingredients. Add this
slowly to the wet and mix until just combined.

On a greased cookie sheet drop a large tablespoon of dough.
These don't spread that much, so an inch and a half apart is fine.

Bake at 375F for about 12-15 minutes. Allow to cool briefly and
then remove. Enjoy with some rice or soynog! Yum!

Wednesday, October 27, 2010

Taste of Aloha Part Six: Guava Jelly for da belly

I encountered an amazing amount of luck when I stumbled upon a
vendor at the Sunday Claremont Farmer's Market...

We hit it up at the tail end when vendors where packing up and stuff
was getting marked down left and right. I grabbed some heirloom
tomatoes, onions, green beans, and squash-- Monkey-man got his rye
bread.

On our way out I noticed someone had a bucket of small greenish-
yellow fruits. As I got closer, the smell was unmistakable. Certain
parts of the year these trees with be laden with fruit, most of it
falling to the ground and rotting.

Guava has a smell that I cannot compare to anything else. Slightly
citrus-y, alcoholic, shampoo, tropical... Strawberry guava is an
invasive species, but near to impossible to control. We had a few
in our yard that kept coming back no matter what you did.

They would grow so incredibly high that it was dangerous if left alone.
After cutting some down in our yard, we'd pour vinegar onto the
stumps and still they'd come back.


Guava is extremely pungent. I bought a pound and while we only
had them out for a day, you could smell them everywhere in the house.
The skin is edible, similar to that of a fresh fig. The seeds are also
edible, but kind of crunchy so some people will spit them out.

They are delicious blended up into smoothies and juices, but just
be sure to strain them before drinking or you'll get seeds. The taste,
like the smell, is unlike anything else. I think of it as close to the
strawberry candy flavour with a tropical citrus twist.


Pretty much every where you go to shop in Hawaii you will find
some type of Guava or strawberry Guava jelly or butter.
Here I make both...

Guava Jelly for yo' belly

1 lb of guavas- I used a mixture of pink and white
3/4 cup raw sugar

Cut of the ends of the guava and quarter. Pulse through a processor
until the skins are blended. Push the pulp through a strainer with a
spoon or squeeze through a cheesecloth to remove the seeds. You will
get something that looks like melted ice cream.


Pour into a medium sauce pan and add the sugar. Heat over
medium-high, stirring constantly. Cook for about 15-minutes to cook
off some of the liquid and thicken the sugar.


Once it looks to be about the consistency of preserves or a thick
sauce, remove from the heat and either can and process or allow to
cool.

This makes enough for a 1 pint jar

First we allowed it to cool and ate it over toast and tofutti better-
than-cream-cheese.


But for breakfast I made it into a Guava Butter spread. I only made
enough for breakfast because its not the ideal health food if you
know what I mean.

It is basically 2 parts guava jelly and 1 part earthbalance. Melt
the earthbalance and stir in the jelly. Pour into a small dish and
chill or freeze until it re-solidifies.


I would try your local farmers market and ask around for where to
possibly find some guava. Better yet, if you have a mexican market
near by, they are almost bound to have guava!

Friday, July 9, 2010

Peachy-Keen Bars

I recently nabbed a vegetarian cookbook at a thrift store:
The American Vegetarian Cookbook by Marilyn Diamond. It would
be vegan if not for the honey factor. So far it seems like an awesome
book and huge to boot (over 400 pages).

It was published in 1990, so I'm thankful there are no photos.
Older cookbooks have the most ugly, dated looking food pics. I'm not
sure what it is, but everything looks orange and fresh out of a
microwave.

Flipping through it I saw a recipe that looked pretty good, but I
wanted to twist it to my own immediate dessert needs. Here is the
resulting experiment. The original called for 1 egg replacer, honey
and carob. I veganized it with raw sugar and had some peaches I
needed to use. I also added a drizzle of brandy to make the flavor
of the peaches pop.

And then I got a little fancy...


Peachy-Keen Bars

1/3 cup vegetable oil or earthbalance
1/3 cup raw sugar
1 cup whole wheat flour
1/4 tsp ground ginger
1 pack of silken tofu
1/3 cup agave
1 tsp arrowroot or cornstarch
3 peaches sliced
1 tsp vanilla
2 tbsp brandy

In a food processor first process the oil/earthbalance, sugar,
ginger and flour until crumbly. Press half off flour mixture
into a 9x9 tray. Bake at 350F for 10 minutes.

Next process the tofu with the remaining ingredients, except for
the peaches and brandy.


After the bottom crust is cooled, pour the tofu
over baked crust. Arrange sliced peaches on top of that layer
and sprinkle remaining flour mix over peaches.


On top of that I arranged some roses out of super thinly sliced
peaches...


Finally, sprinkle alcohol over everything and bake for 20 more
minutes at 350F. Slice and serve alone or with whipped soycream
or vanilla nondairy ice cream.


Monday, May 31, 2010

Pizza Pizzaz Part Six: Chipmunk Pizza

Going through this series we had a list of white pizzas that we wanted
to give a shot. Now I love cashews on pizza (especially with broccoli)
but I wanted to turn up the nuttiness up to eleven.

First I started with adjusting the crust. When adding the flour to my
yeast, sugar, oil, salt, water mix I also tossed in about three tbsps
of flax meal. I like the flecked effect it gives, plus the added
nutritional boost. Monkey-man needs his omega-six!


For the Sauce I mixed up a white wine sauce with a earthbalance roux
base. I thinned it out with soymilk, but any nondairy milk would be
fine. Added some garlic and a dash of nutmeg, just to give it a twist.
Of course salt and pepper and cooked enough to burn off the majority
of the alcohol.


For toppings I went all out, not stopping with cashews. I also threw
on sun flower seeds and toasted Brazil nuts, roasted garlic, diced
tomatoes, and black olives. I considered almonds and peanuts, having
both on hand... but almonds are too sweet and I thought peanuts would
be too overpowering.


Lastly I topped it with a dusting of daiya moz cheese.


Again I baked it at 450F for about 12 minutes until browned.
It was incredibly rich and good with a nice salad or leafy green.

I can think of a few other nuts that might have been good... like
macadamia nuts, walnuts, or pistachios-- go nuts!

Monday, April 26, 2010

Vegan Fettucini Alfredo

The summer I spent living with two of my best friends, our
cheap college fare was extremely bizarre and fatty. Granted
we did eat our fair share of potatoes and the vegetarian ramen,
there were three main things I learned to cook during that time
span. I learned how to make crepes from my neighbor, mochi from a
classmate and alfredo from my roomie.

I wrote before how we used to eat a crap ton of crepe...
But I have no idea why we started making alfredo. It was
originally what me started back on a path to attempting to
reincorporate mushrooms into my diet. Ultimately that was
foiled by my strange gag reflex triggered by them.
However, we used porcini mushrooms nonetheless in hopes that
someday I could stomach them.

Since those days I continued making alfredo, but very rarely or
when I was desperate to make something my mom would eat.

I learned to make it with fresh parmesan and heavy cream and
since been trying to make a vegan version with nutritional
yeast and soymilk.

*Enter 'The Urban Vegan'

I really dig this cookbook. Unlike most of the vegan books that
get churned out, it doesn't contain a lot of asian dishes or
bizarre expensive ingredients. I have a very european palate I
must admit.

So finally I shoveled out the earthbalance and made Balcavage's
Vegan Alfredo. I made a couple adjustments...

First, I added garlic. Sorry, but I don't know what alfredo without
garlic would be like... Oh yeah. Boring.

Second, I cut down on the earthbalance and upped the nutritional
yeast. Theory was to make a roux out of the oil and yeast. Well,
to make a proper roux you need equal portions of the fat and X--
typically flour.

Third, having a proper roux you don't need the kudzu root that is
called for.


Vegan Fettucini Alfredo~ Adapted

Ingredients

3-4 cloves garlic, minced
1/4 cup earthbalance
1/4 cup heaping nutritional yeast
1 1/2 tsp salt
1 1/2 cup soy milk
black pepper

In a medium pan over medium heat, saute garlic in melting
earthbalance. Once the garlic becomes fragrant, add the
nutritional yeast to form your roux.

Continue to cook for about for a few minutes to cook roux.
Whisk in soymilk a little at a time. Add salt and turn to
low. Allow to simmer until it thickens up.

Toss with fettucini or other desired pasta.
I made about 2/3 of a package for this much sauce and served
it with some dark leafy greens.

To add some extra protein try tossing in some vegan chic like
gardein.

Even without the mushrooms, the memories hit me and I tasted
them anyway. Amusingly enough, Monkey-man said later that if
we hadn't had it with greens he wouldn't have been able to
stomach it either because he kept 'memory-tasting' shrimp.
Go figure! So, yes. This alfredo is so authentic tasting it
will blow your mind!

Tuesday, April 13, 2010

Vegan Fondant


I must have been about four or five when my parents held a ceremony
to renew their vows. This was more out of a desire to hold an actual
wedding than for real renewal purposes.

I don’t remember much of the whole experience, just bits and pieces.
I do remember that it was in Vegas, my Mom made my dress, my brother and
I were constantly sneaking out of the hotel room down to the pool when
our grandparents snoozed off... and the cake.

My parents made their own fondant. Unfortunately, when I tried to
pick my Dad’s brain about it. He couldn’t remember entirely what they
used in it. I particularly wanted to replicate that taste and scent.

I’m going to keep working with fondant, but I think this is a good
place to start offering up what I’ve done. I’m starting to think
that maybe my Dad used marzipan, but who knows.

I’ve never been too much of a cake person, not enough a cookie gal.
I was more into the dough, which is scary looking back at all the
non-vegan cookie dough that I’ve probably consumed in my lifetime.
I’ve always enjoyed decorating cookies and cakes though. I love
sculpting and shaping little things. I used to make all sorts of
little ornaments and beads out of fimo(?) dough.

This cake was for my Monkey-Man and the first time I have ever ever
covered a cake in fondant. I wanted it to be a surprise and since
his chosen theme was dinosaurs-- this is what followed.

Let me warn you that this is only the beginning and the adventure
will only get crazier than this...

I baked the cakes in a glass bowl to get the semi circle and frosted
them with a basic cream frosting. Always make your cakes at least a
half day before, so you’re frosting will be smooth and the cake will
hold up.


Super Simple Vegan Fondant

1/2 cup sugar (corn or other syrup)
1/2 cup earthbalance or vegetable shortening
1/2 tsp vanilla extract
1 1lb bag of vegan powdered sugar
+ about an additional half bag for kneading

I tried to make a boiled fondant without my candy thermometer on
hand, but failed and resorted to this. I will retry the boiled again
when I am equipped.

First whip all the ingredients, except the sugar together. Then add
the sugar, a little at a time so that it remains smooth. Add just
enough to get it to a point that you can knead it.


Sprinkle your clean counter top with sugar and knead the fondant,
adding in sugar to keep it from getting sticky, for about 15 minutes--
until firm and glossy.

Store in an airtight container in the refrigerator overnight to ripen.


The next day when your are getting ready to prep your colours and/or
additional flavors, remove the fondant and cut into portions.

I made a bunch of different colours, incase I thought up something I
wanted to do later. But most importantly I wanted a basic skin to cover
the cake and shape into a head.


You can use a glove, but mine didn’t hold up that long and you may
be kneading for a while. Take the fondant you want to colour or
specific flavor and shape it to receive a couple drops. You won’t
need that much flavor extract, but you will have to keep adding food
colouring until you get the shade you want. Keep sugar on hand to
prevent it from sticking to everything as you knead in your colour/flavor.

Store again (airtight) in the fridge, until you are just about to use
it. The fondant will dry out, so work quickly if you can. Keeping your
workspace well powder with sugar or cornstarch is essential.
Once the fondant sticks or starts to tear in a spot you have to start
over and roll it out again.

I stupidly folded it before placing it over the first cake I covered
(green) and got a nasty crack across the whole thing. The second came
out much smoother- see what practice does for a gal?

Putting the fondant over a frosted cake gives it something to adhere to.
Your frosting is the glue, but don’t use glaze because fondant doesn’t
take to moisture well. And don’t think you can patch a spot with water.

Water will dissolve your fondant. If you have to try that, I’d use
shortening in an emergency.

From there on, you’re just shaping little bits and sticking them on.
Once the fondant is warmed from your hands, it will stick on fine.
I mentioned before that I was working fairly quickly and if I had time
to slow down, the result would have been much smoother and cleaner.


Keeping it out before serving will let it harden completely.
This was so much fun, I can’t wait for another birthday!!

... or maybe an ‘UnBirthday’!??
Tea Party anyone?

Sunday, March 21, 2010

Spring has Sprung, Ostara and Vegan Cadbury Cream Eggs!


I hope you all had a beautiful Ostara (spring equinox)!
As it was so mild and pretty out, I clean off our deck and we
ate out there for the first time ever! So nice, not to mention
I spent a nice morning getting some vitamin D (and prolly skin
cancer too).

I couldn't help but want to show you all the pretty salad
we had with dinner. The spring sun caught all the colours!


To celebrate the first day of spring I made my absolute-
all time favorite candy ever. This may sound strange, but
when other people were worrying over cheese when they went vegan...
I was worrying about Cadbury Eggs.

But I'm not one to let my junk food habits control my lifestyle.
Besides, I'd just have to make them myself. And I did.

Now these are pretty messy to make and look more like the
reeses peanut butter eggs than the nice round cadbury eggs.
But I am not gonna buy an egg shaped mold just for these.
I am considering buying a little heart shaped one though and
that way I can use it for other things. But for now they are
a little flat.

I veganized and halved the original recipe because I didn't
want 2 dozen Cadbury eggs sitting around the house, beggin to
be eaten. Thats just dangerous.

Vegan Cadbury Cream Eggs


Ingredients

1/4 cup a sugar syrup, corn, brown rice, etc
3 tablespoons earthbalance
1/2 tsp vanilla extract
1 2/3 cups of vegan powdered sugar, sifted
dash of salt
food coloring
1/2 a bag of semi sweet or dark vegan chocolate chips

Mix together the sugar syrup, 2 tbsp earthbalance, extract,
and salt. Sift in the powdered sugar and beat well.

Pull out a quarter of the fondant and add a few drops of
natural yellow food coloring*.


Cover and refrigerate for at least 2 hours, until very firm.
You can also freeze it if you are an impatient ninja.

Next, you have to work quickly, as the warmth of your hands
will melt the fondant and make it sticky.

Dampen your hands (very lightly) and scoop a rounded teaspoon
of yellow into a flat tbsp of white. Encase the yellow in the
white fondant, wrapping it in a layer twice as thick.

(I need to emphasize again, that this is very messy and can
get frustrating)

Place on a greased plate or pan. If the fondant is at all warm
it will still stick despite the oil, so don't worry- its not you.
Try and get them as egg shaped as you can. A couple of mine were
very circular and funky.


Freeze or chill for at least four more hours.
Right before that time is up and your fillings are almost
completely hard, start on your chocolate.

Melt it with a tablespoon of earthbalance over low heat.
You can either drop your eggs in and roll them in one at a time
or skewer them on a kabab to coat them. Since the chocolate is
warm you will have to again, work quickly.


Once they've been coated, chill again, coat once more, chill
and then!!! The moment we've all been waiting for-- NOM nom nom!


*Here are some links if you want to look into natural, vegan,
vegetable, non-cancer causing food colouring.

Indian Tree Natural Food Colourings
Sustainablog's listings of vegan food colouring
Nature's Flavors Organic Food Colouring

Wednesday, March 17, 2010

7 Days of Irish Luck, St. Paddy's Day: Grilled Potato Cakes


In the midst of piles of papers, counting up grades and cramming
I got in a wee bit of St. Patrick's Day celebrations.
My Monkey-man came over the night before to surprise me, but
I think I surprised him more with the yummy garlic soup.

We watched some Black Books and celebrated being Irish with Dylan
Moran. It was weird being home on St. Patrick's Day though.
I've always thrown parties, wandering around all night telling
Irish jokes with an accent til I went hoarse.

This morning we slept in late and I used the last of my potatoes
to make some grilled potato cakes and washed it down with Irish
breakfast tea.

These are different from your typical hashbrown-ish dinner cakes
and very different from the baked ones I made the other night.
These are smooth and simple, topped with earthbalance and agave-
perfect for a nice, quiet Irish breakfast.

Grilled Breakfast Potato Cakes

Ingredients

3 potatoes, peeled-chopped-boiled
2 tablespoons of earthbalance
2/3-1 cup whole wheat flour
salt

Drain the potatoes, reserving a little bit of water. Mash with
the earthbalance. Add a little bit of water to make sure the
potatoes are not dry. Salt and add the flour.

The flour should equal to about 1/3 the amount of potatoes you
have. Mix gently and flatten out on to your counter.
Cut into triangles and grill on a dry non-stick skillet.


Grill until golden and flip.
Serve with dark agave and a pat of earthbalance.

Tuesday, March 16, 2010

7 Days of Irish Luck, St. Patrick's Day: Irish Garlic Soup

Unfortunately I am behind a day. School is coming to a close
and trying to take my sanity with it. So when I got home last night,
I had such a headache I went to bed without dinner.


But today I was so caught up with the beautiful day -- how
could I not be in the mood to cook? So after I made some
cookies for my cousin, I started dinner for the Monkey-man
and myself. It was just what we wanted. Warm, rich, and filling.

This is such rejuvenating soup. If I was under the weather,
I'd take it over miso any day. The traditional recipe calls
for egg yolks added at the end to thicken it up and add another
layer of richness (fat).

I got that thickness by just adding a tablespoon of arrowroot
to a little bit of soymilk and adding it at the end.

I served it over sliced, toasted bagels- like croutons. Yum!

Irish Garlic Soup


Ingredients

12 cloves of garlic, minced
1 small onion, diced
3 tablespoons of earthbalance
2 tablespoons of whole wheat flour
4 cups vegetable broth
1 tsp apple cider vinegar
1 tablespoon arrowroot powder
1/4 cup soymilk
1 tablespoon soy sauce/braggs

Melt the earthbalance over low heat, adding the garlic and
onion. Cook on low-low for about 20 minutes. Add the flour,
turning up the heat to cook the flour for a few minutes
into a roux.

Add the vinegar, soy sauce, and broth and cook for another
30 minutes. Finally add the arrowroot powder to the soymilk
and pour into the soup slowly. Season with a little bit of
salt and pepper. Cook for about 10 more minutes.

Serve over croutons.


(Tomorrow is St. Patricks! Pull out that green tonight~)

Food & Drink Blogs Nutrition blogs & blog posts