Monday, December 27, 2010

Cookie Commotion: Folk Style Painted Cookies

Finally I got the hang of the painted effect that I was
trying to do on my gingerflake cookies.

It is done by dipping the cookie in glaze and then using
a toothpick to spread colored glaze into pretty designs.


Separate a little bit of glaze to make the extra colors.
You won't need a lot, only a few drops of glaze for each.
Then add as much color as you need.

I added some orange extract for extra flavor and had some fun!

With each stroke you'll have to dip the toothpick to draw.
Its very easy and super pretty, check it out!

Don't let the glaze harden and dry before doing the color
or it won't work.


Saturday, December 25, 2010

Cookie Commotion & a Merry Christmas

Merry Christmas to everyone out there celebrating!
I haven't been able to get out here posting anything,
we had to take a last minute trip to Palm Springs to visit
with my Uncle who is not doing so well. So, our personal
Christmas is being postponed a couple of days until we
can get home and replenish our energy sources.

Since I'm a little backlogged I'm going to continue showing
off the cookies I've been making for my friends and family.
A lot of these ideas can be used through out the year for
different holidays or just if you feel like being fancy.


So here are my 'Cute as a Button Cookies'.
They are just some basic colored sugar cookies with a
decorating twist. I'm going to do these again in Easter
in a whole range of colors. The pastels are so cute and
they were perfect with just the little tiny bit of frosting.


First you cut out a basic round shape.


Then you use a lid to make a deep impression on the cut
out shape, to make the ridge of the button shape.
Add little holes for the button holes with a toothpick.


After they are baked you add a little bit of frosting
with a pastry bag to make the 'strings'.

You can of course flavor the frosting or the cookie dough
to match the colors. I was thinking of adding strawberry
or raspberry extract to the pink ones and lemon to the yellow.


I'll have more treats for you tomorrow. In the meantime,
have a beautiful holiday.

Wednesday, December 22, 2010

Christmas Card

I forgot to give you the Christmas card of the day from this
years collection! Enjoy!


Christmas Cookie Commotion & Yuletide


I was really excited for Monday as Winter Solstice aligned with
a lunar eclipse. However, we've been getting some nice rainfall
here in Los Angeles and I'm certainly the last one to complain about
rain. I know our water reserves needed it more than I needed to see
a lunar eclipse. Alas, our night was cloudy.

Yet, the rain certainly didn't stop me from making Buche De Noel:
A french sweet cake in the shape of a Yulelog. Otherwise known as a
chocolate heart attack! Traditional French versions are filled with
chocolate whipped cream and rolled with a egg-laden sponge cake.

I just used a basic vegan chocolate cake and made a special flavored
chocolate frosting for the filling.

My frosting is about 1 1/2 cup of powdered sugar, 3 tbsp cocoa powder,
3 tbsp earthbalance, a tbsp- 2 tbsp of soymilk and 1/2 tsp of raspberry
extract.


I went pretty overboard with the presentation and everything.
I frosted the middle (filling) and then frosted the log when it was
rolled up. Then I melted semi-sweet chocolate chips with a little
bit of soymilk to make a firm chocolate glaze. Usually it is just
chocolate frosting on the outside, scraped to look like a wooden
log. But I really like the glossy chic-ness of the glaze.
Very neo-traditional!


I melted some more chocolate chips by themselves and drizzled designs
on to wax paper, then froze them to make the twigs on the top.


Then I topped it with toasted almonds, some powdered sugar for snow
and some decorated truffle cookies.


Traditionally, the plate would be adorned with meringue mushrooms,
but I make sugar cookies filled with raspberry jam. I then glazed them
and painted them with coloring and vodka, like my snowflakes from
yesterday.


Here you can see the jam in the little pocket. I just shaped them
into little bowls, plopped in the jelly, then covered it up with
another piece of dough and rolled it gently before baking.


Monkey-man had to work late, so this was his surprise when
he came home. I love Buche de Noel and its much more eco-
friendly than burning a wooden log!

Tuesday, December 21, 2010

Christmas Cookie Commotion: Gingerflakes


I don't know how many times I've mentioned it, but as I've probably
said at least once-- gingerbread is my absolute favorite
cookie
. I love the depth and muskiness of molasses along with the
soft and chewy texture of the cookie itself. I could live off of them,
at least for a bit.

Instead of the typical gingerbread men and piped icing, I did some
glazing that was perfect in my head but came out a little bit weird.
I wanted to try the effect of glazing and spreading drops of color
with a toothpick, but I let it dry to much. So I came out with some
smeared bizarre looking flower-flakes.


So I pulled one of my favorite tricks that I learned from doing fondant
and cake decorating... Coloring and vodka. I mixed some blue coloring
with a tsp of straight vodka and painted on the patterns I had wanted
to do.


I used a clean new paint brush and gently tapped the brush into
the glaze, so it didn't drip and had a darker color.


Personally, I really like the result. But like I said yesterday,
I'm going to get a properly shaped snowflake next time.

Tomorrow I'll share my Yule pictures with you, in the meantime
here is one of the Christmas cards I made to send out this year!

Monday, December 20, 2010

Christmas Cookie Commotion!

I originally saw these done in a non-vegan cook book and wanted to
try the idea out for myself, just to see how they would turn out.
The original is full of butter, eggs, and refined candy-- lifesavers
I think. I'm not so much concerned about the candy as I am about
the artificial food coloring that goes into those or jolly ranchers.

There is a lot of things that I will tweak on my second try,
but I'll tell you about that after. Overall this is a really awesome
idea and pretty fun, albeit time consuming. But if you've already
allotted a good amount of time to decorate cookies, there are no
worries there. The project?

Stained Glass Cookies


I have no doubt that you'll surprise your friends and family by gifting
these, as they are pretty stunning.

You start with a basic sugar cookie recipe, roll out, and cut out your
desired shapes...


From there, you cut out some small shapes from the cookies that will
serve as the windows.


Next you're going to select your hard candies.
I'm using Fox hard candies. They are colored from fruit and vegetable
sources and sweetened with juices. I believe they are from the UK,
judging from their vegetarian symbol on the back of the packet. I
got them from Cost Plus World Market for $2.99.


The original author says to put the candies into a plastic bag and
pound them with a hammer. But I just kept mine in the original wax
paper wrapper and hit them with my marble rolling pin.


Next fit the candies, whole or broken into the cut shapes.
This took the most experimentation because I was putting too
large or too small candies in the holes.


You'll be baking these on foil or parchment paper as to remove
them from the hot pan to cool. Also press down around the edges
of the hole so the candy does not leak down under the cookie while
they are baking.


Once they are baked, let them sit on the pan for one minute. Then
remove the paper/foil with the cookies on it and let that sit for
about 20 minutes, until the candy and cookie are completely cooled.


The things I would change:

I'd definitely not use whole wheat or even the white whole wheat
flour again, as it made for a much darker cookie. If doing a darker
cookie I'll make it a chocolate or gingerbread.

I'll be flavoring it with almond extract instead of vanilla, to keep
the colour of the dough lighter.

Get a better snowflake cookie cutter. Frankly, the snowflakes I made
looked pretty... 'special'. They looked like trippy hippy 60s flowers,
not snowflakes.

I'll go back to my go-to sugar cookie recipe. I used a veganized
version from the original recipe from the book and it was too dry
and the cookies cracked a little.


Stay in touch for my next cookie adventure!
Tonight I'll be doing my traditional Buche De Noel for a perfectly
Bewitching Yule, my true holiday celebration! But don't tell Monkey-
man-- It's a surprise!

In the meantime you can check out my other cookie recipes:

Pumpkin Gingerbread Fluffkins
Classic Gingerbread
Applesauce Oat Cookies
Snickery Doodle Cookies
or some Pumpkin Biscotti with Cranberries

Yule Blessings and enjoy the total Lunar Eclipse tonight!

Saturday, December 18, 2010

The Holidays are here!

I cannot believe how fast these past two weeks have gone by!
I've been feeling a little under the weather and am getting
back on my feet again just in time for lots of rain.

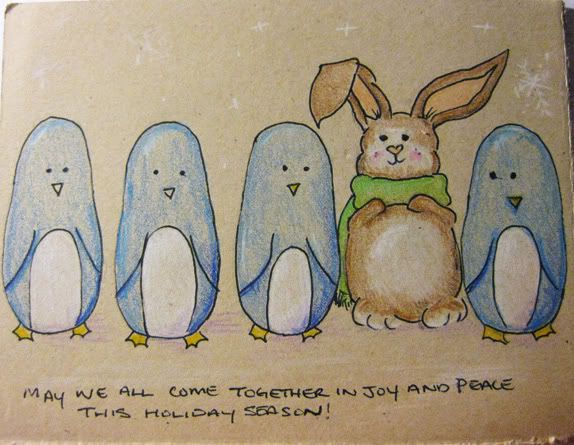
We are getting ready for all the winder parties by making
our treat packs for friends and family. Of course I'll be
sharing most of my creations with you in time for your Holiday
frivolities.

This one is good to keep on book because it is not particular
to holidays, but is delicious all year round. In fact you may
not have gotten one of these in a while if you're vegan.

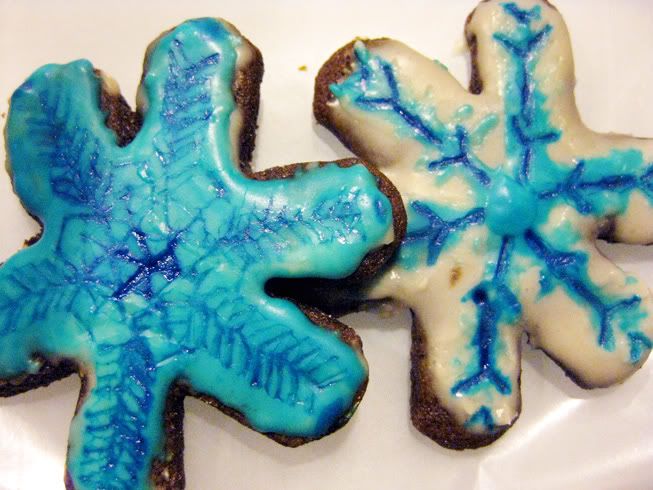
They are pretty easy to make, but a little time consuming as
they do take some care with handling. They are good for your
gluten-intolerant giftees and sweet to boot! Yes, I'm talking
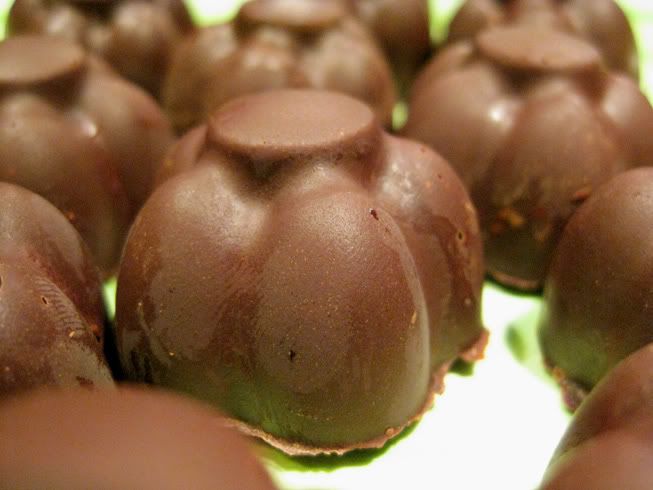
about Vegan Peanut Butter cups.

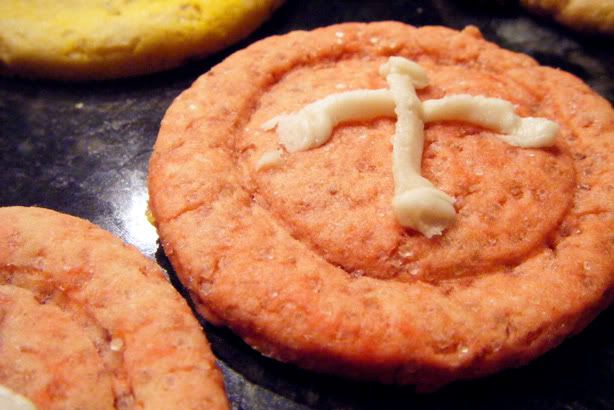
Most people make them in little paper cups, which is easier
because you don't need to worry about molds, the candy cracking,
or it being as pretty. But I of course like to go a little
above and beyond to make something special.

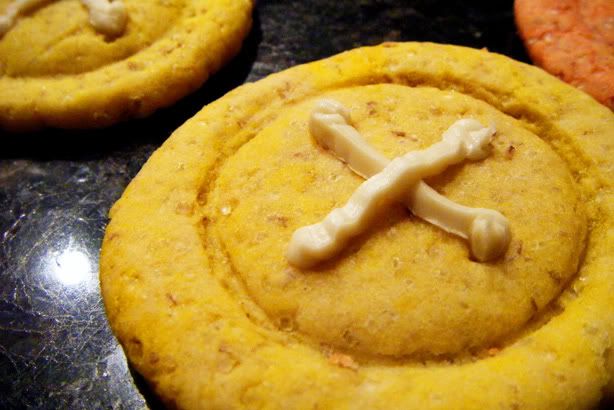
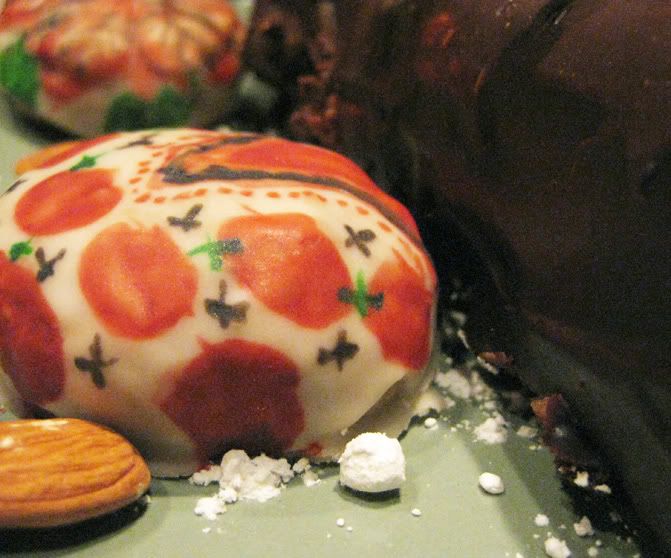
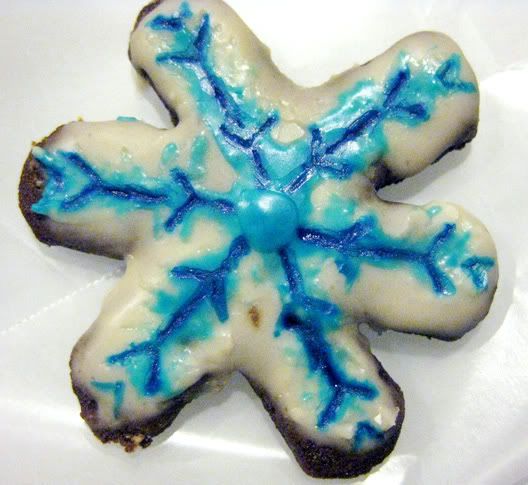
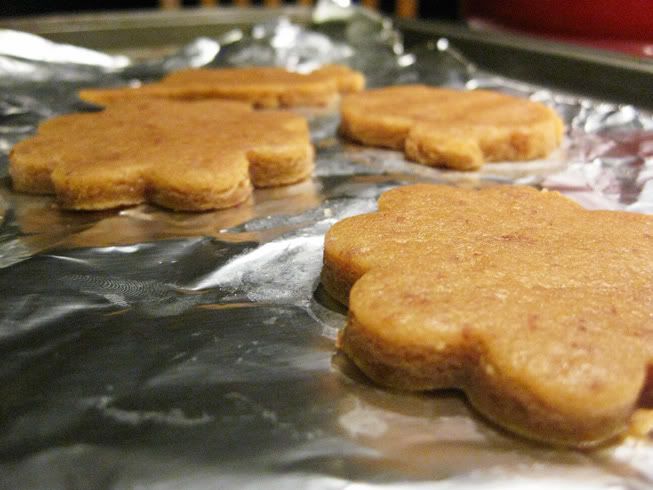
So I used an IKEA flower shaped ice tray. I've been collecting
some different shaped silicone ice trays for a while now. I've
also got hearts, mini cupcake shapes, and leaves. I've also seen
stars, fish and other shapes out there.

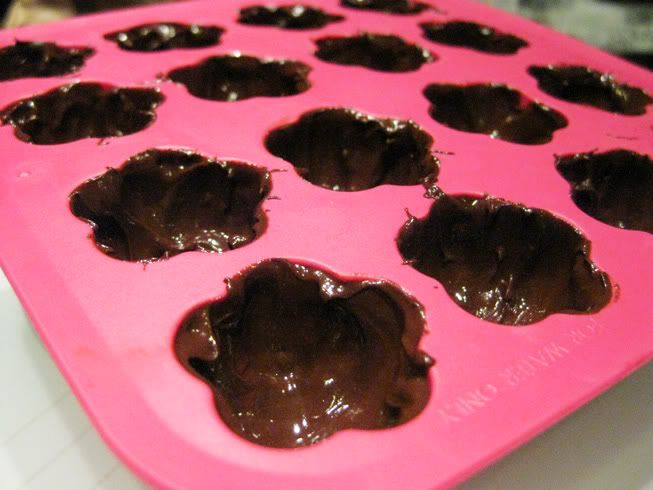
You can clearly see that this tray reads 'for water only'.
Who knows why. So I filled it with chocolate anyway.

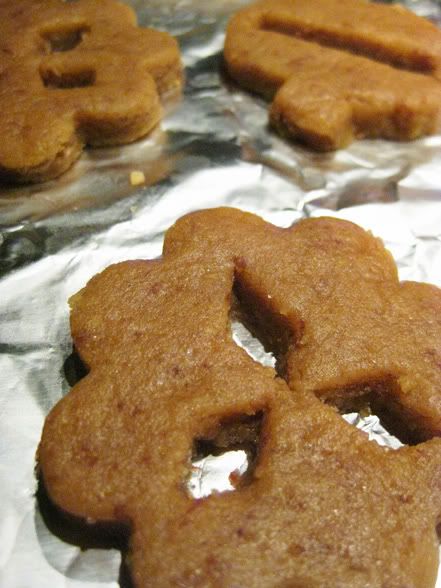
You start by melting about 1/4 cup of vegan chocolate chips
over medium heat, taking care not to burn it. With a clean
new paint brush, spread a layer of chocolate into the molds.


Then stick it in the freezer for about 5 minutes and add
another layer if you can see any color of the tray through
the chocolate. It is important that this layer of chocolate
is thick enough to hold up to being pushed out of the tray later.

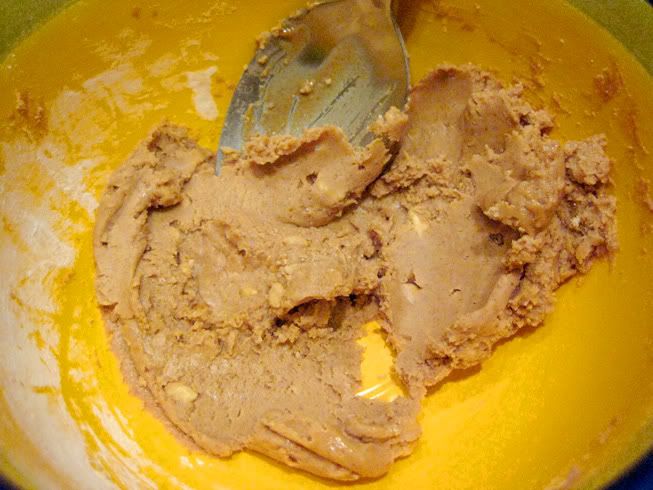
While the chocolate is chilling, mix together 1/2 cup
chunky, salted peanut butter with 1/4 cup powdered sugar and
1/2 tsp vanilla extract.


Scoop little teaspoons of the peanut butter and roll into
tiny balls. Gently press into the chocolate covered molds.
Make sure it is pressed in fully and smooth. If there are
any pockets, the candies will crack and split when you try
to remove them from the tray.

Chill for a few more minutes in the freezer.

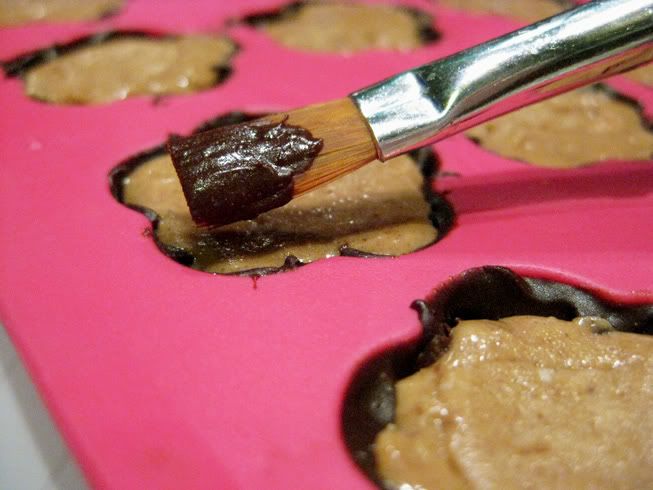
With the remaining melted chocolate, if you need more
melt some, you are going to brush dollops over the peanut
butter. You are spreading or smearing more than painting
this time, being careful not to mix the peanut butter with
the chocolate.

Chill again for another five or so minutes.
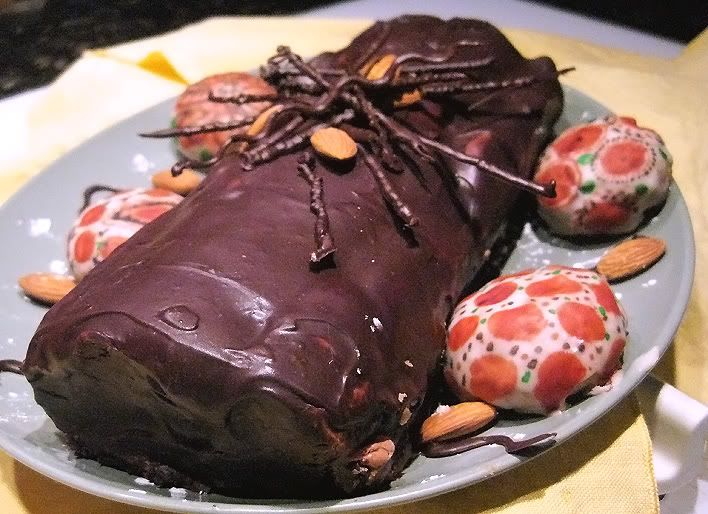
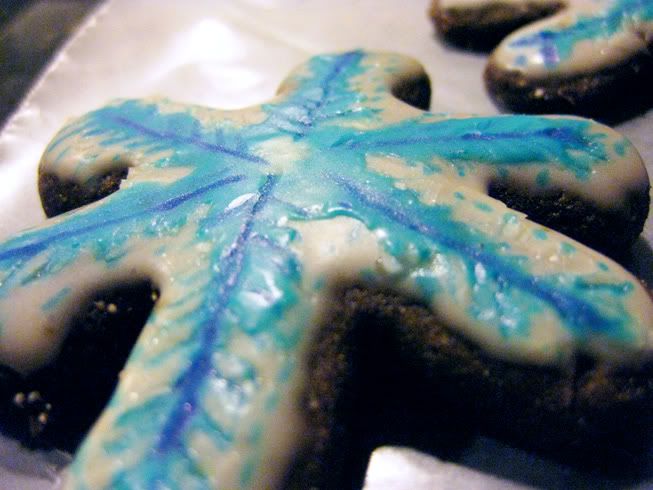
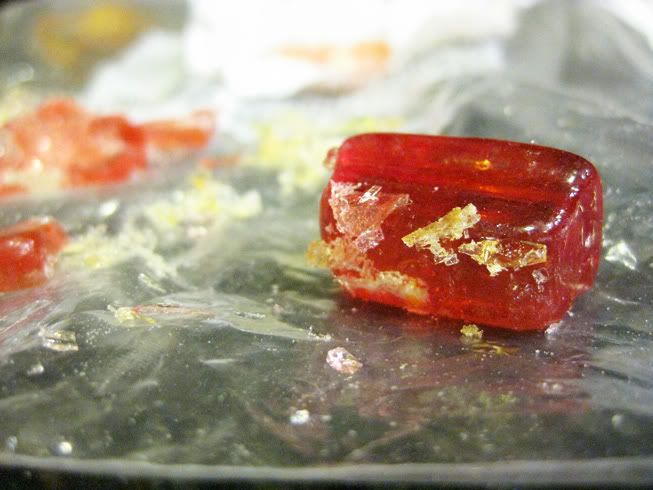
Finally you are going to gently bend and stretch the tray.
Be careful to not crack or crunch the chocolate. Gently
push the piece of candy out. The first one is always the
hardest so don't worry if you crack it a little.

Make sure that they stay cold as you do this. If the
chocolate starts to warm they will melt into the tray and
come out as blobs.

I don't mind if there are a few mess ups, I mean I need to
test them to make sure they are not poison! Hee hee.
Just make sure you're not mushing the on purpose-- the more
for me!!!

Sunday, December 12, 2010

Holiday Cooking Demo, Thanks to COK

I thought you all might like to see the results and deliciousness of
the COK Holiday Cooking Demonstration that I did recently.

I am certainly rushing to get ready for Yule and Christmas.
Lots of last minute shopping, sewing, and planning.
I'm going to start my treat making soon, so stay tuned for a
seriously sweet cookie serious that will help you all (hopefully)
hit the ground running if you're gifting, hosting, or just looking
for a new and tasty way to celebrate.

Without further ado, here is a quick snapshot of the fun we had!


our 'stage'


our set-up


laying out some chocolate-orange truffles with cranberries


Our center dish, Pumpkin Risotto


Savory Marmite Twists


Our lovely spread: Savory twists, stuffed dates, Citrus Twisted
Cranberry Sauce, Sauteed Brussels Sprouts with Caramelized Onions,
Pumpkin Risotto, Crispy Seitan, and chocolate truffles~
All Vegan of course!


If you want to see the whole album, check it out on my facebook
fan page: www.facebook.com/pages/Miss-Kitchen-Witch
We hope to do this again in the future for other holiday celebrations.
In the meantime, I'm gonna go do some sit-ups for all the cookies
I'm going to be making!

Food & Drink Blogs Nutrition blogs & blog posts