I've been feeling a little under the weather and am getting
back on my feet again just in time for lots of rain.
We are getting ready for all the winder parties by making
our treat packs for friends and family. Of course I'll be
sharing most of my creations with you in time for your Holiday
frivolities.
This one is good to keep on book because it is not particular
to holidays, but is delicious all year round. In fact you may
not have gotten one of these in a while if you're vegan.
They are pretty easy to make, but a little time consuming as
they do take some care with handling. They are good for your
gluten-intolerant giftees and sweet to boot! Yes, I'm talking
about Vegan Peanut Butter cups.
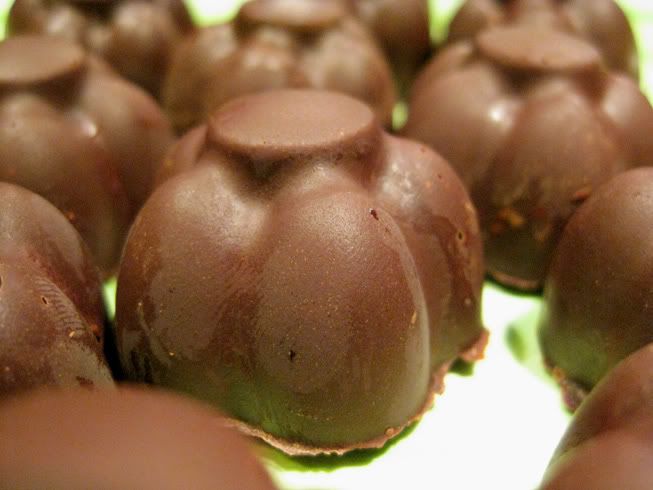
Most people make them in little paper cups, which is easier
because you don't need to worry about molds, the candy cracking,
or it being as pretty. But I of course like to go a little
above and beyond to make something special.
So I used an IKEA flower shaped ice tray. I've been collecting
some different shaped silicone ice trays for a while now. I've
also got hearts, mini cupcake shapes, and leaves. I've also seen
stars, fish and other shapes out there.
You can clearly see that this tray reads 'for water only'.
Who knows why. So I filled it with chocolate anyway.
You start by melting about 1/4 cup of vegan chocolate chips
over medium heat, taking care not to burn it. With a clean
new paint brush, spread a layer of chocolate into the molds.
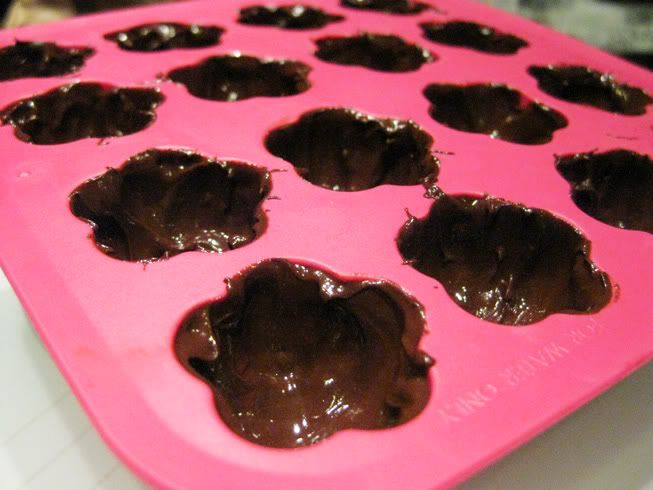
Then stick it in the freezer for about 5 minutes and add
another layer if you can see any color of the tray through
the chocolate. It is important that this layer of chocolate
is thick enough to hold up to being pushed out of the tray later.
While the chocolate is chilling, mix together 1/2 cup
chunky, salted peanut butter with 1/4 cup powdered sugar and
1/2 tsp vanilla extract.
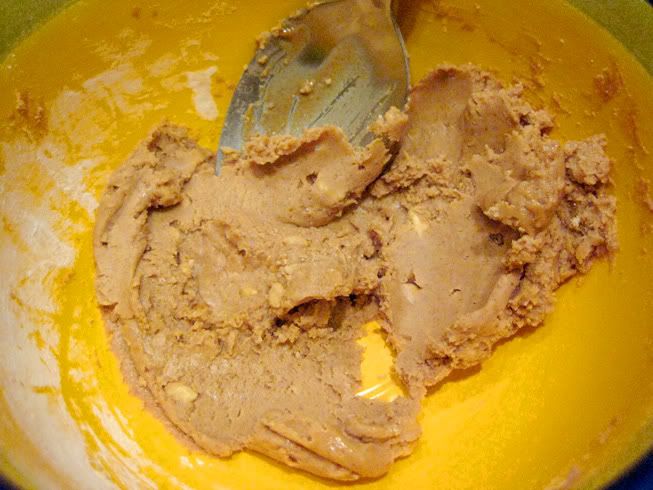
Scoop little teaspoons of the peanut butter and roll into
tiny balls. Gently press into the chocolate covered molds.
Make sure it is pressed in fully and smooth. If there are
any pockets, the candies will crack and split when you try
to remove them from the tray.
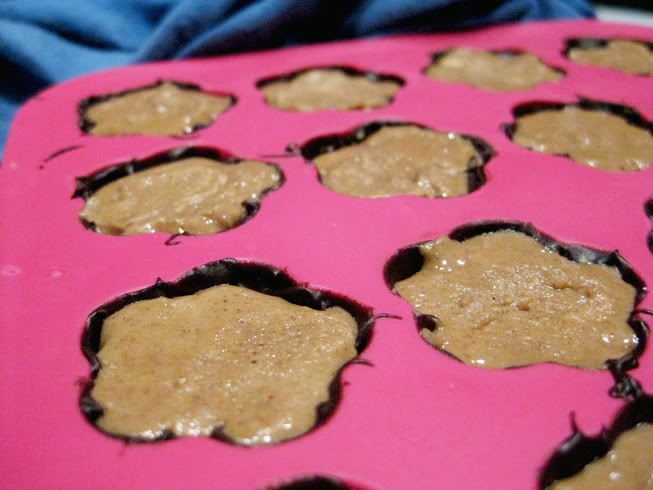
Chill for a few more minutes in the freezer.
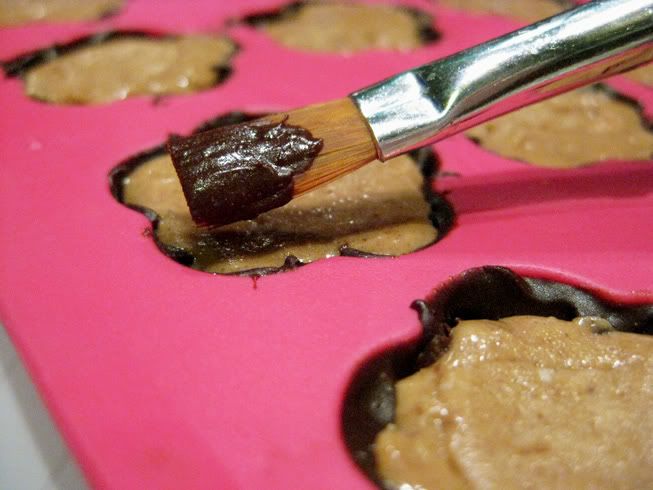
With the remaining melted chocolate, if you need more
melt some, you are going to brush dollops over the peanut
butter. You are spreading or smearing more than painting
this time, being careful not to mix the peanut butter with
the chocolate.
Chill again for another five or so minutes.
Finally you are going to gently bend and stretch the tray.
Be careful to not crack or crunch the chocolate. Gently
push the piece of candy out. The first one is always the
hardest so don't worry if you crack it a little.
Make sure that they stay cold as you do this. If the
chocolate starts to warm they will melt into the tray and
come out as blobs.
I don't mind if there are a few mess ups, I mean I need to
test them to make sure they are not poison! Hee hee.
Just make sure you're not mushing the on purpose-- the more
for me!!!


No comments:
Post a Comment